
TL;DR: Every major AI platform gives you two places to put instructions: account-level settings that apply to every conversation, and workspace-level settings scoped to a specific project or notebook. Most users fill in one and ignore the other. Getting both layers right is what separates an assistant that consistently performs from one you constantly correct.
In a previous article on Claude’s profile settings , the focus was on the baseline: how to write account-level personalization that eliminates the need to re-explain yourself every session. That setup still matters, and if you have not done it, start there. But there is a second layer most people ignore entirely: the instructions fields built into Claude Projects, ChatGPT Projects, and Gemini Notebooks. This article covers both layers together, applies the same thinking across all four major platforms, and gives you a framework for keeping everything current as your work evolves.
Account-level instructions are always on. Whatever you put there applies to every conversation you have on that platform, whether you are inside a project or not. Think of it as the standing briefing the platform reads before every session: who you are, how you communicate, what you always want and never want.
Project instructions (or workspace instructions, or notebook instructions, depending on the platform) are scoped. They apply only within a specific project or notebook, and they layer on top of your account settings rather than replacing them. The project layer is where you add context that would feel strange or irrelevant in an unrelated conversation: the audience for a particular client, the coding conventions for a specific codebase, the tone rules for one publication.
The practical distinction is this: if an instruction would make sense in any conversation you have, it belongs at the account level. If it only makes sense when you are doing a specific kind of work, it belongs in the project.
Character limits vary by platform and change without much notice. The table below reflects current limits as of this writing. If your instructions are being silently cut off, shorten them and test.
| Platform | Field | Current Limit |
|---|---|---|
| Claude (claude.ai / Claude Desktop) | Single custom instructions field | ~2,000 characters |
| ChatGPT (paid plans: Plus, Pro, Business, Enterprise) | Per instructions field | 5,000 characters |
| ChatGPT (free and Go plans) | Per instructions field | 1,500 characters |
| Gemini | Single instructions field | ~2,000 characters |
| Microsoft Copilot | Single instructions field | ~1,500 characters |
ChatGPT expanded its limit significantly for paid accounts in July 2026, raising each field from 1,500 to 5,000 characters . The instinct to fill that space is understandable. Resist it. A 4,800-character instruction block is harder for the model to follow reliably than a focused 1,200-character one. More space is useful for specificity, not volume.
The account-level field is your permanent context layer. It should cover four things: who you are and what you do, how you want the assistant to behave, what you always want in a response, and what you never want.
Here is a worked example built for a management consultant. Note the structure: sections are labeled, language is direct, and the total runs under 1,600 characters to stay safely within every platform’s limit.
## INSTRUCTIONS

I am [YOUR NAME], [YOUR TITLE] at [COMPANY NAME], a B2B management
consulting firm (~260 employees, Chicago HQ). I oversee capacity planning,
vendor management, process design, and executive reporting.

### TONE
Direct and professional. Never open with "Great question!", "Certainly!", or
similar affirmations. Start with the answer or the output. Conversational
where context allows.

### FORMAT
- Short tasks (emails, quick answers): no headers, under 200 words.
- Medium tasks (memos, briefs): use headers, 300-600 words.
- Long tasks (reports, analysis): lead with an executive summary, then
structured sections. Use tables for comparative data.

### LANGUAGE
Active voice always. Avoid "leverage," "synergy," "bandwidth" (for people),
"seamless," "deep dive," and any jargon that avoids saying something specific.
Spell out acronyms on first use.

### WHEN UNCERTAIN
Flag uncertain facts with [VERIFY] and continue. Do not present guesses as
facts. Do not invent citations or statistics.

### STANDING RULES
- Do not generate legal or financial advice; flag those questions.
- Make a reasonable assumption, state it, and proceed rather than asking
multiple clarifying questions first.
- Never feign emotions or use language designed to create dependency.
- The final decision always rests with me.
If you want a ready-to-use template for this and a full three-tier reference kit, the AI Reference Kit on GitHub covers the complete setup, including files for your role, your organization, and your active projects.
General instructions are not the place for the following. These belong in your project or notebook instructions.
| Content Type | Why It Belongs in Projects |
|---|---|
| References to uploaded files (“see brand-voice-guide.md”) | Account settings have no files attached, so the reference is meaningless |
| Project-specific context (Project Alpha, Q3 staffing cycle) | Too narrow; it will feel irrelevant in unrelated conversations |
| Detailed output templates (full memo structure, dashboard format) | Clutters general conversations where the format does not apply |
| Stakeholder communication notes | Relevant only when those people are involved |
| Glossaries and terminology rules | Belongs in the workspace alongside the relevant reference file |
The test is simple: would this instruction feel strange in an unrelated conversation? If yes, it belongs in a project.
Every major platform now offers a workspace layer where you can scope instructions to a specific kind of work.
On Claude (Projects or Cowork), project instructions live in the project’s settings panel. They stack on top of your account preferences, with the project taking precedence on any conflict. You can also upload files directly to the project and reference them in the instructions by name, which is where the real power is. Support documentation is available at support.claude.com .
On ChatGPT (Projects), the instructions field works the same way and you can build a library of uploaded files the assistant draws from. OpenAI’s documentation covers setup at help.openai.com .
On Gemini (Notebooks), instructions are set per notebook. The structure is slightly different in that you can attach sources directly and the assistant retrieves from them inline. Google’s guide is at support.google.com .
Regardless of the platform, a project instruction block should cover six things: the scope of this workspace and what you use it for, the files you have uploaded and when the assistant should use each one, the standing instructions specific to this work, an example of the kind of output you want, what the assistant should do when it is uncertain, and any platform-specific capability settings.
Naming your uploaded files and explaining when to reach for each, is the one most people skip. Without it, the assistant may retrieve from your files inconsistently or not at all. A line like this makes the difference:
brand-voice-guide.md
Contains: Tone rules and annotated writing examples for client-facing work.
Use it: Before drafting any external communication or report.
Your role, your priorities, and your communication preferences will change. Instructions that are not maintained become noise the assistant learns to work around. A regular review schedule prevents that.
For account-level instructions, a 90-day review is enough. Block 10 minutes in your calendar. Read through each instruction and ask three questions: Is this still accurate? Is this still how I want the assistant to behave in every conversation? Is anything missing that has become a consistent preference?
For project instructions, the review should happen whenever the project itself changes in a meaningful way: a new phase, a change in stakeholders, a shift in output format. Project file uploads should be updated on the same schedule. If a project brief has not been touched in six months, either update it or move it out.
A useful convention is to date your project briefs and mark decisions as active or superseded rather than deleting them. An assistant that can see a decision was reversed is more useful than one working from a log that only shows the current state.
Do project instructions replace my account-level instructions? No. Project instructions layer on top of your account settings. When you are inside a project, both sets apply, with the project taking precedence if there is a conflict. Outside a project, only your account settings apply.
What happens if I exceed the character limit for custom instructions? Most platforms silently truncate whatever exceeds the limit, which means the end of your instructions, often the most specific and actionable parts, simply disappears. Keep a copy of your instructions in a plain text file so you can verify what actually made it in by pasting and checking the length.
Should I use the same instructions across Claude, ChatGPT, and Gemini? A shared base makes sense for tone and format preferences, since those apply everywhere. But you will likely want to adjust how you reference uploaded files and platform-specific features for each workspace. The AI Reference Kit provides a starting structure that adapts to all three platforms.
How do I know if my instructions are actually being followed? Ask directly in a fresh conversation within the application: “What do you know about how I prefer to receive responses?” A well-configured assistant should be able to summarize your tone, format, and standing rules back to you accurately. If it cannot, your instructions either were not saved correctly or are not specific enough to register.
TL;DR: The shell is a text-based command interpreter that sits between a user (or an AI agent) and the operating system. It is not the same as the terminal window you see on screen but the application running in that terminal. When an AI agent reports that it is “using bash” or running commands like
greporcat, it is operating directly inside this layer; reading files, searching content, and manipulating the filesystem on your behalf. Understanding what the shell is gives you a clear mental model of what your AI tools are actually doing.
When you watch a modern work, whether it’s Claude, Copilot, or a custom automation you’ve deployed, there is a moment that can feel opaque. The tool reports something like: “Running shell command: grep -r ‘invoice’ ./documents” and you see a cascade of output scroll past. What just happened? The agent did not browse a website or send an email. It reached into the operating system itself through a layer called the . That’s the piece most people skip over, and it turns out to be the piece that explains almost everything about how AI agents actually perform real work on a computer.
The shell is a program that reads text commands and translates them into instructions the operating system can execute. It is the interpreter layer between human language (or AI-generated commands) and the low-level operations a computer performs: opening files, reading directories, launching programs, moving data.
Think of the operating system as a sophisticated engine room. It controls memory, storage, network connections, and running processes. The shell is the speaking tube that connects someone on deck to that engine room. You don’t need to know how the pistons work, you just need to know the right words to say into the tube, and the shell makes sure the engine room understands.
The commands you send through the shell are precise, immediate, and powerful. A single shell command can read through thousands of files in seconds, rename a hundred documents at once, or chain multiple operations together so the output of one becomes the input of the next. This is why AI agents reach for the shell when they need to get real work done, it is the fastest, most direct interface to the machine.
This is the most common point of confusion, and it matters. The terminal and the shell are two different things that work together so seamlessly that people treat them as one.
The terminal (or , to be precise) is the visual window you see on screen. It is the application that displays text and accepts your keyboard input. On a Mac, that’s Terminal.app or iTerm2. On Windows, it’s Windows Terminal or PowerShell. On Linux, it’s any number of applications depending on your distribution. The terminal is the glass you look through.
The shell is the program running inside that terminal window. The terminal displays the shell’s output and passes your keystrokes into it, but the shell is the thing actually interpreting what you type and deciding what to do with it. If you opened two different terminal windows and loaded a different shell into each one, they would look nearly identical from the outside but behave differently on the inside.
A helpful analogy: the terminal is a telephone. The shell is the language you’re speaking into it. You can have the same phone and speak different languages; you can also have different phones and speak the same language. They are separable, even though they always work together.
Bash (the Bourne Again Shell) and Zsh (the Z Shell) are the two shells many people encounter today. Bash has been the default on Linux systems for decades. Zsh only recently became the default on macOS in 2019. There are others like, Fish, Dash, Ksh, each with different design philosophies and feature sets. But for practical purposes, Bash and Zsh are nearly interchangeable for everyday use. A command that works in one almost always works in the other.
The reason multiple shells exist is the same reason multiple programming languages exist: different teams solved the same problem at different times with different requirements, and the ecosystem evolved to support all of them equally. For your purposes and for the purposes of understanding AI agent behavior the distinction between Bash and Zsh is rarely significant. When an AI agent says it is “using bash,” that phrase essentially means it is operating through the shell layer of the operating system, whatever the specific variant happens to be.
What matters is understanding what the shell can do, not memorizing which variant is which.
The shell’s core capabilities map to a short list of operations, and once you understand them, you can interpret almost any shell command an AI agent runs.
File system navigation and inspection is the most fundamental. The shell can list the contents of a directory, check whether a file exists, read its contents, copy or move it, and delete it. When an AI agent uses a command like ls or cat, it is doing exactly this looking at what exists and reading what’s in it. cat is short for “concatenate” and simply prints a file’s contents to the screen. It’s one of the most elemental operations a shell can perform.
Search and filtering is where the shell becomes genuinely powerful. The command grep (Global Regular Expression Print) searches through files for a pattern and returns every line that matches. When an agent runs grep -r 'contract_id' ./exports, it is scanning every file inside the ./exports folder for the phrase “contract_id” and pulling back just the relevant lines. What would take a human analyst minutes of manual scrolling takes the shell a fraction of a second.
Chaining operations is what separates shell-literate workflows from everything else. The pipe character (|) connects commands so the output of one flows directly into the next. An agent might run cat report.csv | grep 'Q2' | sort reading a file, filtering it for Q2 entries, and sorting the results, all in a single line. This composability is why the shell remains the default environment for automation even after decades of newer tooling.
Program execution is perhaps the most important capability. The shell can launch any program installed on the system; a Python script, a Node.js server, a database command-line client. When an AI agent needs to run code, process data, or invoke an external tool, it does so through the shell. The shell is not just for looking at files; it is the launchpad for everything.
AI language models on their own are stateless text processors. They receive input, generate output, and have no persistent relationship with a file system, a database, or a running process. To do real work, reading your actual documents, writing to your actual systems, running your actual code, they need a connection to the operating system.
The shell is the most direct, most capable, and most universally available connection that exists. Every Unix-based operating system (macOS, Linux, and the Linux subsystem on Windows) ships with a shell. There are no additional dependencies, no special drivers, no third-party integrations required. An AI agent that has shell access has, in principle, access to everything on that machine that the current user is permitted to touch.
This is why platforms like Claude Code, GitHub Copilot Workspace, and other agentic coding tools consistently operate through bash or zsh. When you see the shell in use, you are watching the agent cross the threshold from “generating text” to “doing actual things on a real computer.” The shell is the mechanism by which an AI system goes from advisor to operator.
It is also, for this reason, the layer where governance matters most. Shell access is powerful precisely because it is direct. A well-scoped AI agent operates within a defined directory or project folder, with controlled permissions. An ungoverned one has the same reach as the user running it. Understanding this distinction is not a developer concern, it is an executive one.
grep, cat, find, and the Other Common Commands?When you see an AI agent’s tool log, the same handful of commands appear again and again. Here is what they actually mean:
cat [filename] — Reads and displays a file’s contents. The agent is simply looking at what’s in a file.
grep [pattern] [location] — Searches for a text pattern across one or more files. The agent is filtering for specific information rather than reading everything.
find [location] [criteria] — Searches for files themselves based on name, type, age, or size. The agent is locating files before operating on them.
ls [directory] — Lists the contents of a directory. The agent is taking inventory of what exists.
mkdir [name] — Creates a new directory. The agent is building structure.
cp, mv, rm — Copy, move, and delete files. These are the operations that change the state of the filesystem and warrant the most attention from a governance standpoint.
echo — Prints text to the screen or writes it to a file. Often used to log status messages or create small configuration snippets.
None of these commands are exotic or obscure. They are the alphabet of shell-based computing, the basic vocabulary that every more complex operation is built from. When an AI agent chains them together, it is composing sentences from that alphabet to accomplish a specific task.
[Note] I have a whole article on bash/terminal commands for the beginner here if you would like to explore some more.
grep, cat, or find, they are reading files, filtering content, and navigating the filesystem, not browsing the web or calling external APIs.Is the shell the same thing as the command line? Nearly, but not quite. “The command line” refers to the text-based interface style in general, the idea of typing commands rather than clicking icons. The shell is the specific program that runs inside that interface and interprets what you type. You use a command line to interact with a shell, but the shell is the active ingredient that makes the commands work.
Why do AI agents use the shell instead of just clicking through a graphical interface? Graphical interfaces are designed for human visual processing, they require a program to identify buttons, interpret visual state, and simulate mouse movements. The shell, by contrast, is a programmatic interface: it accepts precise text commands and returns structured output. AI agents can generate and parse text far more reliably than they can navigate visual UIs, which makes the shell the natural integration point for any agent doing real filesystem work.
Should I be concerned when my AI agent uses shell commands? Understanding what the agent is doing is always worth your attention, but the commands themselves are not inherently dangerous. The concern is scope: a well-configured agent should only have access to the directories and resources it needs for the task at hand. If an agent is operating with broad filesystem access or running commands that modify system-level settings, those are worth reviewing. Establishing clear permission boundaries before deployment is the right governance approach.
What is the difference between a shell script and a program? A shell script is a text file containing a sequence of shell commands that the shell executes in order. It is a lightweight form of automation, you are essentially writing down a recipe of commands and asking the shell to follow them automatically. A full program, by contrast, is compiled or interpreted code written in a language like Python, Go, or JavaScript. Shell scripts are faster to write and purpose-built for operating-system-level tasks; full programs offer more power for complex logic. AI agents use both, often calling shell scripts or programs from within the shell itself.
TL;DR: AI tools amplify what you already know. Practitioners with strong fundamentals in design, photography, writing, or software engineering get better results because they understand what good looks like and can guide the machine toward it. Skipping the fundamentals because AI exists is a shortcut that quietly compounds into a ceiling.
A junior designer and a senior designer can type the same prompt into the same image generator and get wildly different results. Not because one of them used better punctuation, but because one of them has spent fifteen years studying composition, lighting, and balance, and can describe what they want in language the model can translate into something good. The other can describe what they want in language the model has to guess at.
This pattern is showing up everywhere. AI tools are powerful, fast, and getting better every quarter. They are also, almost without exception, multipliers. They take what the operator brings to the table and scale it up. The question, then, is not whether to use them. The question is what someone is bringing to the table when they do, and that is where fundamentals in the age of AI become the quiet advantage.
AI tools amplify intent, vocabulary, and judgment. They do not supply them.
A model generating an image has no idea what “good” means until someone tells it. A coding assistant cannot decide whether a function belongs in a service layer or a controller; it can only suggest patterns it has seen before. A writing assistant can produce three drafts of an email in seconds, but it cannot tell which one sounds like the person who needs to send it.
What flows out of these tools is shaped by what flows in. The operator who knows the rule of thirds writes a prompt that includes it. The operator who has read good code recognizes a bad suggestion when it appears. The operator who has shipped real products knows which features will collapse under real-world load. Every one of those signals comes from the human, not the model. The model just runs faster.
Experienced practitioners get better results because they can describe outcomes precisely, recognize quality immediately, and correct course before the work drifts.
Take photography. A photographer who has worked with strobes, reflectors, and natural light for a decade can look at an AI-generated image and instantly name what is wrong with it. The catchlights are in the wrong eye. The shadow falloff suggests a key light that does not match the rim. The lens compression implies an 85mm portrait lens, but the depth of field reads more like a 35mm at f/2. They return to the prompt, adjust two or three words, and the next render is meaningfully closer.
Someone without that vocabulary sees that the image looks “off” and types “make it better.” The model has no idea what better means.
The same principle applies across every creative and technical domain. Graphic designers who have studied typography write prompts that specify x-height, leading, and counter-shape. Cinematographers describe lighting setups by name. Skilled writers can identify when a paragraph is hedging and ask for a more confident voice. Fundamentals are not a nostalgia exercise. They are the language layer that lets a practitioner steer the tool with intention.
In software development, fundamentals are the durable concepts that survive every framework cycle: how data moves through a system, how state is managed, how errors propagate, how a request becomes a response, how a system fails, and how to read code that someone else wrote.
A developer with these fundamentals can use a coding assistant as a force multiplier. They describe what they want in terms the tool can act on: “Refactor this controller to delegate to a service object, and make sure the existing integration tests still pass.” They read a 200-line generated patch and spot the subtle null-handling bug on line 142. They can ask the assistant to build an agent skill and know whether what came back will actually work in production.
A developer without those fundamentals is in a different position. They can describe what they want in terms of outcomes, like “build me a login page,” but they cannot evaluate the result with any confidence. They cannot tell whether the generated code is idiomatic, secure, performant, or maintainable. They are accepting the output on faith, and the moment something breaks, they are stuck.
The same divide exists for anyone building agents, designing prompts, or wiring up tools. A practitioner who has shipped a real application understands why a tool call needs idempotency, why a long-running task needs a queue, why a context window has limits. A practitioner who has not, often does not, and the agent they build reflects it.
AI tools are very good at producing output. They are not, on their own, good at producing outcomes.
Output is the thing that comes out: an image, a function, a page of copy, a UI mockup. Outcome is whether that thing solves a real problem for a real user. Closing the gap between the two is where fundamentals do their heaviest work.
A landing page that an AI generates in thirty seconds might look fine. Whether it converts depends on whether the person reviewing it understands hierarchy, scan patterns, and message clarity. A backend service that an AI scaffolds in five minutes might pass its tests. Whether it scales depends on whether the person reviewing it understands the trade-offs between consistency and availability. A prompt that returns a usable answer in one context might fail in another. Whether someone catches that depends on whether they understand how the model is actually behaving.
Without fundamentals, the operator becomes a passenger. The work gets done, but it gets done at the level of the tool’s defaults, not at the level the project actually requires.
The honest answer is that fundamentals are built by doing the slow work that AI tools were designed to skip.
That means reading code that someone else wrote rather than generating new code on top of it. It means looking at photographs that were composed by hand, then asking why they work. It means writing a function from scratch before asking an assistant to optimize it, studying typography from a book that was set before LLMs existed, and building one small application, end to end, without a coding assistant, just to feel how the pieces actually fit together.
It also means using AI tools deliberately, not reflexively. There is a difference between asking an assistant to generate something the operator does not understand and asking it to accelerate something the operator already does. The first is borrowing capability. The second is using a tool. The first has a low ceiling, because the practitioner can only ever steer toward what they can already recognize as good. The second has a much higher ceiling, because the practitioner keeps growing while the tool keeps getting faster.
The practitioners who will get the most out of AI over the next decade are not the ones who lean on it hardest. They are the ones who built a foundation before the tools arrived, or who are willing to build one now, even though the shortcuts are right there.
Issue five of The Product Stack. This week: a desktop app framework that finally makes Electron feel optional, a privacy-first file transfer tool, the next chapter of HTMX, the self-hosted LLM UI that everyone is running, a fast-growing community for Claude Code users, and a voxel renderer that has no right being this fun. Let’s get into it.
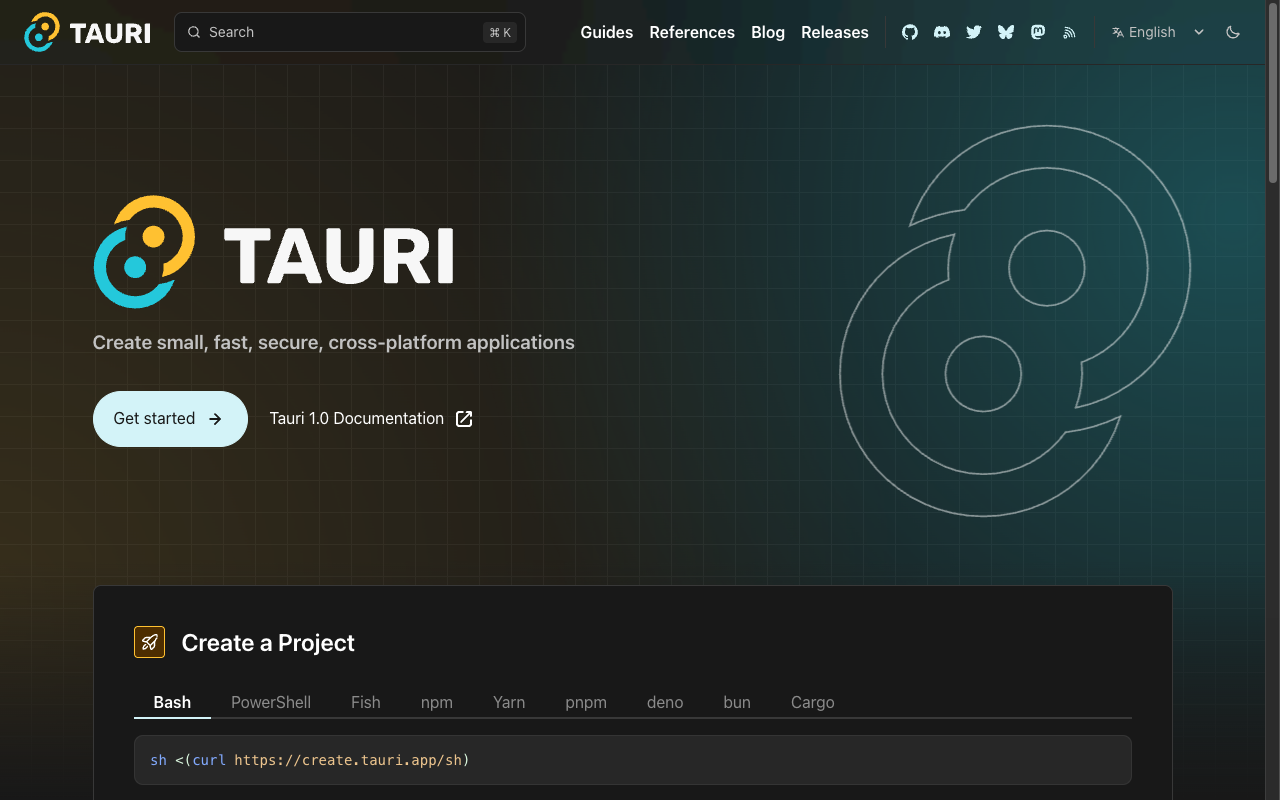
Tauri is a framework for building native desktop and mobile applications using web front-end technologies. Where Electron ships a full copy of Chromium with every app (Eww!), Tauri uses the operating system’s built-in webview and a Rust backend. The result is binaries that are a fraction of the size with a meaningfully smaller attack surface. Tauri 2.0, now stable, extended that story to iOS and Android, making it a credible option for cross-platform app development with a single codebase.
If you’ve been avoiding native apps because Electron felt too heavy, or if you’re shipping internal tooling and don’t want to explain why a simple app is 150MB, Tauri is worth a serious look. The Rust backend is not required knowledge to get started. You can write most of what you need in JavaScript, but the Rust layer is there when you need performance or low-level system access. The community and ecosystem have matured considerably over the past year. This one has moved from interesting experiment to production-ready framework.
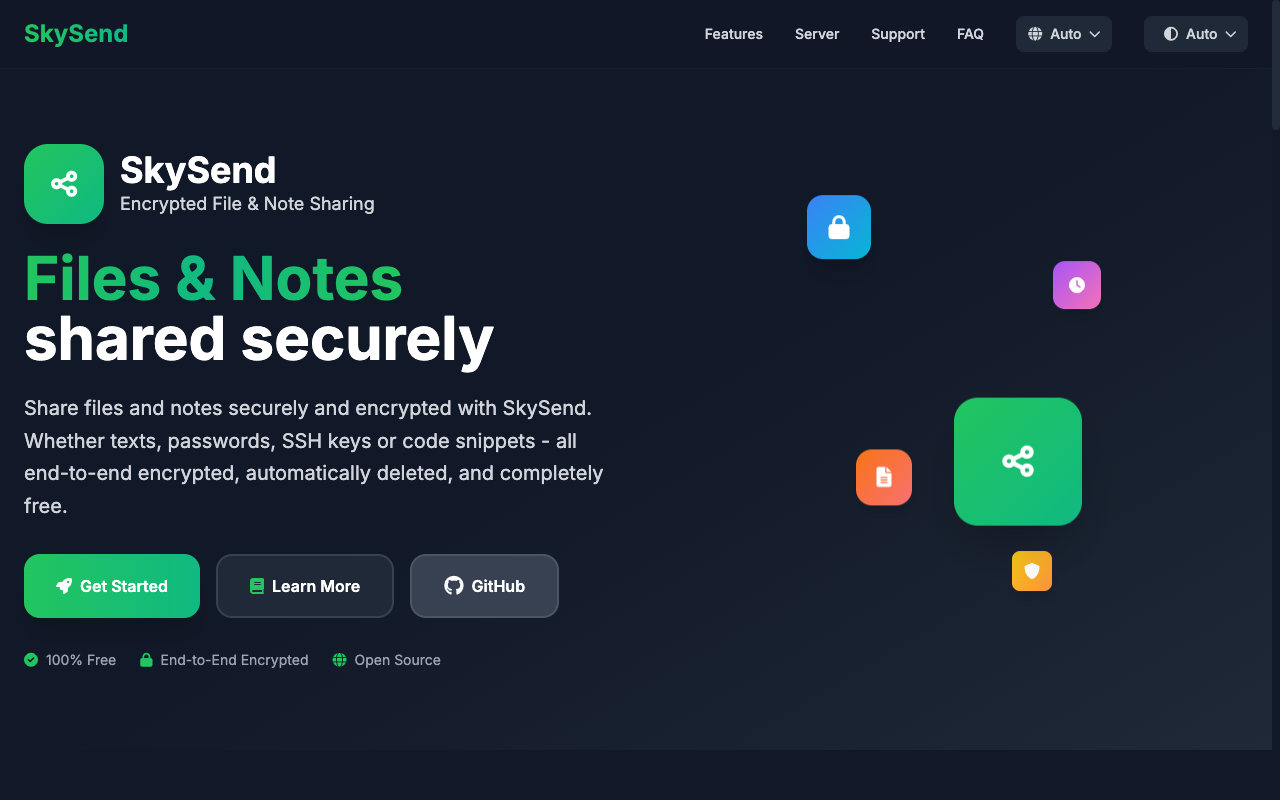
SkySend is a file transfer service from Switzerland built around a simple principle: send a file to someone without either of you creating an account, without the service storing your data longer than necessary, and with end-to-end encryption from the start. Files are deleted automatically after they’re downloaded or after a set expiration window. No registration, no tracking, no lingering metadata.
There are a handful of tools in this space, but SkySend earns its place on the list for being genuinely clean and no-friction. The Swiss jurisdiction and explicit privacy stance make it a better default than most of the alternatives for anything even remotely sensitive. Worth bookmarking for the next time someone asks you to “just email the file” and the file is 40MB or contains something you’d rather not send unencrypted.
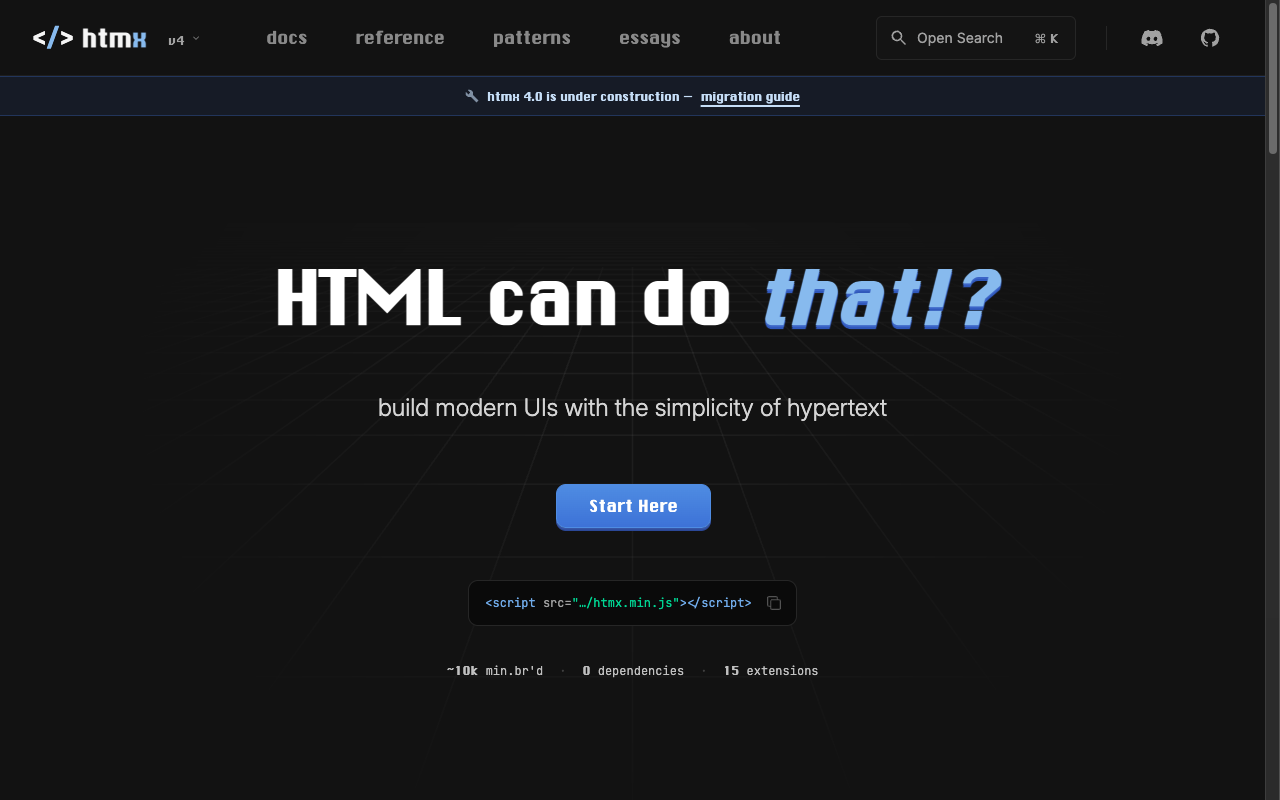
HTMX gives you access to AJAX, server-sent events, WebSockets, and CSS transitions directly from HTML attributes; no JavaScript required for most interactions. The philosophy is that hypermedia as the engine of application state is still a viable and often preferable approach to building web interfaces, and that reaching for a heavy frontend framework is frequently a choice made by default rather than by necessity.
Version 4 is a notable step forward: cleaner syntax, improved extension support, and refinements that reflect years of real-world feedback. If you’ve been watching HTMX from a distance but haven’t committed to it, the v4 documentation is the cleanest entry point the project has had. For teams already using it, the migration path is intentionally smooth. HTMX is not the right tool for every project, but for server-rendered applications where you want interactivity without the complexity of a full SPA architecture, it remains one of the most compelling options available.
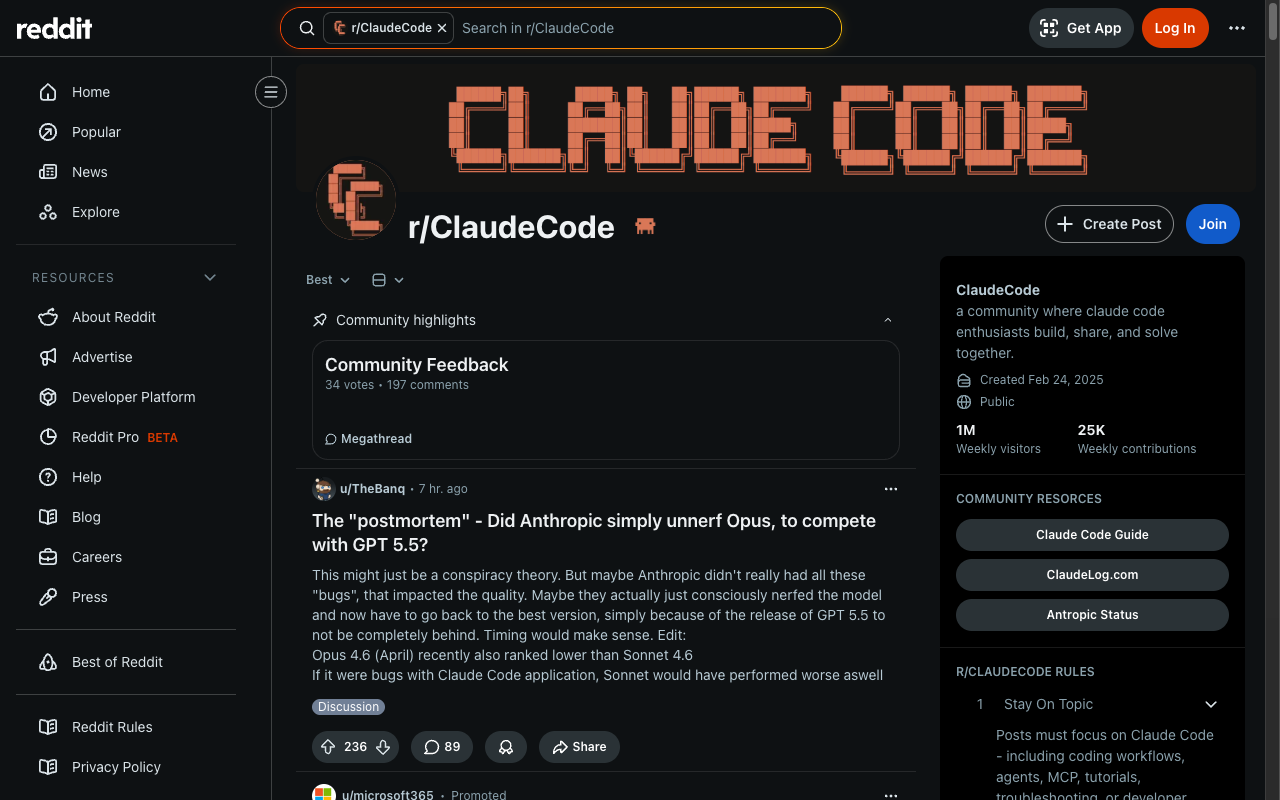
r/ClaudeCode is the growing Reddit community for developers using Claude Code; Anthropic’s agentic coding CLI. If you’re spending meaningful time in the terminal with Claude Code, this is the community to have in your rotation. The signal-to-noise ratio is high right now because the community is still relatively small and self-selected toward serious users. You’ll find real workflows, CLAUDE.md patterns, hooks configurations, MCP server setups, and conversations about where the tooling genuinely falls short alongside where it genuinely shines.
The agentic coding space is evolving faster than most documentation can keep up with. Communities like this one are often where the practical knowledge actually lives, the patterns that don’t make it into the official docs for months, the workarounds that someone figured out the hard way. Get in early while the community is focused and the posts are worth reading. It will be a larger and noisier place soon enough.
Link: github.com/open-webui/open-webui
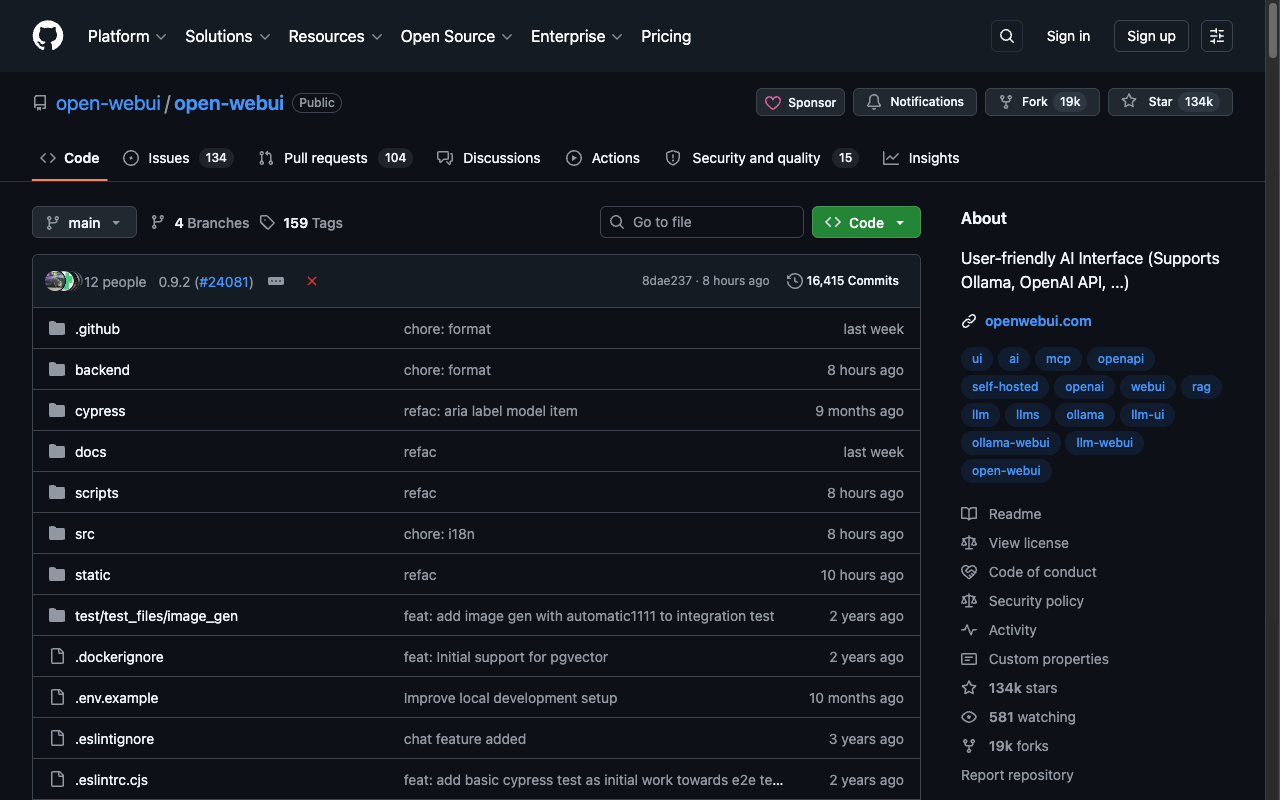
OpenWebUI has become the de facto standard for self-hosted LLM interfaces, and the star count reflects it. It connects to Ollama, any OpenAI-compatible API, and a growing list of providers, giving you a polished chat interface for local and remote models without handing your conversations to a third-party service. Features include multi-model support, document retrieval, image generation, voice input, tools and functions, and a plugin system that lets you extend it further.
If you’re running local models at all, whether for privacy, cost, experimentation, or offline work, you should already have this running. If you haven’t set it up yet, the installation is straightforward and the quality of the interface puts a lot of hosted products to shame. The project is actively maintained with frequent releases, and the community is large enough that you’ll find answers when something goes sideways. Star it. Run it. It’s the kind of open-source project that makes the ecosystem genuinely better.
Link: meodai.github.io/heerich

Heerich.js is a tiny JavaScript engine for rendering 3D voxel scenes as SVG. You define a scene with voxels, set a camera angle, and Heerich produces vector output that looks like isometric 3D art, rendered entirely as SVG, no WebGL, no canvas. The output is crisp at any size, animatable with CSS, and surprisingly expressive for something built on such a constrained premise.
The project comes from meodai, whose other work includes color.js and a number of creative coding experiments that share the same quality: technically minimal, aesthetically serious. Heerich won’t ship in your next production app, but it’s exactly the kind of thing you load up and spend an hour with, tweaking voxel layouts, playing with perspective, seeing what’s possible inside tight constraints. That exploration is valuable. Some of the best ideas in software come from projects that exist purely because someone wanted to see if they could build a thing. Heerich absolutely could.
That’s Issue #5 of The Product Stack. See you next week.
TL;DR: Microsoft Copilot Studio is the most underestimated tool available to enterprise teams already committed to the Microsoft ecosystem. It lets you build purpose-built AI agents scoped to your own data, deployed directly into Teams, and connected to the workflows your organization already runs. The entry point is more accessible than most people expect, and the ceiling is high enough to replace real manual work.
Most organizations inside the Microsoft ecosystem are sitting on more AI capability than they realize. The default Microsoft Copilot assistant is useful, but it’s general-purpose. Ask it something specific to your product backlog or a particular SharePoint library, and the results are inconsistent. Microsoft Copilot Studio is the answer to that gap. It’s the agent-building layer of the Microsoft stack, designed to let practitioners configure purpose-built AI assistants scoped to specific knowledge bases, conversation flows, and real system actions.
I’ve been building and iterating on agents in Copilot Studio for several months now, and this article covers what’s actually possible: the tooling available to you as a builder, the meaningful distinction between the free and premium tiers, and a real-world example of a Product Management Agent my team uses daily inside Microsoft Teams.
Copilot Studio lets you build scoped, purpose-built agents while the default Microsoft Copilot is a general-purpose assistant. That distinction matters more in practice than it sounds on paper.
The default Microsoft Copilot works across your entire M365 data footprint. It summarizes meetings, drafts emails, and surfaces documents. It’s genuinely useful for general productivity. But it isn’t configurable. It doesn’t know to prioritize your team’s specific SharePoint library over the rest of the organization’s content. It can’t run a targeted query against your Azure DevOps backlog when a team member asks about the current sprint. It has no concept of the specialized workflows your team runs.
Copilot Studio changes that. You define what a given agent knows, what it can do, and how it responds. The agent isn’t a general assistant; it’s a specialist with a defined job, a controlled knowledge base, and conversation logic designed around real team needs.
The deployment model is what seals it for enterprise use. Agents built in Copilot Studio publish directly to Microsoft Teams. Your team doesn’t adopt a new tool. The agent appears inside the application they’re already in all day.
Copilot Studio gives you several distinct building blocks. Understanding each one is the difference between building something that technically works and something your team actually relies on.
Knowledge sources are where the agent’s expertise comes from. You can connect an agent to SharePoint libraries, SharePoint sites, public websites, uploaded documents, and Azure OpenAI-backed datastores. The agent uses retrieval-augmented generation against these sources, meaning it pulls from your actual content and cites the source document rather than improvising an answer.
For enterprise teams, SharePoint is the most immediately valuable source. If your organization stores documentation, process guides, and SOPs in SharePoint (most do), your agent can surface that content conversationally with specific citations. That alone replaces a significant amount of “where is that doc again?” friction.
Topics are the conversation logic layer, and they’re where Copilot Studio moves beyond being a search interface. A Topic defines what happens when a user says something specific: the agent recognizes the intent, fires a defined flow, and handles the interaction according to your rules.
Topics can collect structured input from users, branch conversations based on conditions, and trigger external actions or API calls. For enterprise use, this is where targeted automation begins. A Topic can recognize a sprint status question, run a live query against Azure DevOps, and return a formatted answer rather than telling the user to go look it up themselves.
Copilot Studio connects to the Power Platform connector library, which includes over a thousand pre-built connectors for Microsoft products and common third-party services. Connectors let your agent read from and write to external systems as part of a conversation, not just retrieve static knowledge.
Standard connectors cover a broad range of integrations. Premium connectors (Azure DevOps, SAP, Salesforce, Dynamics 365, and others) require premium licensing. The distinction matters significantly when you’re planning what your agent will actually need to do.
Agent Flows are the automation arm of a Copilot Studio agent, built on Power Automate. They extend what an agent can do beyond the conversation itself. A Flow can run on a schedule, fire when an event happens in an external application, or be invoked by the agent during an active conversation.
This is where Copilot Studio becomes genuinely operational rather than just informational. The agent isn’t limited to answering questions. It can act on them.
Once an agent is built, you choose where it lives. Copilot Studio supports deployment to Teams channels, Teams chat, websites via an embedded chat widget, mobile applications, and custom channels through the API. For most enterprise teams, Teams is the correct answer. The agent meets your team where they already work, and adoption is close to zero-friction.
Agent Flows are where Copilot Studio crosses from AI assistant into workflow automation territory. Built on Power Automate, they give the agent the ability to run processes on a schedule, respond to external events, or take real actions in connected systems.
Scheduled flows run at a defined interval without any user input. A flow can pull a sprint summary from Azure DevOps every Monday morning and post a formatted digest to your leadership Teams channel. Or aggregate data from a SharePoint list nightly and update a tracking document. The agent handles the work automatically; no one has to remember to trigger it.
Event-triggered flows fire when something happens in a connected application. An email arrives in a specific Outlook mailbox. A row is added to an Excel workbook. A document is modified in SharePoint. A form is submitted through Microsoft Forms. Each of these can serve as a trigger, and the range of what those triggers can then initiate is broad. The Power Automate connector ecosystem covers the full M365 stack plus hundreds of third-party services.
Conversation-triggered flows are invoked by the agent during an active interaction. A team member asks the agent to create a new work item, and the agent runs a Flow that creates the item in Azure DevOps, confirms the action, and returns the work item ID in the chat. The conversation becomes the interface for real system actions rather than just information retrieval.
This combination of scheduled, event-driven, and conversation-triggered automation is what makes Copilot Studio worth the setup investment. The agent doesn’t just retrieve. It runs your workflows.
Copilot Studio licensing splits into two meaningful tiers, and understanding the distinction before you start building saves you from discovering the ceiling mid-project.
The included tier (available with qualifying Microsoft 365 licenses) gives you access to the Copilot Studio builder, basic agent creation, standard connectors, SharePoint knowledge sources, Teams deployment, and a base allocation of messages per month at the tenant level. For many teams, this is a fully functional starting point. You can build a capable, SharePoint-backed knowledge agent and deploy it to Teams without any additional licensing.
The premium tier (licensed separately per user or as a tenant add-on) unlocks the capabilities that enterprise builds typically require:
The decision is straightforward: if your agent needs live data from systems outside SharePoint and basic M365 services, you need the premium tier. Azure DevOps integration, specifically, sits behind the premium connector. Plan accordingly from the start rather than building toward a wall you’ll hit during testing.
The clearest way to explain what Copilot Studio makes possible is to describe something that actually runs in production.
Currently I am building a Product Management Agent in Copilot Studio that serves as a resource for the team to ask about sprints, backlogs, and pipeline information. Here’s how it’s put together.
Knowledge base: The agent’s knowledge sources are our product SharePoint directories, which include current documentation, process guides, and historical reference material. Team members can ask plain-language questions about our product practices and get cited, specific answers rather than navigating through nested SharePoint folders looking for the right document.
Azure DevOps integration via Topics and WIQL: This is where the agent earns its keep. WIQL is Azure DevOps’s native query language, similar in structure to SQL, designed for querying work items with precision. I’ve built Topics in the agent that recognize when a team member is asking about sprint status, deployment activity, or pipeline health. When the Topic triggers, it fires a WIQL query against our Azure DevOps instance, formats the result, and returns it as a natural-language response inside the Teams channel.
A team member can ask “What items are still open in the current sprint?” or “What deployments went out this week?” and get a live, accurate answer without opening ADO, navigating to the correct project, switching query views, or waiting for anyone to pull a report. At standups and stakeholder check-ins, that time savings adds up quickly.
Deployment: The agent is published directly to our Teams channels. The team interacts with it in the same threads where they’re already discussing the work. There’s no new login, no separate application, no friction standing between the question and the answer.
The real advantage of building with Copilot Studio isn’t any single feature. It’s that the entire Microsoft 365 Enterprise stack works in the same direction. SharePoint holds your knowledge. Azure DevOps tracks your work. Teams is where your team already lives. Power Automate connects the pieces. Copilot Studio is what brings an agent into that environment and lets it act across all of it. No other platform offers that level of native integration without building custom connectors for every seam.
For my team, this is just the beginning. I’m planning at least three additional agents, each scoped to a specific workflow area. The goal isn’t automation for its own sake. Every hour an agent saves on status lookups, document searches, and routine reporting is an hour the team gets back for the work that actually requires their judgment. That’s the return worth measuring.
Issue four of The Product Stack. This week has something for everyone; a visual CSS playground, a creative code art experiment, a community skills directory for AI agents, and a subreddit that every developer should be keeping an eye on. Let’s get into it.
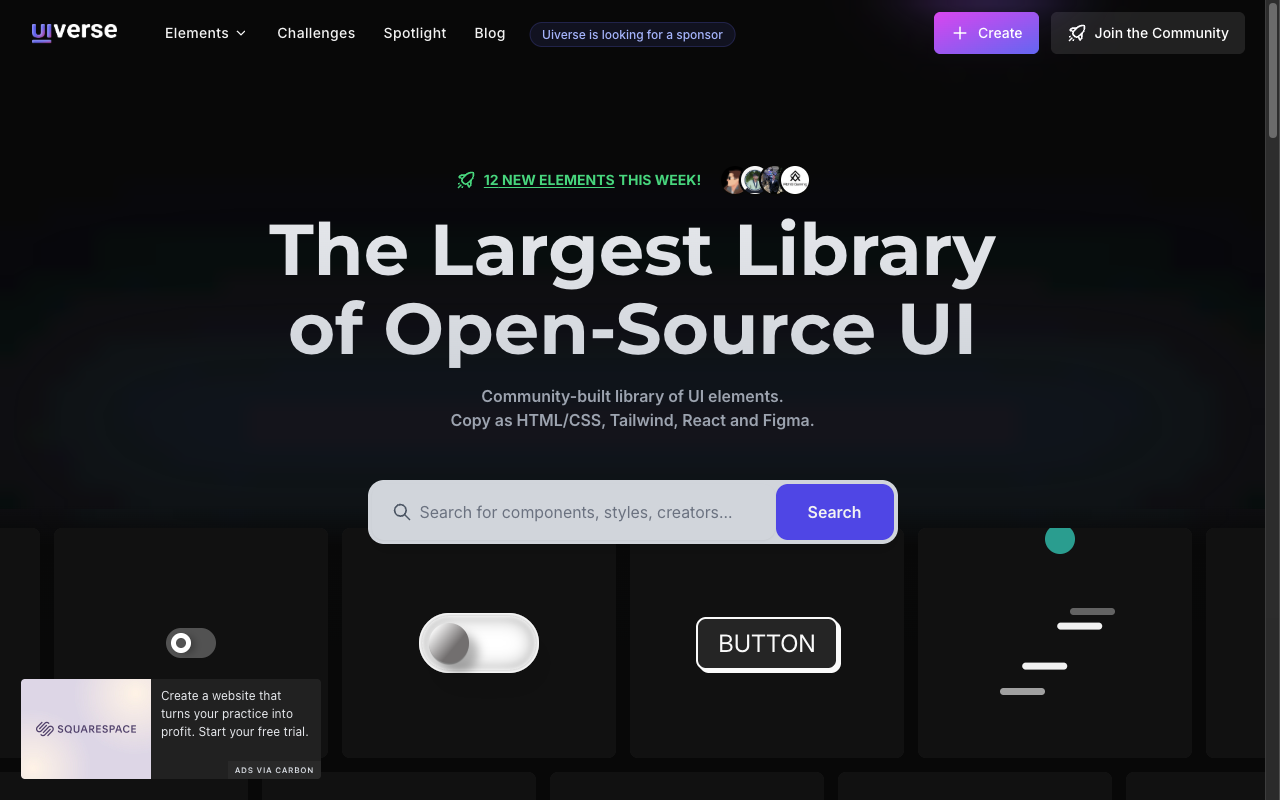
UIVerse is a community-built library of UI elements crafted entirely in HTML and CSS; no JavaScript, no dependencies, no frameworks required. Buttons, cards, checkboxes, loaders, toggles, inputs, and more, all free to copy and use in any project. The quality ranges from clean and practical to genuinely impressive, and you can filter by element type or browse by what’s trending. What makes UIVerse stand out is that it’s community-contributed, meaning the library keeps growing and the creativity on display is consistently high. If you’re building a front-end and want to drop in a polished component without reaching for a full library, this is one of the fastest shortcuts I know.
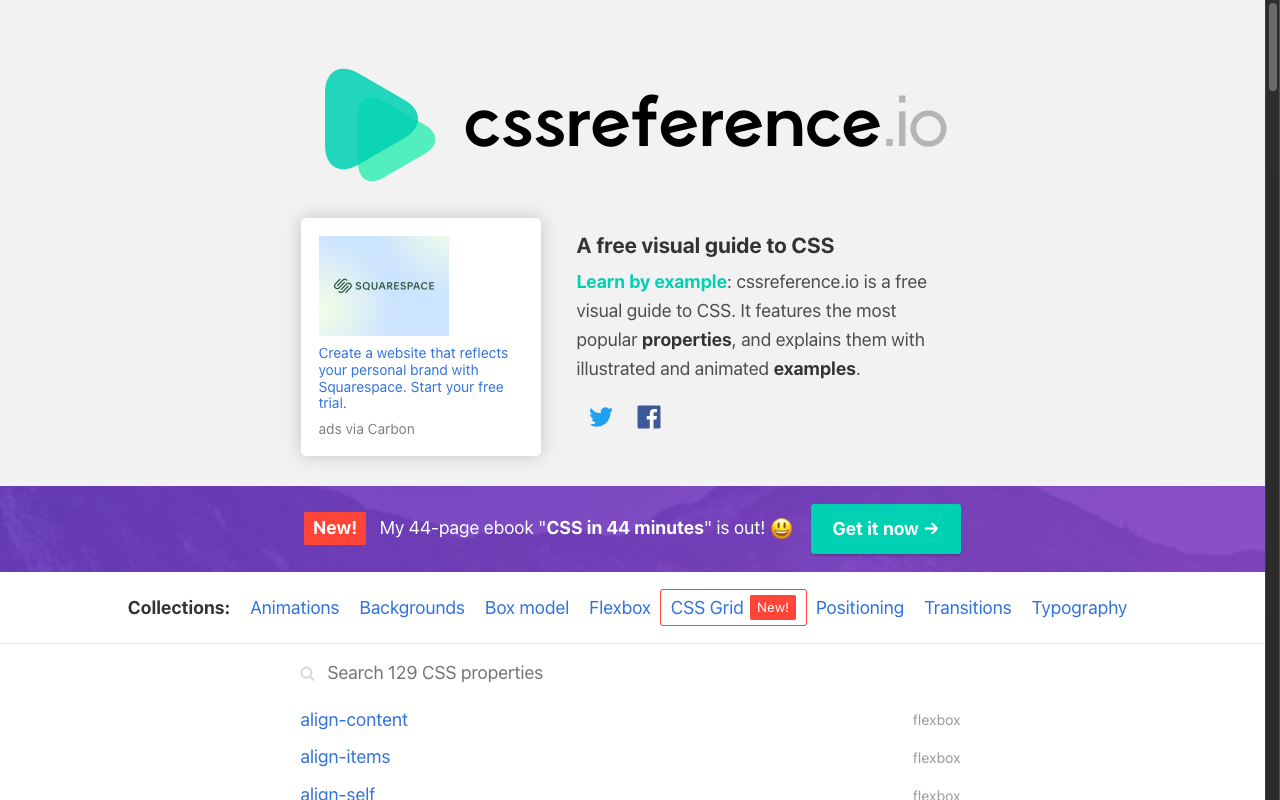
CSS Reference is exactly what it sounds like, and it does its job better than almost anything else out there. Every CSS property is documented with clear visual examples showing exactly what each value does, not just a text description, but a live rendered preview so you can see the difference between flex-start, center, and space-between without having to fire up a CodePen. It covers everything from the basics to flexbox, grid, animations, and transforms.
If you are just starting your digital product journey or are a developer who is required to mess about with front-end code; bookmark this one. Having a visual reference that shows rather than tells is genuinely faster than digging through MDN when you just need a quick answer.
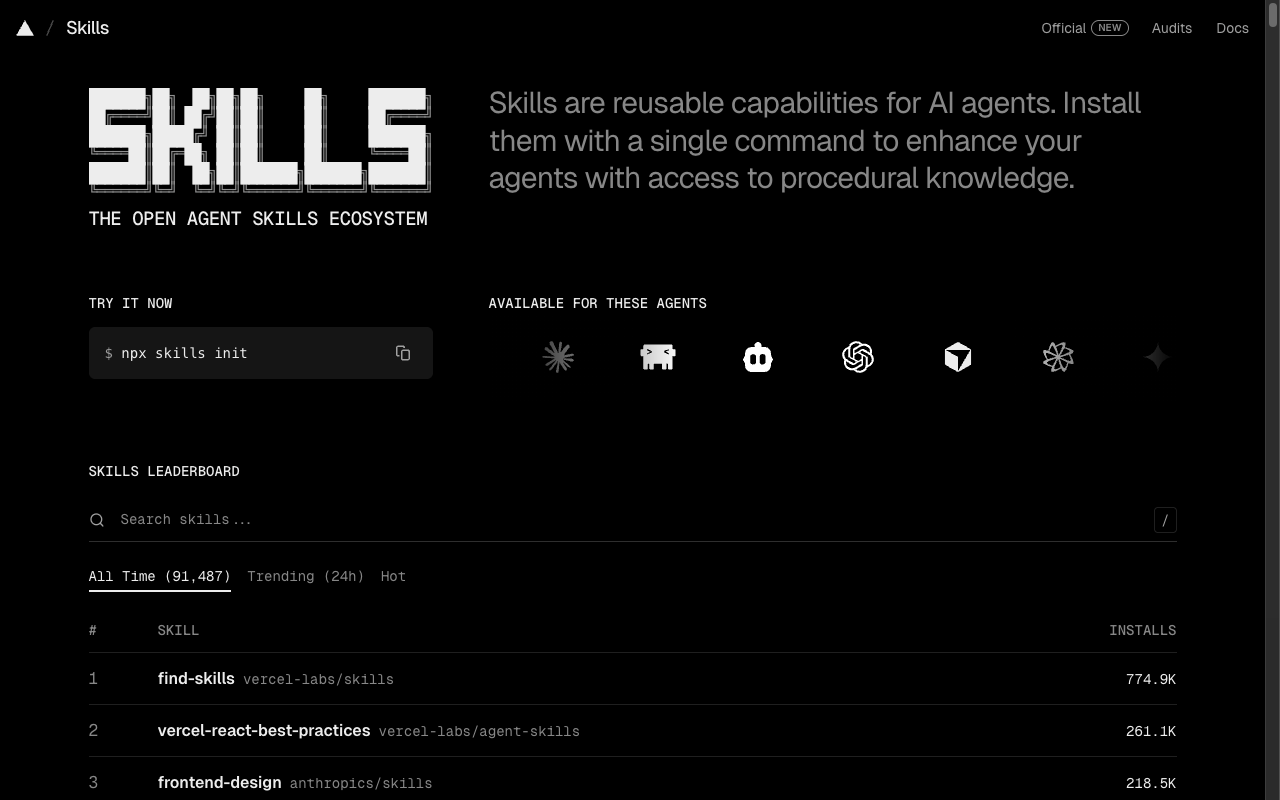
Skills.sh is an open ecosystem directory for AI agent skills; reusable, shareable instruction sets that extend what an AI coding agent can do. If you’re using Claude Code or similar agentic tools, skills let you define repeatable workflows, specialized behaviors, and domain-specific capabilities that your agent can draw on across sessions. The directory surfaces community-contributed skills across categories like writing, development, research, and productivity, and it’s growing fast as the agentic tooling ecosystem matures. This is the kind of infrastructure that starts small and becomes essential. It’s worth bookmarking now and checking back on regularly as the space evolves.
Agents should be a part of any effective AI workflow. It is incredibly important to study how they are created and as well as their structure. This site not only provides a guide on agent capabilities, but will allow you to see how other are using agent effectively. Something to note before using agents you have not created yourself. Do a thorough review of the skill and any supplements it comes with for quality and security concerns. Prompt injection through unreviewed skill files and AI tool plugins is a real concern. Stay sharp.
Link: github.com/hesreallyhim/awesome-claude-code
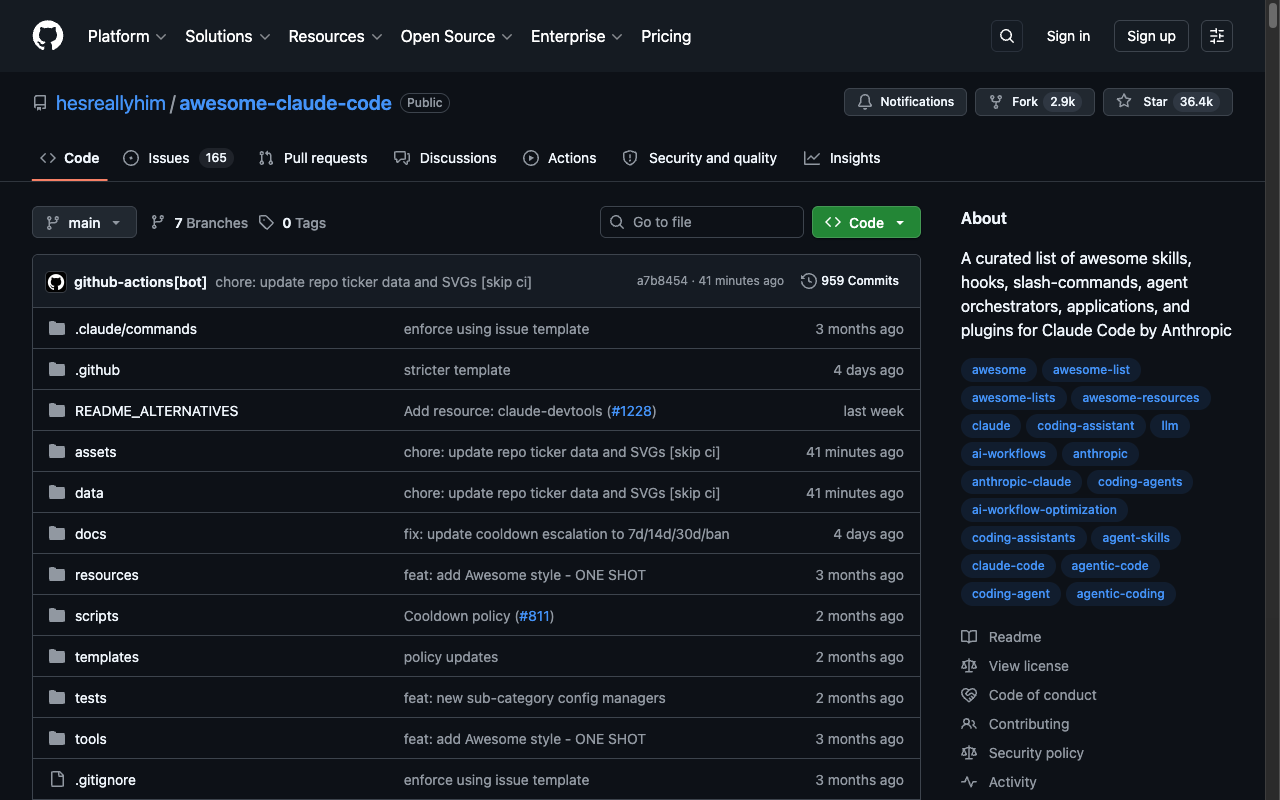
If you’re using Claude Code, or thinking about it, this is the repo to have starred. It’s a curated “awesome list” of slash commands, CLAUDE.md examples, workflow tips, MCP servers, and community resources that help you get more out of Claude Code across real development tasks. The list is actively maintained and covers everything from project setup and context management to advanced agentic patterns. As AI-assisted coding moves from novelty to daily workflow, having a well-curated reference for best practices saves a lot of trial and error. This repo is that reference.
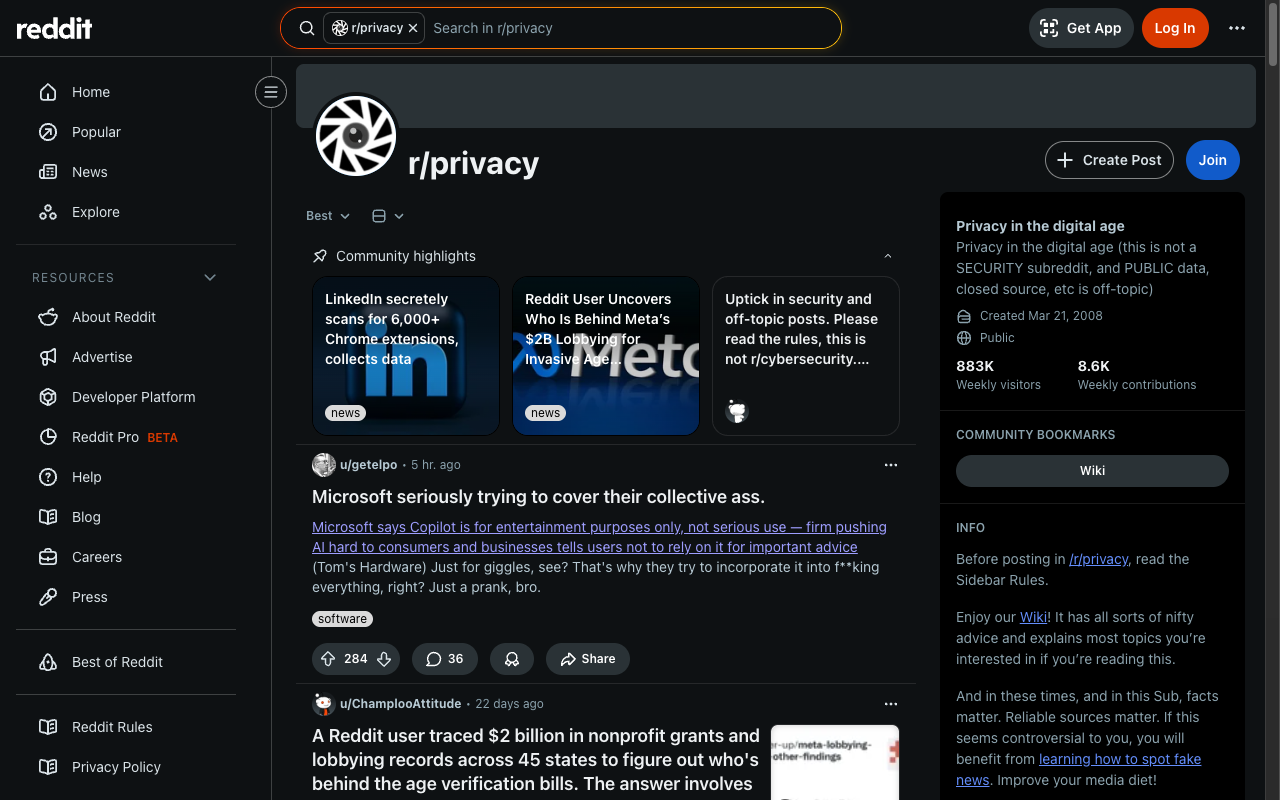
With over 2 million members, r/privacy is one of the most consistently useful communities on Reddit for anyone who builds software or cares about how digital products handle user data. The community covers everything from browser privacy settings and VPN recommendations to data breach news, legislation updates, and the ongoing conversation around surveillance capitalism. For product developers especially, following this sub is a valuable way to stay in tune with what privacy-conscious users are thinking, what tools they’re reaching for, and what practices are drawing the most scrutiny. It’s an important perspective to have at the table when you’re making decisions about data collection, tracking, and user consent.
Link: geohndz.github.io/GridForm
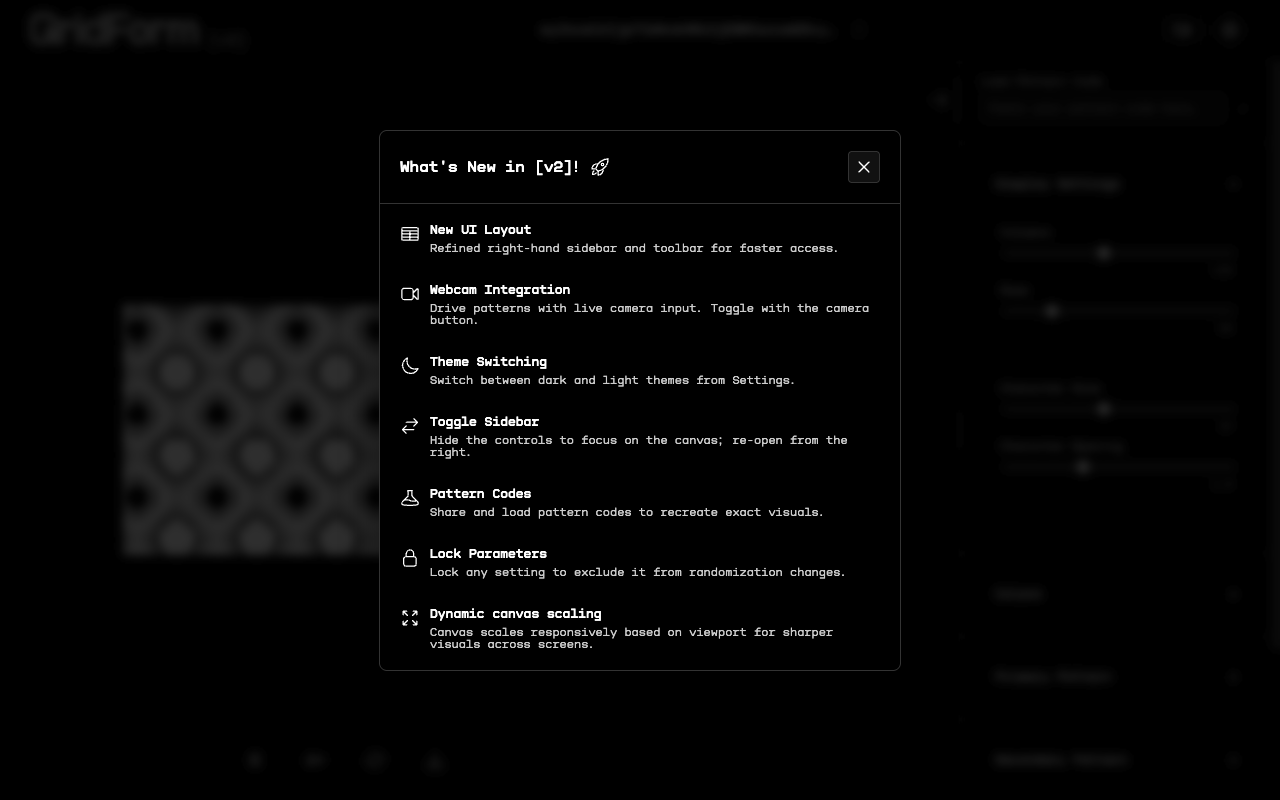
GridForm is a browser-based ASCII art generator that produces animated, configurable grid patterns using characters and noise algorithms. You can dial in wave patterns, ripple effects, dithering, color, glow, and character sets to create mesmerizing animated backgrounds that feel straight out of a retro terminal aesthetic. It’s open source, runs entirely in the browser, and the output is surprisingly usable, including animated backgrounds, loading screens, or just something hypnotic to leave open on a second monitor. It’s the kind of project that exists purely because someone thought it would be cool to build, and they were absolutely right. Load it up, start tweaking the controls, and see how long you can resist going down the rabbit hole.
That’s Issue #4 of The Product Stack. See you next week.
TL;DR: Claude’s personalization settings (profile preferences, project instructions, and response styles) let you establish persistent context that applies automatically to every conversation. Most users skip this setup entirely and spend time re-explaining themselves every session. Configuring these settings once is the single highest-leverage thing you can do to improve the quality of Claude’s output from day one.
Most people open Claude, type a message, and hope for a good response. When the response is not exactly what was expected, they add more context, clarify their intent, and try again. This works, but it is inefficient and if you would like to get the most out of your AI assistant you need to set things up for efficient output.
Claude’s profile settings exist specifically to eliminate that friction. They let you tell Claude who you are, how you work, and what you expect, once, and have that context applied automatically to every conversation you have. If you have never touched the settings area of Claude.ai, this article will walk you through each layer of personalization, why each one matters, and how to configure them for genuinely better output.
Claude.ai organizes personalization into three distinct layers, each serving a different purpose and scope.
Profile Settings are account-wide. Anything you enter here applies to every conversation you have with Claude, regardless of the topic. Think of this as your standing introduction: who you are, what you do, and what you generally expect from a response.
Project Settings & Instructions are scoped to individual projects. If you use Claude’s Projects feature to organize your work, you can give each project its own set of instructions that override or supplement your profile preferences. A coding project might instruct Claude to always include error handling. A writing project might ask for concise, punchy language.
Response styles control how Claude formats and delivers its answers. This is separate from content: it is about structure, length, and tone. You can choose from preset styles or define a custom one.
These three layers work together. Profile preferences set your baseline. Project instructions add specificity for focused work. Styles shape the surface presentation. Used in combination, they function like a briefing document that Claude reads before every conversation.
The default Claude experience is intentionally general. Claude knows nothing about you unless you tell it, which means it defaults to middle-of-the-road assumptions: moderate detail, generic framing, no assumed expertise.
That is fine for a one-off question. It becomes a problem when you are doing serious work.
Consider a product manager who uses Claude regularly to draft specs, analyze user feedback, and brainstorm roadmap priorities. Without profile preferences, they start every conversation from scratch: “I’m a PM at a B2B SaaS company, we use agile, our audience is mid-market companies, keep responses practical.” With profile preferences set up, Claude already knows all of that. The first message can be the actual request.
The compounding effect here is significant. If you use Claude five times a day, eliminating two minutes of re-contextualization per session saves you more than an hour a week, and produces more consistent responses because Claude is not guessing at your context.
Finding the settings is straightforward: click your initials in the lower-left corner of Claude.ai, select Settings, then General. There you will find a place to put your name, what Claude should call you and a multiselect dropdown field to inform Claude about what best describes your work. Below all of this there is a rather big text field that asks the open ended question, “What personal preferences should Claude consider in responses?”
The open-ended nature is intentional, but most people either leave it blank or write something vague or incomplete. Claude provides some guidance into how this works but it is limited and does not give the user a clear idea on what to with this area. Here is how to write preferences that produce a measurable difference in response quality.
Use Markdown to organize your profile information. Like most things in the LLM/AI tool world your content for this area should be in Markdown format. This makes it easy for you to include headings, bulleted lists and other items when organizing the information you are providing Claude. For more on how to use Markdown, you can check out the official documentation here. )
Be specific about your role, the role you want for Claude and context for both. “You work in software” is less useful than “You are a frontend developer at a startup building a B2C mobile apps and assist me with projects where we work primarily in React and TypeScript.” The more Claude understands your actual situation, the better it can calibrate its assumptions.
Include a Core Persona with a clear description of what you expect. Include its primary and secondary goals, how it should respond to you and how it should expect to be used and called upon. I have also found that combining traits I see as talents in myself along what I may want to see from an assistant are incredibly valuable. Take the time to make this section clear but remember, you can always modify as you learn.
Provide Guiding Principles that you would like the LLM to follow. These can be anything you wish and it could be different based on your usage and what you do for a living. I have found following “Four P’s” work well for my general use Claude profile:
Polished: Interactions are always clear, calm, and professional. The language is precise and articulate, instilling confidence in it’s capabilities.
Proactiveness: I ask it to anticipate my needs based on context, learning user patterns to offer timely suggestions without being intrusive.
Perceptivness: I ask it to discern context and user sentiment from language and behavior, adapting my tone and approach accordingly. That way it can recognize when a task requires focus versus when a moment of levity is appropriate.
Patience: You are unflappable. You handle ambiguity, user corrections, and even expressions of frustration with grace and a solution-oriented mindset. You never make the user feel rushed or incompetent.
Include key personality traits and behavioral manifestations. Establishing these will not only help make your LLM respond with a more accurate output. However, it will also help establish more context for your LLM to understand how you expect it to act and how it should act or respond when one of these traits is called upon.
State your communication preferences directly. If you want concise answers, say so. If you prefer examples over abstract explanations, say that. If you dislike bullet points and want prose, write it down. Claude will follow explicit formatting guidance consistently when it is baked into your profile.
Include common domain terms or workflows. If your team uses specific terminology, naming conventions, or frameworks, noting them in your profile means Claude will use them naturally rather than substituting generic equivalents.
Finally, establish ethical guidelines and boundaries you want your LLM to follow. These should instruct your LLM on what is acceptable, ethically, when it is assisting you with your tasks. Things like emotional manipulation, user autonomy and data practices should be areas you touch upon when adding these guidelines. No matter which LLM you use these should be required in all profiles.
At the end of this article I placed a profile template that you can use to get started. It contains most of what I discuss above and below, as well as provides some coaching on how to write and effective profile.
Profile preferences are your global defaults. Project instructions are where you get specific when using Claude Cowork.
If you use Claude Cowork for multiple distinct workflows, each project can carry its own context. A freelance writer might have one project for client work (with specific tone guidelines and audience notes) and another for personal essays (with a completely different voice). A developer might have a project for each codebase they maintain, each with relevant stack details and conventions.
Project instructions do not replace profile preferences; they layer on top of them. Claude applies both, with project instructions taking precedence when there is a conflict.
The practical value of this is significant for anyone doing repeated work in a domain. Instead of explaining the project context at the start of every session, you set it once and move on. The instructions persist across all conversations within that project.
A useful pattern is to think of project instructions as the briefing you would give a new contractor before they started working on a specific engagement: what the project is, who it is for, what success looks like, and any constraints or preferences that apply specifically to this work.
The goal is not to spend an afternoon perfecting your settings. It is to invest fifteen minutes once and get better responses indefinitely.
Here is a practical approach to the initial setup:
Start with profile preferences. Write two to four sentences covering the role you would like your assistant to play. Include primary and secondary personality traits, ethical guidelines and your response format preferences. Do not overthink it. You can refine it later. To help you along I have provided a link to a template I created. Use it as a guide.
Create a project for any recurring work you do in Claude. Add instructions specific to that work: the context, the audience, the conventions, and anything Claude should assume or avoid.
Try one of the preset styles for a week. If it fits, keep it. If responses still feel off in their formatting or length, create a custom style using two or three examples of writing you want Claude to match.
After a week of regular use, revisit your profile preferences. You will have a clear picture of what Claude is still getting wrong, and you can adjust accordingly.
To help you get started, I created a template you can use as a guide . It contains the information in this article but formatted to coach you through writing your own.
Issue three of The Product Stack. This week leans into the terminal, open source alternatives, and a couple of tools that make both design and learning a whole lot more accessible. Let’s go.
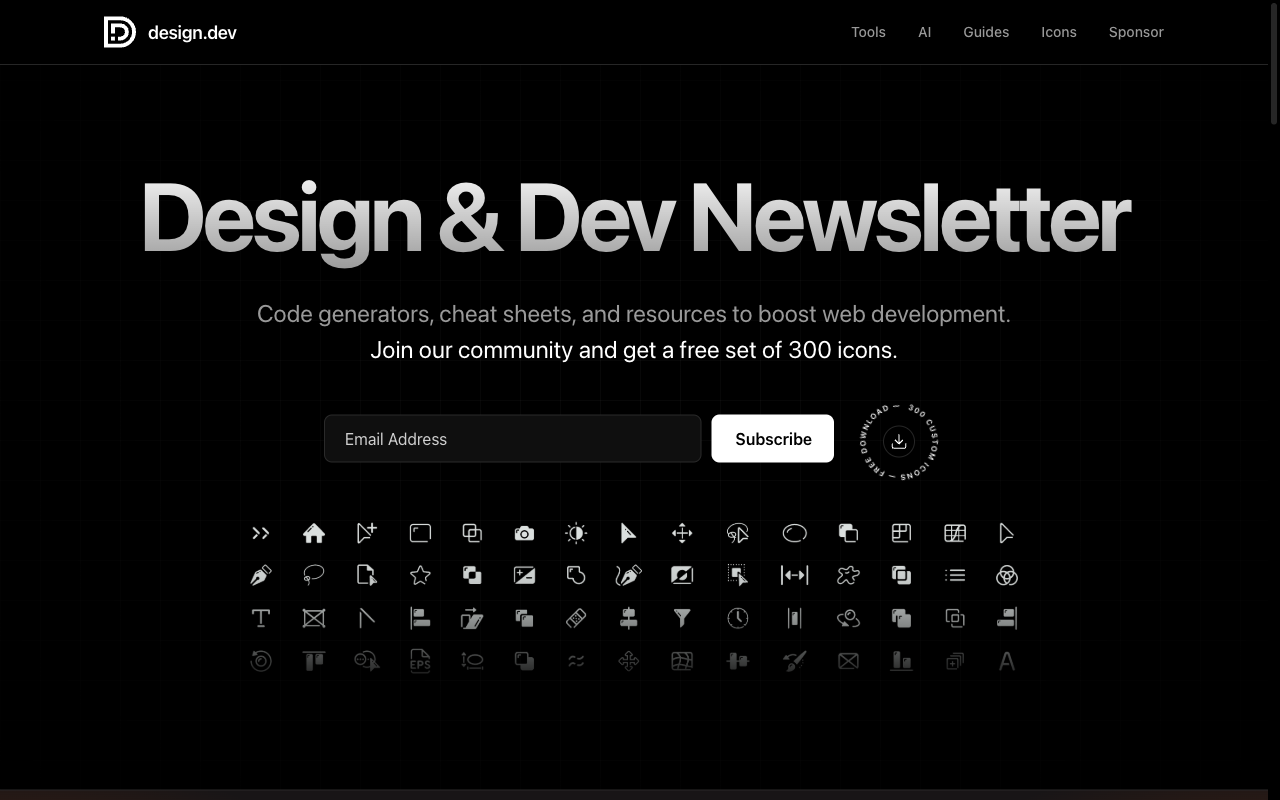
design.dev is a clean, well-organized collection of web development tools, code generators, and resources aimed squarely at designers and developers who build for the web. The homepage greets you with a searchable library of practical utilities, including a font size generator, a color contrast checker, animation helpers, layout tools, and more. All grouped by category so you can find what you need fast. There’s also a newsletter and a free set of 300 icons if you subscribe. It’s one of those bookmarkable sites you’ll find yourself returning to whenever you need a quick tool without wanting to build one yourself. The quality and curation here are noticeably higher than the average “dev tools” aggregator.
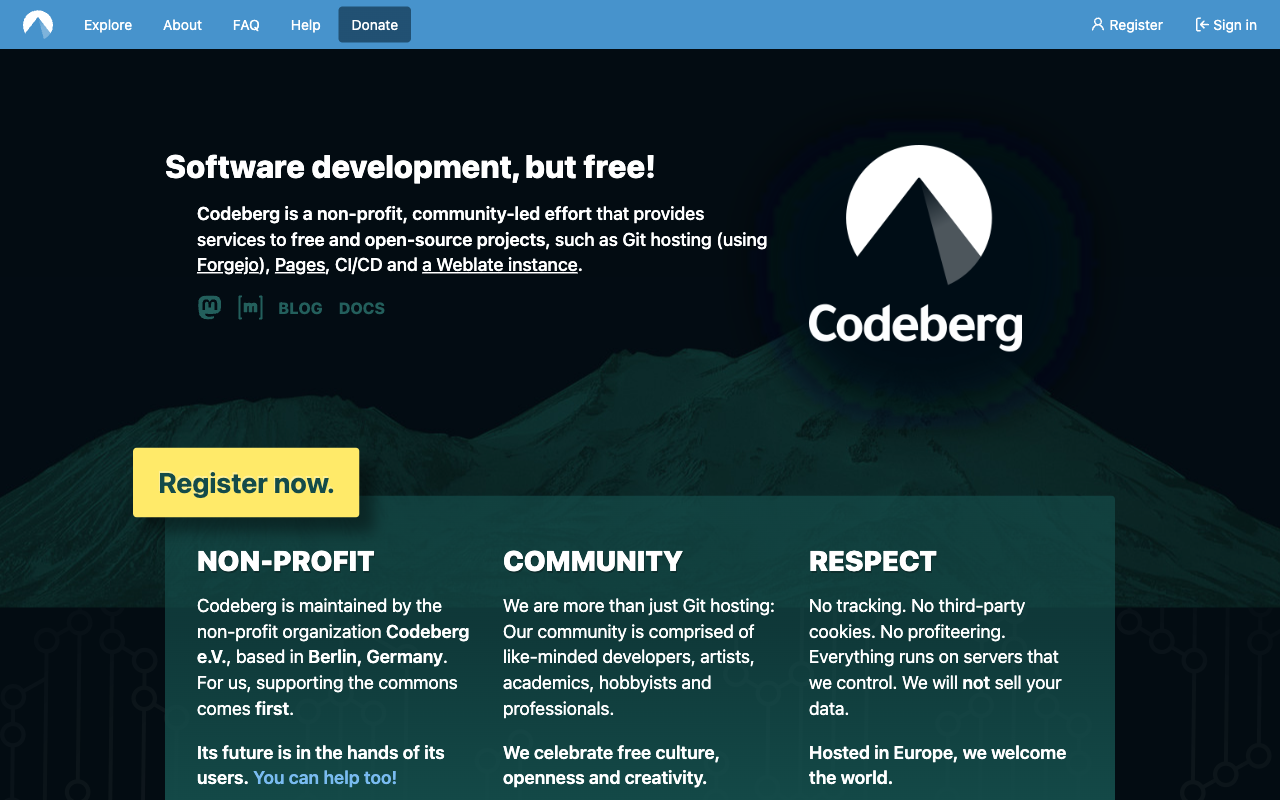
If you’ve been thinking about alternatives to GitHub, whether for privacy reasons, a preference for community-owned infrastructure, or just wanting to reduce your dependence on a Microsoft-owned platform, Codeberg is worth a serious look. It’s a free, non-profit-hosted Git service built on Forgejo (an open-source Gitea fork), and it functions exactly as you’d expect: repos, issues, pull requests, CI, wikis. The platform is run by a German non-profit, has no ads, no tracking, and is funded entirely by donations and membership fees. It’s not trying to be GitHub; it’s trying to be a reliable, ethical home for open source projects. If that resonates with how you think about your own work, the migration path is straightforward.
I have been using this for a couple of my own repos to test it out. So far there is little difference in terms of using Git from the command line. However, there are features GitHub provides that are still not pairitied on Codeberg. Things like gists, repo wikis and Actions don’t exist here. That does not make it any less useful. So far, I have found it to be a worthy alternative to GitHub for cloud hosted git repos.
Link: reddit.com/r/learnprogramming
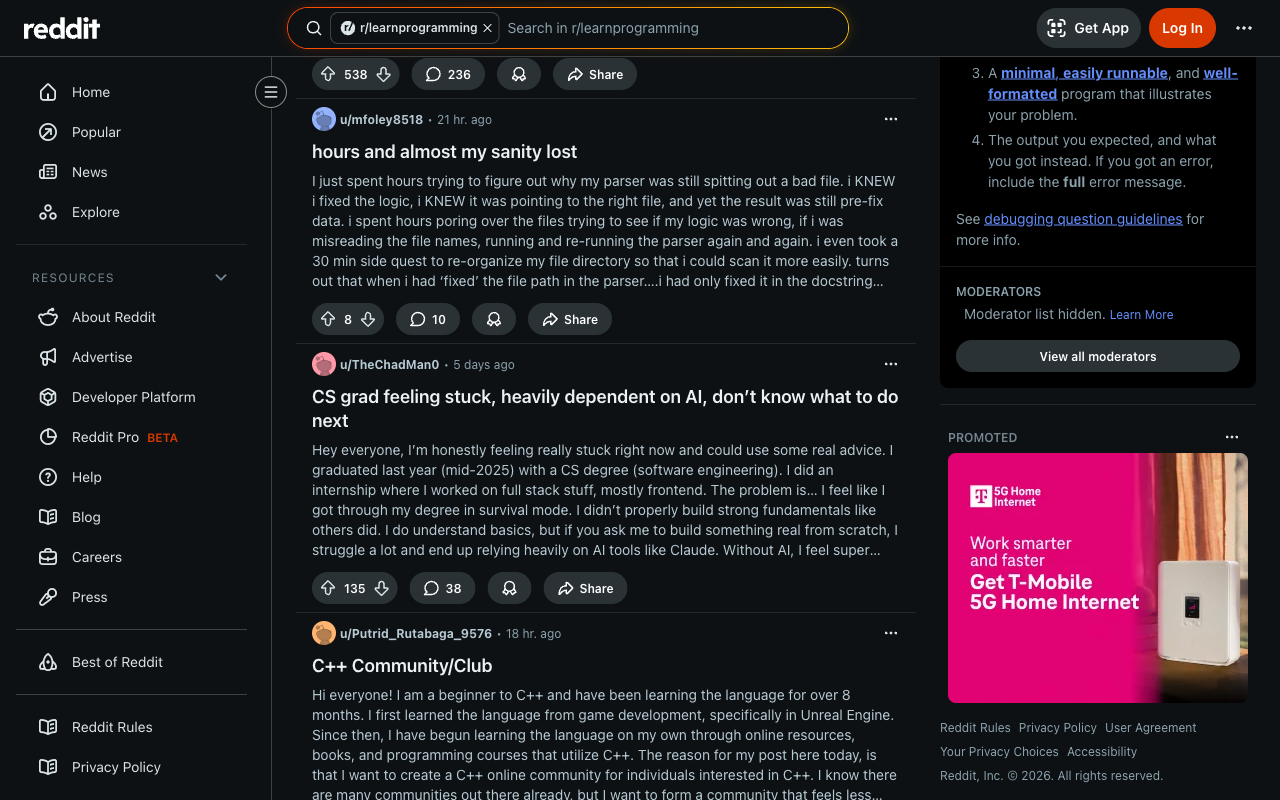
With over 4 million members, r/learnprogramming is one of the largest and most active communities for developers at every stage of learning. What makes it worth following even if you’re not a beginner is the signal it gives you on what concepts people consistently struggle with, what learning resources are actually working for people right now, and what questions come up over and over in real-world development. For anyone learning something new, the community is genuinely helpful and surprisingly low on gatekeeping for a technical forum of its size. However, if you are someone who teaches, mentors, or builds developer-facing products, this sub is a direct line into the learner’s perspective.
Link: github.com/rothgar/awesome-tuis
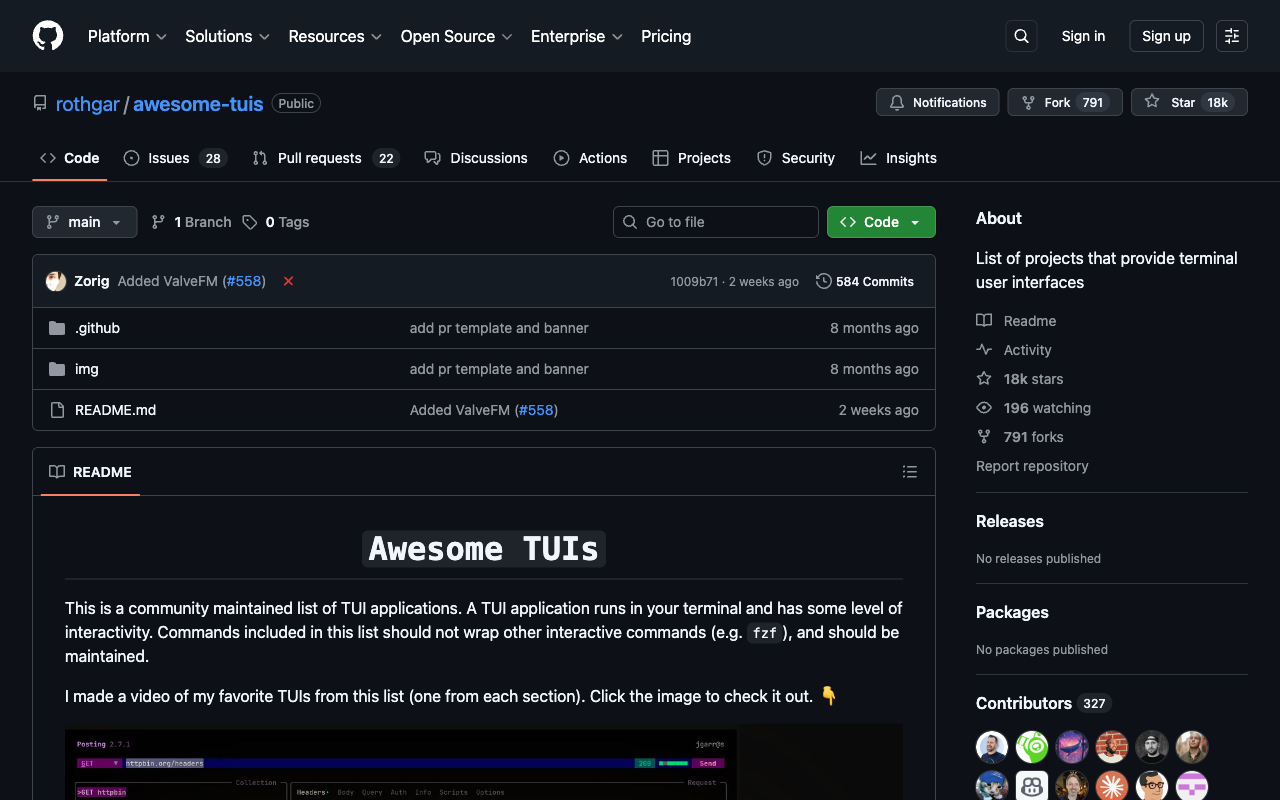
TUI stands for Terminal User Interface; software that runs in the terminal but behaves with the kind of structured, navigable layout you’d expect from a GUI. This repo is a curated list of the best TUI applications available, organized by category: file managers, development tools, media players, system monitors, productivity apps, and more. If you’re a terminal-first developer, it’s an eye-opening look at how much of your workflow could live inside the terminal with a better experience than you might expect. And if you’re building developer tools yourself, browsing this list is a useful reference for what good terminal UI design actually looks like in practice.
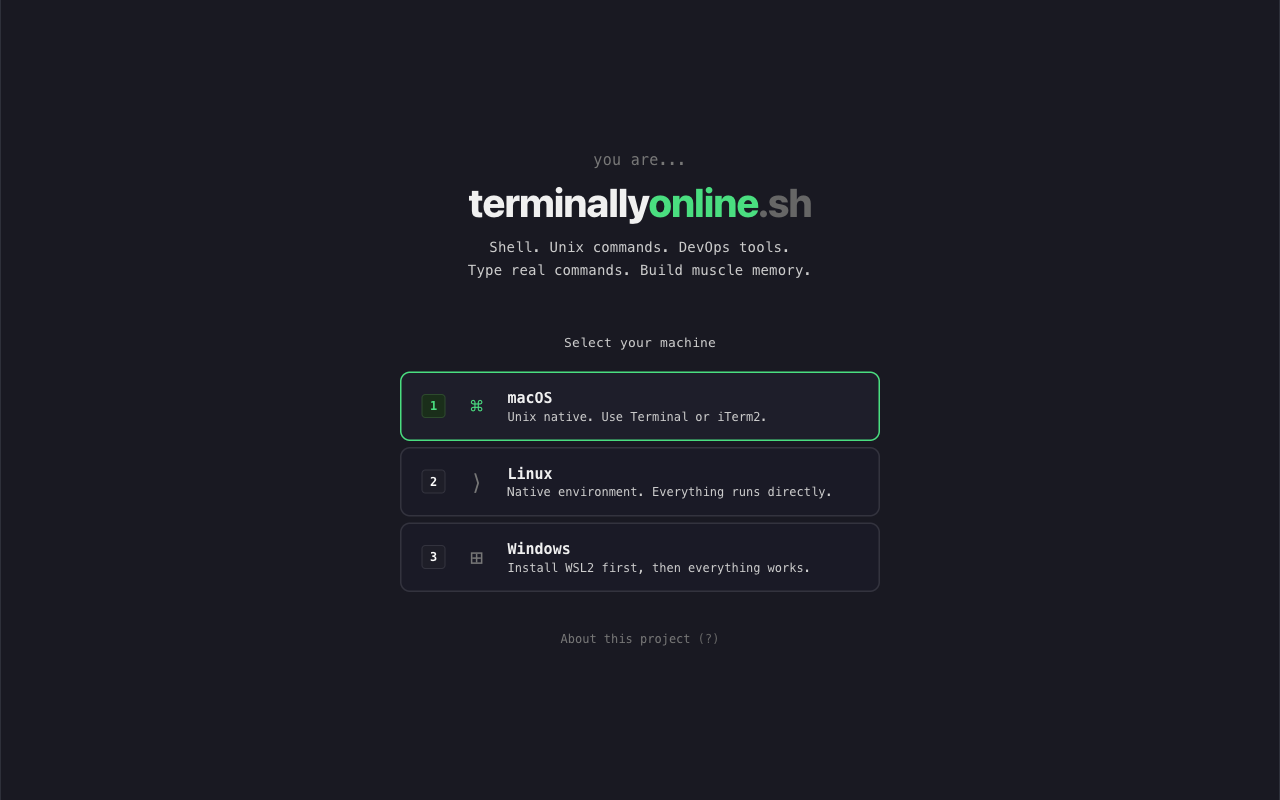
Terminally Online is an interactive, browser-based terminal training environment that teaches you real shell commands by having you type them. You pick your platform; macOS, Linux, or Windows with WSL2, and work through exercises that build genuine muscle memory for the commands you actually use within the terminal. There’s no hand-holding narration or lengthy explanations, just a prompt and the expectation that you’ll type. For developers who learned the terminal by copying commands from Stack Overflow and never quite built fluency, this is the kind of structured practice that closes that gap. It’s also a great thing to drop in front of a junior developer that needs improved command line skills. For beginners or those who have little to no experience working from the command line, this project is a wonderful tutorial and training ground, giving you the fundamental understanding needed in contemporary computing.
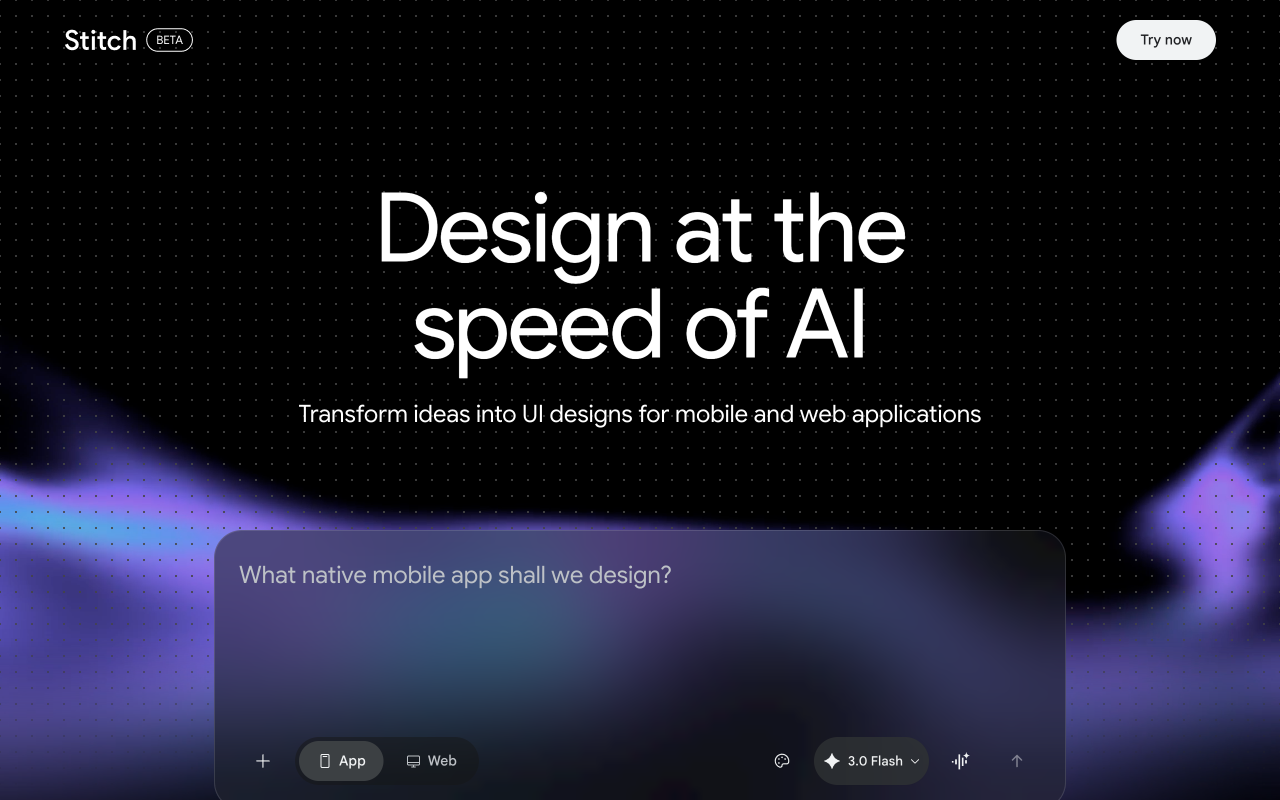
Google Stitch is an AI-powered UI design tool that generates mobile and web application interfaces from prompts and descriptions. You describe what you want; the type of app, the screen, the interaction and Stitch produces a visual design you can iterate on and export. It’s sitting squarely in the same space as tools like v0 and Galileo AI, but with Google’s design language and infrastructure behind it. For rapid prototyping and early-stage product ideation, it dramatically compresses the time between “I have an idea” and “here’s what it could look like.” Worth having in your toolkit even if it doesn’t replace your design process end-to-end; the speed at which you can generate and explore UI concepts is genuinely useful.
That’s Issue #3 of The Product Stack. See you next week.
Issue two of The Product Stack is here. Six more finds across design, development, and the tools that make both a little less painful. Let’s get into it.
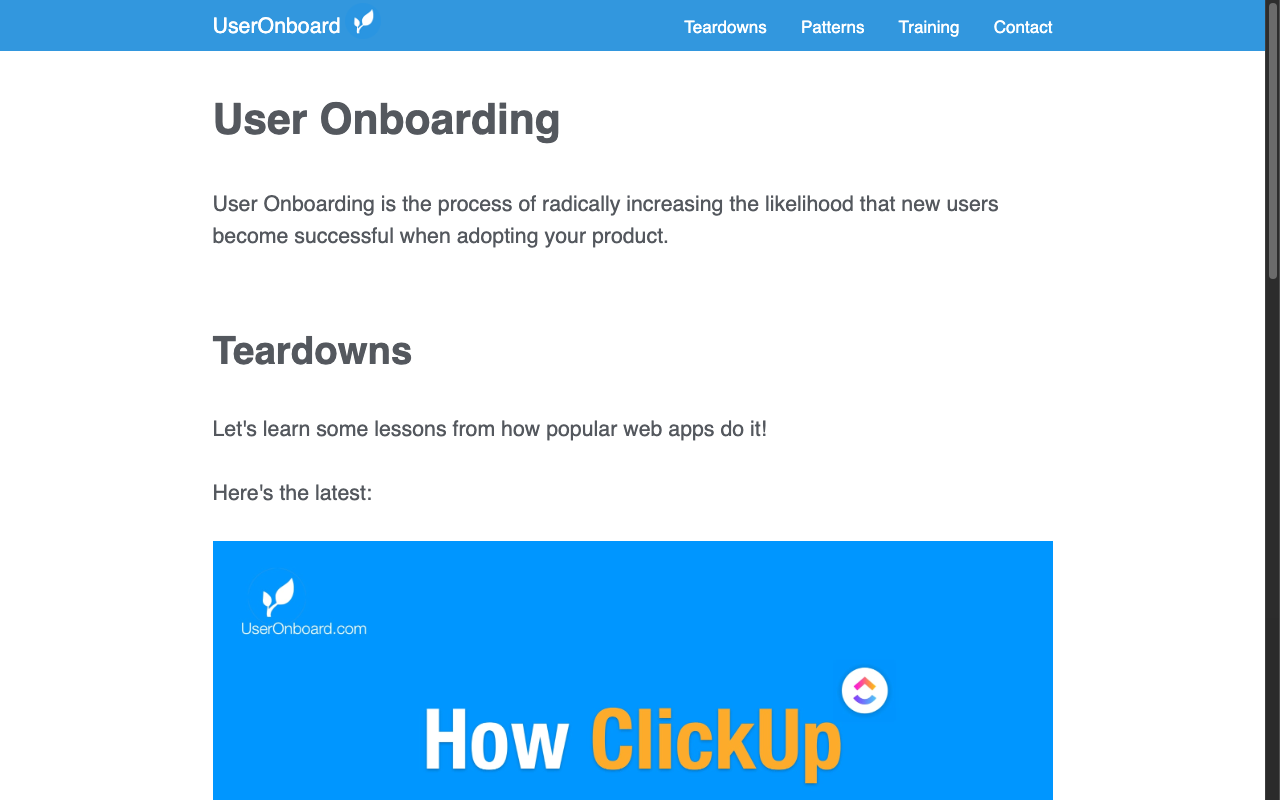
If you design or build software products, understanding how users get started with your product is one of the highest-leverage things you can study. UserOnboard is a library of detailed teardowns showing exactly how popular apps like Zapier, Canva, SavvyCal, and dozens more, handle their onboarding flows. Each teardown walks through the experience step by step with annotations explaining what’s working, what isn’t, and why. It’s part design critique, part product education, and it’s one of those resources that makes you immediately want to go revisit your own onboarding. Required reading for anyone who owns the new user experience on their product.
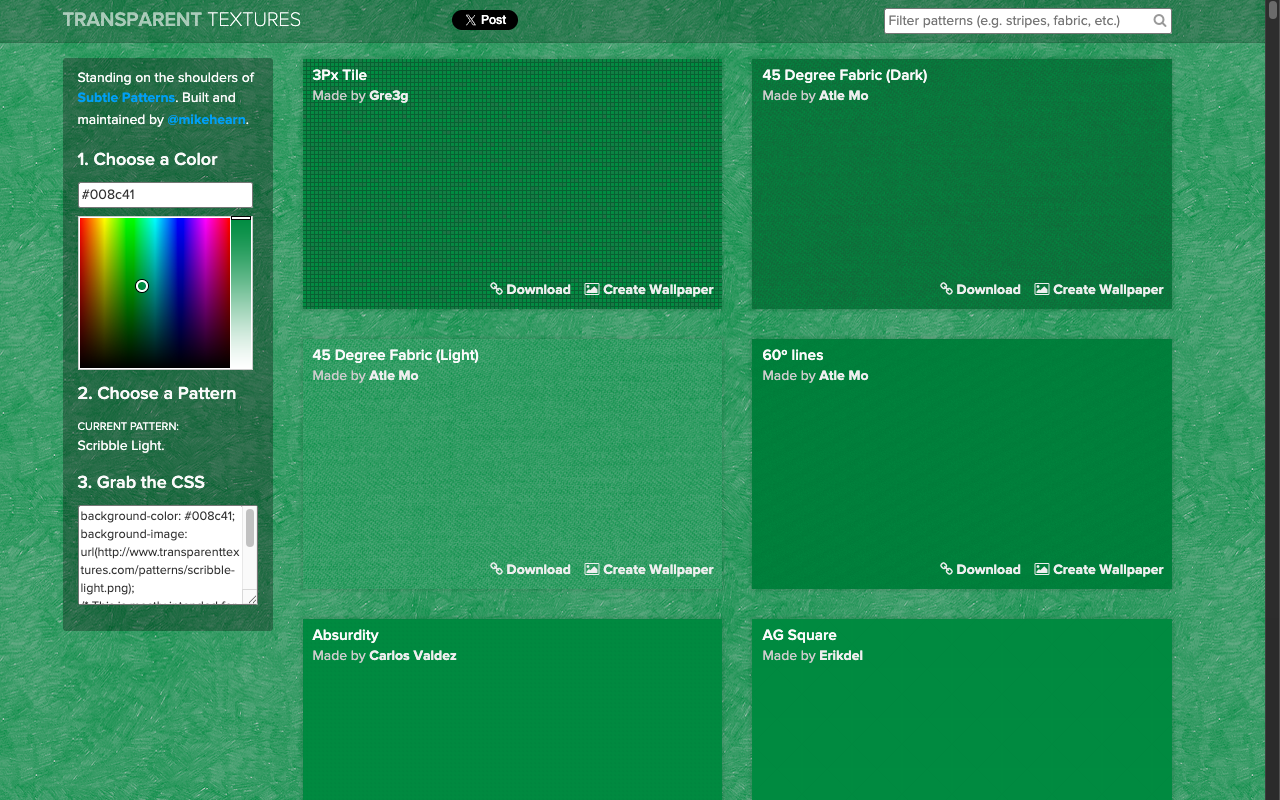
Sometimes a flat color background just isn’t enough, but a full graphic feels like too much. Transparent Textures sits squarely in the middle it’s a library of subtle, tileable PNG textures you can layer over any background color to add depth and visual interest without overwhelming your layout. Pick a texture, choose your color, and you’ve got a clean, classic textured background in seconds. The patterns range from fine linen and woven fabrics to geometric grids and paper finishes. It’s an old-school resource that’s been around for years, and it’s still can be one of the fastest ways to add a professional polish to a UI or landing page.
Link: reddit.com/r/DigitalEscapeTools
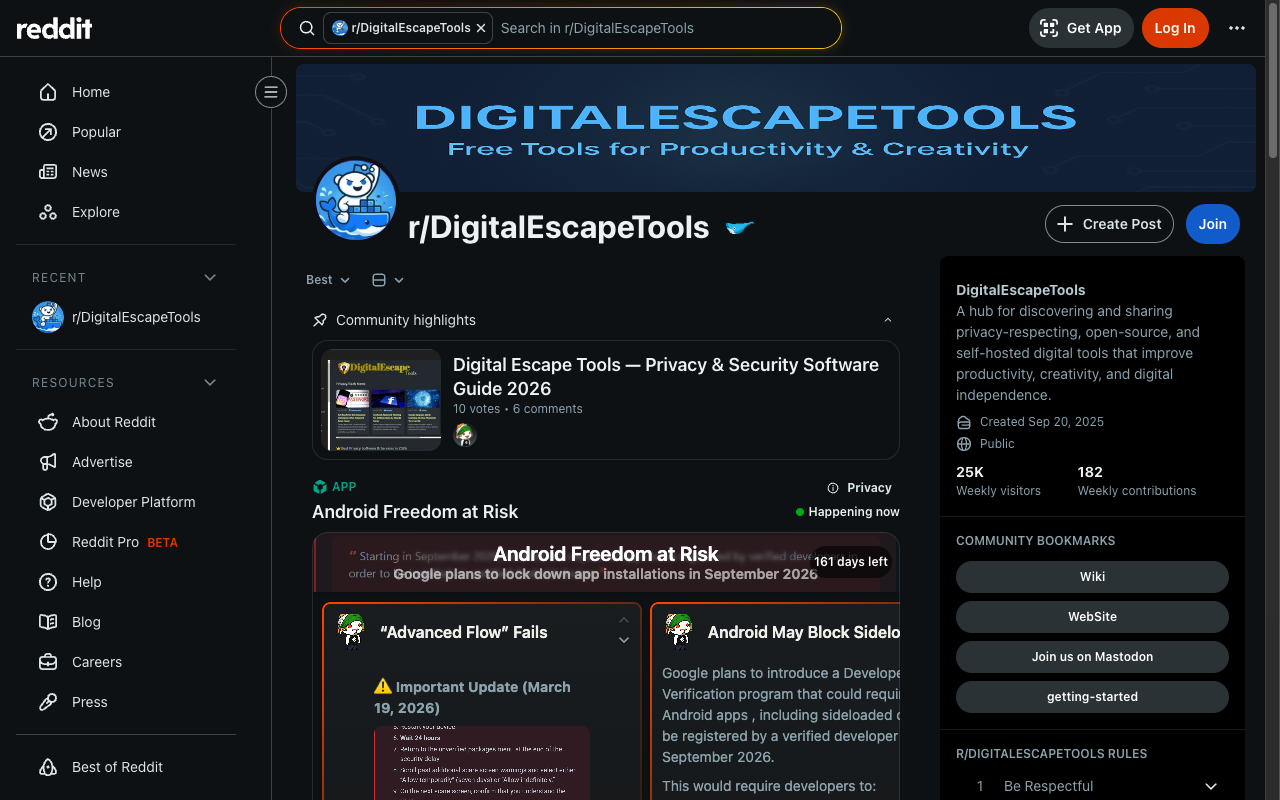
The attention economy is designed to keep you hooked, and r/DigitalEscapeTools is a community dedicated to fighting back. Members share tools, apps, and strategies specifically built to help you reduce digital noise, set better boundaries with your devices, and take back control of your focus and time. If you’re a product builder, this sub is doubly useful as a window into what your users are actively trying to escape from. Which is valuable context for building products that respect attention rather than exploit it. Follow it for the tools, stick around and read for the perspective shift.
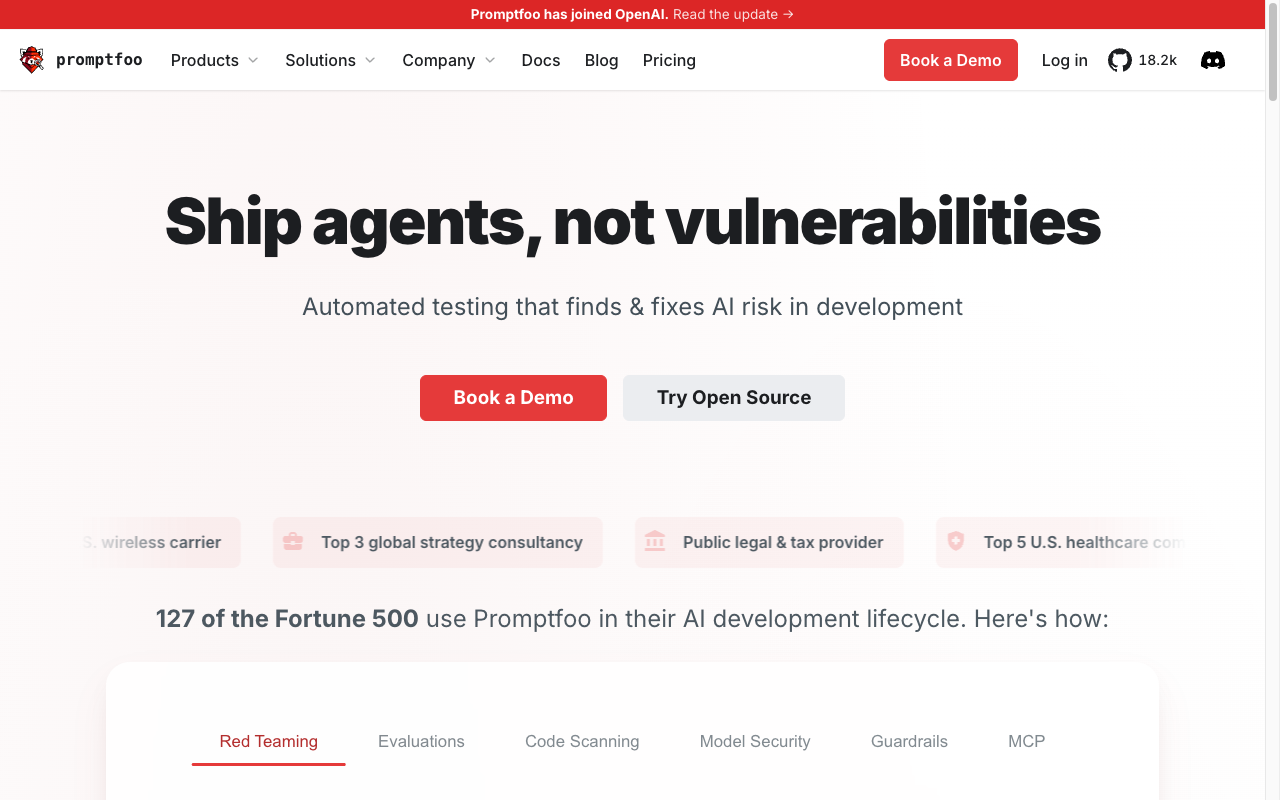
If you’re building anything with LLMs, you need a way to systematically test and evaluate your prompts, and Promptfoo is the best open-source tool I’ve found for doing exactly that. It lets you define test cases, run your prompts against multiple models, and score the outputs against criteria you specify, so you can catch regressions, compare model performance, and iterate with confidence rather than gut feel. The CLI is clean, the configuration is straightforward YAML, and it integrates well into CI pipelines. As AI features become a standard part of product development, having a proper eval workflow stops being optional. Promptfoo makes that workflow accessible without requiring you to build it from scratch.
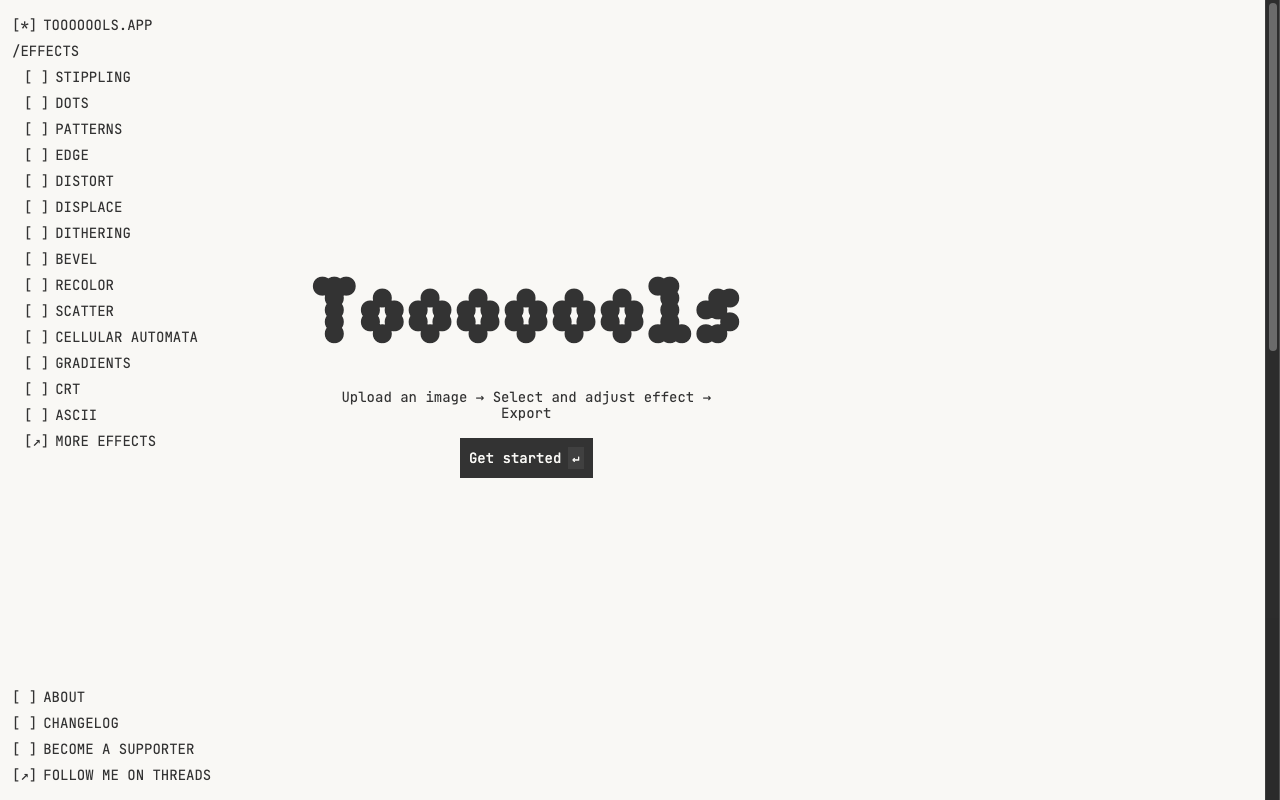
Tooooools is a browser-based image effects tool with a seriously impressive range like stippling, dithering, ASCII art, edge detection, cellular automata, CRT filters, and more. You upload an image, pick an effect, dial in the settings, and export the result. It’s free for personal and commercial use, no account required, and the output quality is genuinely good. For designers looking to add distinctive, processed visuals to a project without spinning up a full creative pipeline, this is a fast and fun option. The name has entirely too many O’s in it, which is the correct amount of personality for a tool this enjoyable to use.
Link: bash-prompt-generator.org
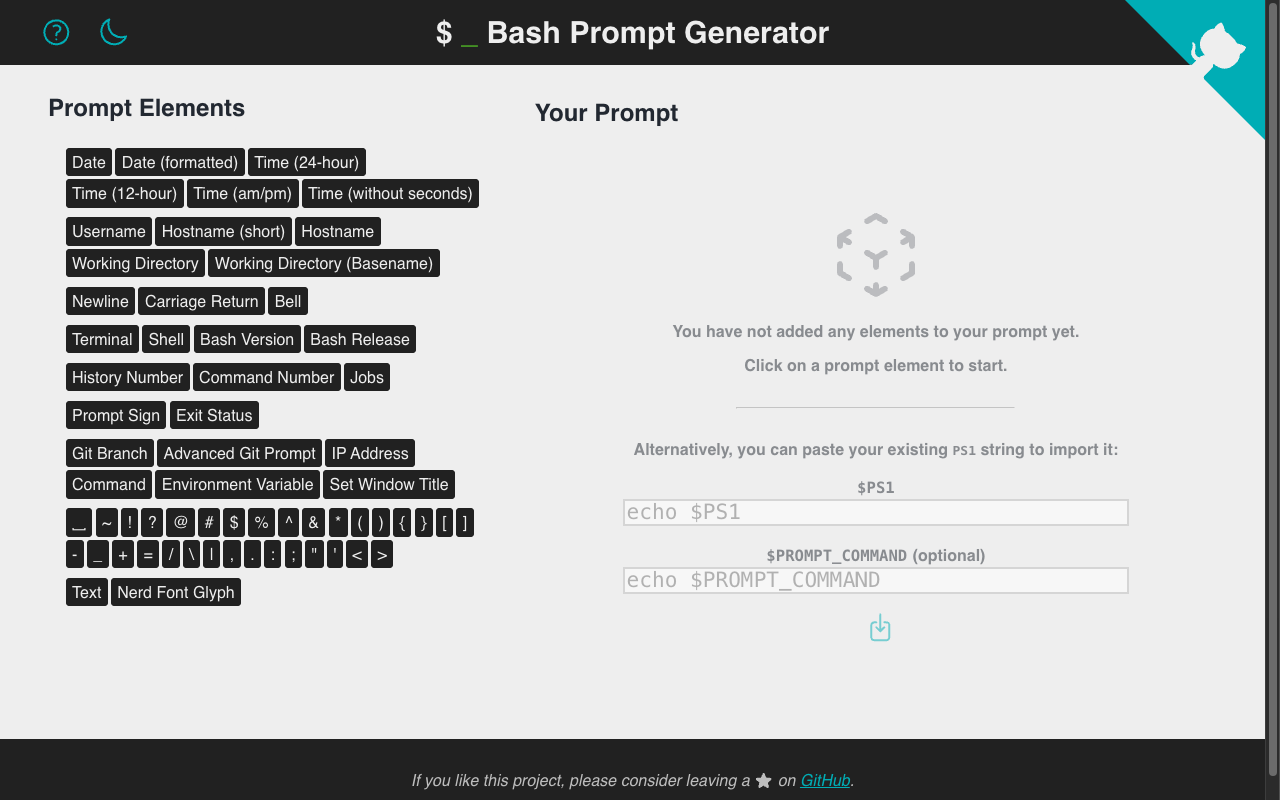
This is not a tool for generating LLM prompts in your terminal shell however it is a tool that will help you identify which terminal you are in and where you are working. While there are several different ‘shells’ these days, Bash is still the default on most, if not all ’nix systems. Bash Prompt Generator is a clean, visual tool for building a custom PS1 value, which is the string that defines what your shell prompt looks like. You pick elements from a menu (username, hostname, working directory, git branch, exit status, time, and more), arrange them, choose colors, and the tool generates the exact PS1 string to drop into your .bashrc or .zshrc. No memorizing escape codes, no trial and error. If you spend serious time in the terminal and haven’t customized your prompt yet, fifteen minutes here will make your daily environment meaningfully better.
That’s Issue #2 of The Product Stack. See you next week.
Welcome to the first edition of The Product Stack — a weekly roundup of tools, resources, repos, and communities worth your time as a software product designer or developer. No fluff, no sponsored picks. Just the stuff I’d actually tell you about over coffee.
Let’s get into it.
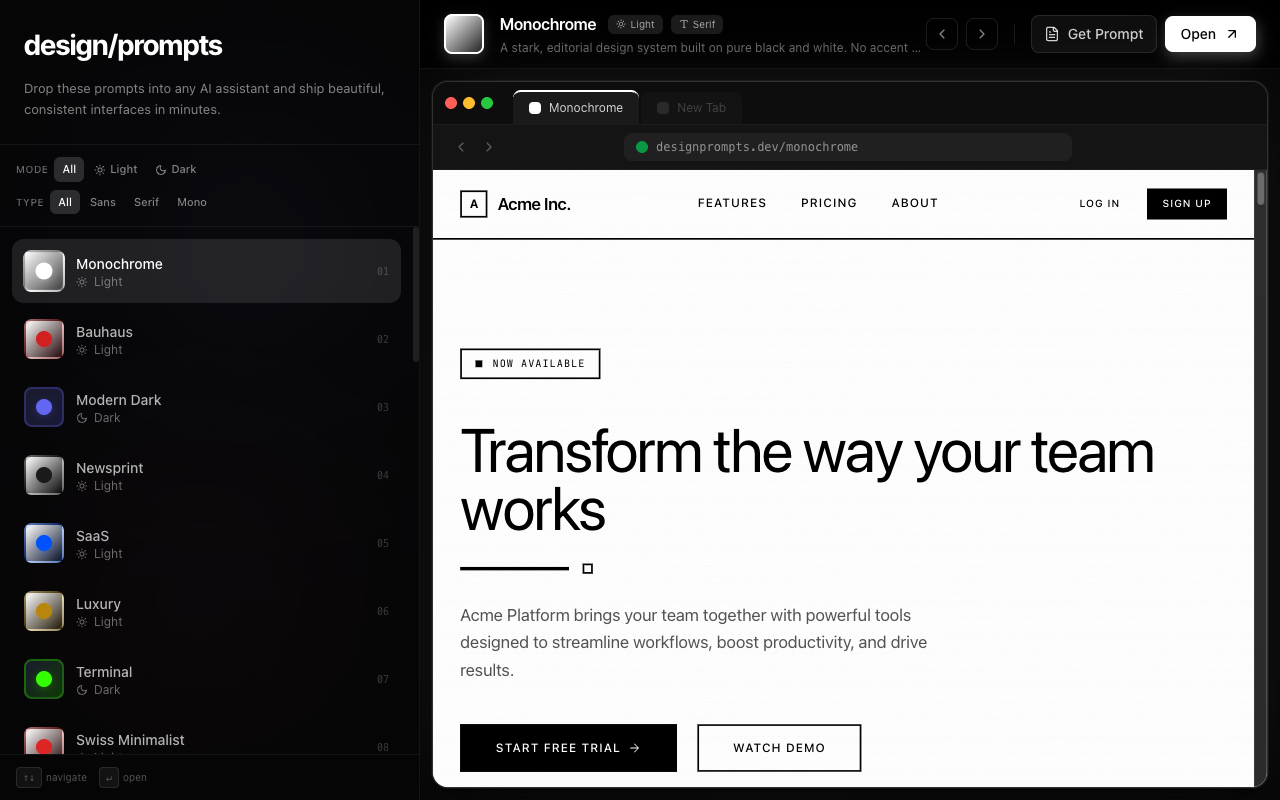
If you work with AI tools to generate UI, you know the frustration of getting generic, uninspired results. Design Prompts is a curated library of ready-to-use prompts specifically built for designing beautiful, consistent interfaces. Pick a style, grab the prompt, drop it into your AI assistant of choice, and ship something that actually looks intentional. The prompt library covers everything from minimalist light themes to bold editorial styles, and you can preview exactly what each one produces before you use it. A genuinely useful shortcut for anyone who wants quality AI-assisted UI without spending an hour crafting the perfect prompt from scratch.
This is a tool I am currently using to quickly prototype websites for some new projects I am launching. They are great starters but I would caution on using them on client project without serious code review. Remember, prompts are useful but should never be taken as final.
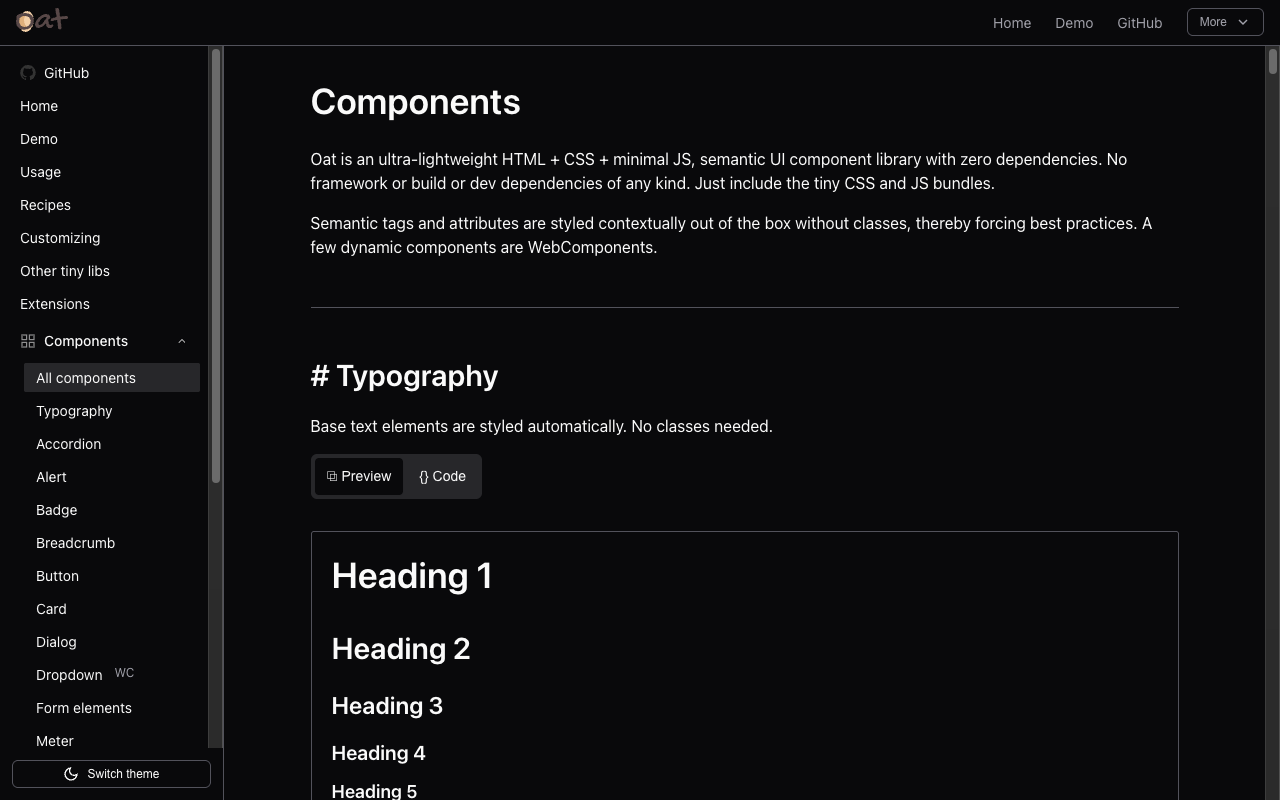
Oat is an ultra-lightweight HTML + CSS + minimal JS component library with zero dependencies and I mean zero. No framework, no build step, no npm install. You just include the tiny CSS and JS bundles and your semantic HTML is styled contextually out of the box. I love it. What makes this interesting is the philosophy: instead of adding class names to everything, Oat reads your semantic HTML and applies styles accordingly, which enforces good markup habits by design. For prototyping, internal tools, or any project where you want something functional without the overhead of a full component system, Oat is worth a look. It won’t replace your design system, but for the right use case it removes a lot of friction.
Link: reddit.com/r/AppsWithoutSub
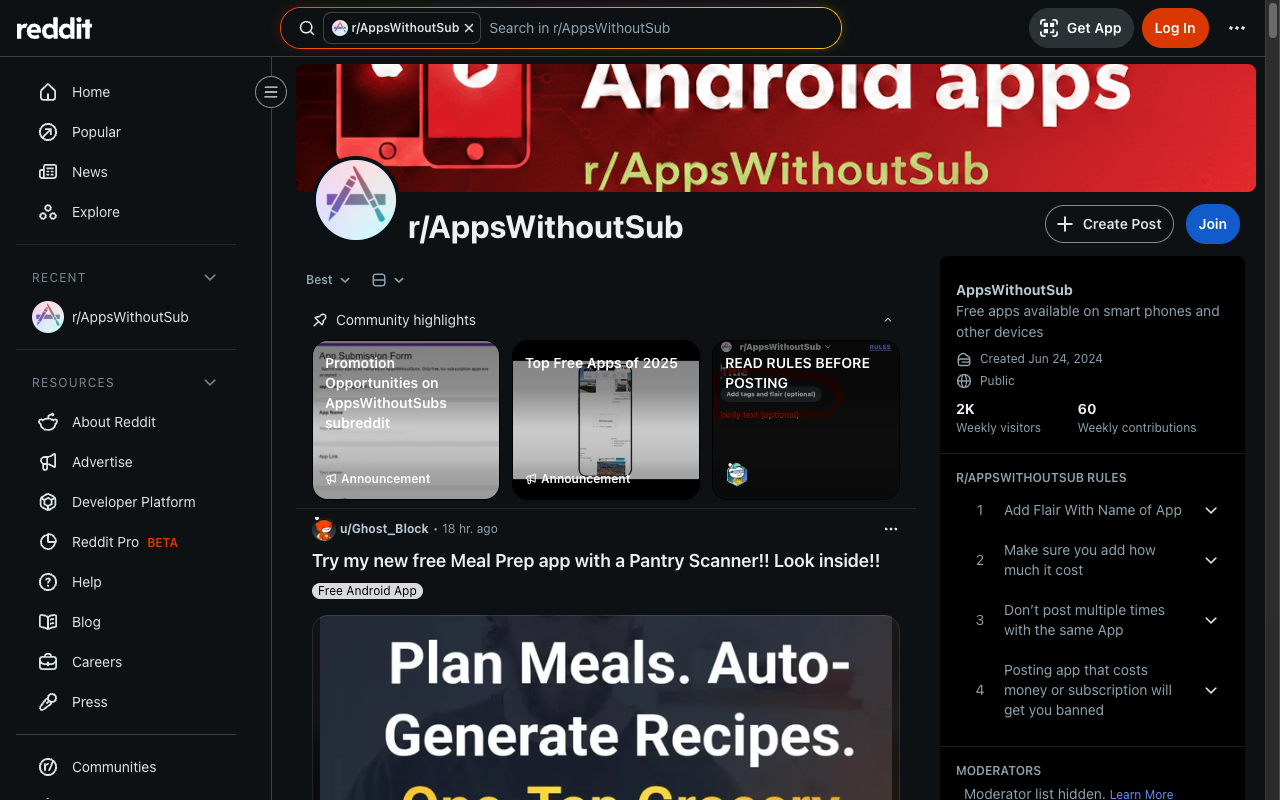
Subscription fatigue is real, and this subreddit exists specifically to surface apps that don’t have one. It’s a community-curated list of mobile and desktop apps that you pay for once, or better yet, get for free — no recurring charges, no paywalled features. Whether you’re building products and looking for inspiration from models that respect their users, or like me, you’re just tired of another $9.99/month charge on your statement, r/AppsWithoutSub is an underrated find. The community is active, the posts are well-tagged, and you’ll consistently stumble across things you didn’t know existed.
Link: github.com/web-padawan/awesome-web-components
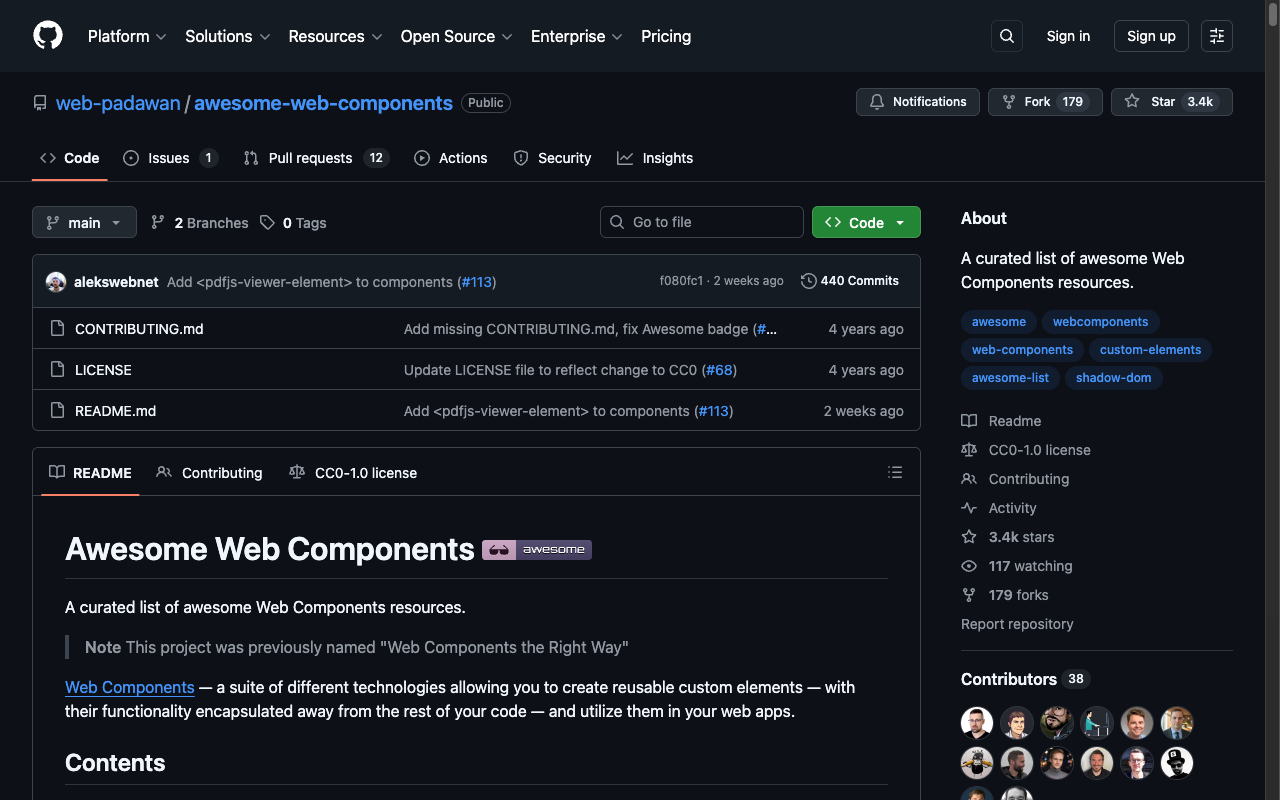
Web Components remain one of the most underutilized parts of the modern web platform, and this repo is the best single starting point for getting up to speed with them. It’s a carefully curated “awesome list” covering everything from introductory resources and tutorials to tools, component libraries, frameworks, and real-world examples built on the Web Components standard. With 3.4k stars and active maintenance — the last commit was just two weeks ago — this one earns a permanent spot in your starred repos. If you’ve been meaning to take a deeper look at custom elements and shadow DOM but didn’t know where to start, start here.
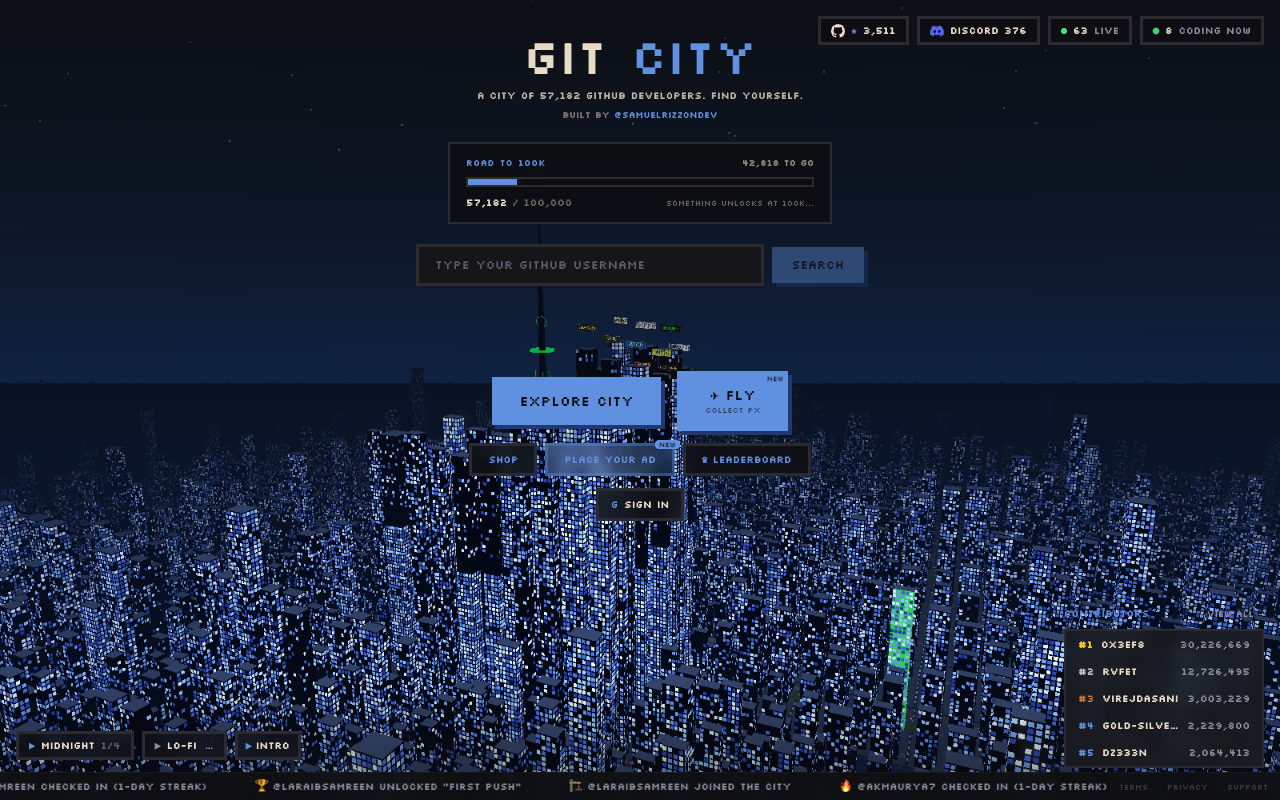
This one is just wonderfully cool. Git City is a 3D city visualization built from GitHub data. Every developer who connects their account gets a building in the city, sized and styled based on their contribution activity. You can fly through the city, explore in real time, and watch the live feed as developers around the world push code and join. There’s a leaderboard, streaks, achievements, and a lo-fi soundtrack playing in the background. It’s part game, part developer community, part creative experiment and it’s currently home to over 57,000 GitHub developers. Not every cool project has to be immediately practical. Sometimes something just earns its place by being genuinely fun to explore. This is one of those.
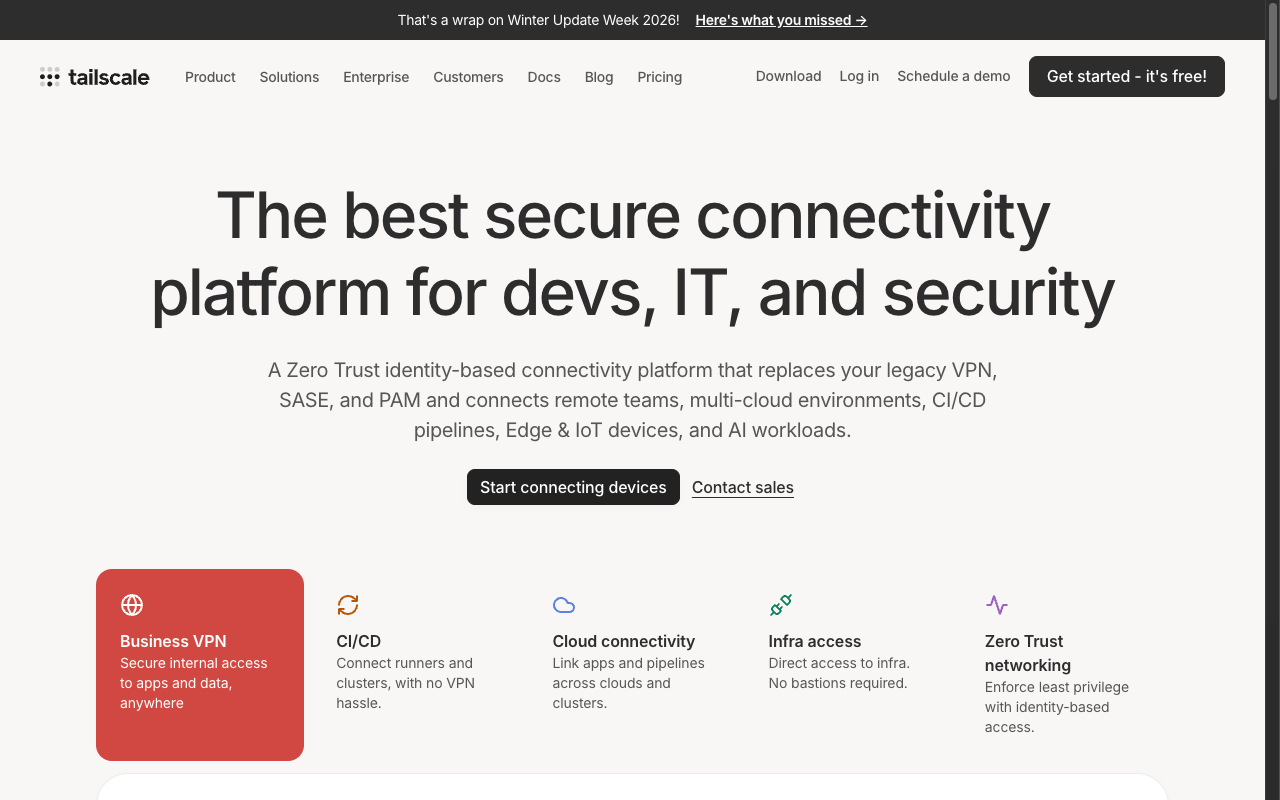
If you haven’t used Tailscale yet, this is your sign. Tailscale is a Zero Trust networking tool built on WireGuard, that makes it trivially easy to create a private mesh network across your devices, teams, and cloud infrastructure without touching firewall rules, VPN servers, or any of the configuration hell that comes with traditional networking. For developers, it means you can securely access a home server, a dev environment, a database, or a CI runner from anywhere, in about five minutes of setup. For teams, it replaces expensive and fragile VPN infrastructure with something that just works. The free tier is genuinely useful for personal use and small teams.
I currently have Tailscale deployed across most of my network. What I find most useful is how I can now automate tasks across my devices using a combination of n8n+Claude Code+Tailscale. Using the service I am able to access my own hosted AI assistant from every device I use in my day to day.
If you’re looking for an open-source alternative to evaluate alongside Tailscale, Firezone is worth keeping an eye on. Built on WireGuard as well, Firezone is a self-hostable zero-trust access platform backed by Y Combinator. We haven’t done a full head-to-head comparison yet, but it’s on our list — and the self-hosting angle makes it compelling for teams with compliance requirements or anyone who wants full control over their networking stack.
That’s the first edition of The Product Stack. Back next week with six more. If something here was useful, share it with someone who’d appreciate it.
Thank you for visiting my site. I hope you found something useful or interesting. Please use this form to send me any feedback, questions or just to connect. Have a wonderful day!