
TL;DR: Skills are reusable instruction modules that give Claude domain-specific expertise; agents are autonomous task runners that act on that expertise using tools. Both exist across the full Claude ecosystem, from the Claude desktop app and Cowork for knowledge workers, to Claude Code and the Agent SDK for developers. You don’t need to write code to build powerful, repeatable AI workflows. But if you do write code, the ceiling is much higher.
The frustration with AI assistants isn’t that they’re incapable. It’s that they’re inconsistent. You write a careful prompt, get a great result, and then spend the next week trying to recreate whatever you did, or watching a teammate get mediocre output on the same task because they didn’t know to include that specific context. The intelligence is there. The repeatability isn’t.
That gap is exactly what Skills and Agents are designed to close. And while the conversation about building agents and skills has mostly lived in developer circles, the architecture applies far more broadly. Anthropic has built it into the Claude desktop app and Cowork mode just as much as into Claude Code and the Agent SDK. A product manager can build a skill to standardize PRD output. A marketer can automate a competitive research workflow. A developer can wire an autonomous agent into their CI/CD pipeline. The underlying concept is the same across all of them.
This guide covers the full stack; what skills and agents are, how they work in each Claude surface, and how to build ones that actually hold up under real usage.
A skill is a structured Markdown file, literally a SKILL.md, containing instructions, context, and behavioral guidance scoped to a specific task domain. When Claude reads a skill, it’s not running code; it’s loading curated “here’s how to do this well” knowledge that shapes how it approaches that type of work.
Think of it as the difference between asking a generalist for help and working with someone who’s spent years in your specific domain. The generalist improvises. The specialist already knows the patterns, the pitfalls, and the right shortcuts. A skill is how you give Claude the specialist’s knowledge and make it available every time, for you, and for anyone on your team.
What makes skills powerful is that they’re plain text. There’s no configuration language, no schema to learn, no deployment process. If you can write a clear internal wiki page, you can write a skill. That accessibility is intentional. It means skills aren’t just a developer tool. They’re a knowledge-capture tool for anyone who does repetitive, structured work with Claude.
A well-constructed skill has four components regardless of who’s writing it:
That last piece is the one most people skip. It’s also usually why skills produce inconsistent results.
For non-developers, the most relevant entry point is the Claude desktop app running in Cowork mode. Skills in this context work as installed modules; either provided by Anthropic, delivered through plugins, or custom-built by dropping a SKILL.md into the workspace’s .skills/skills/ directory.
When you work in Cowork, Claude automatically detects which skills are available and invokes the relevant one based on what you’re asking for. Claude already comes with some built-in skills. If you are a PowerPoint user, you can open it up right now and ask it to create a PowerPoint presentation (You must have PowerPoint installed, obviously). It reads the pptx/SKILL.md before generating a single slide. Loading conventions about layout, speaker notes, file handling, and output verification that Anthropic has refined through extensive testing. The result is significantly more consistent than asking Claude without that context loaded.
Plugins take this a step further. A plugin is a bundled package of skills, tools, and MCP connectors that extend what Claude can do for a specific domain. The product management plugin, for example, ships with skills for feature specs, roadmap prioritization, stakeholder updates, and user research synthesis. Each tuned for that specific deliverable type. Installing a plugin is a one-time action; after that, every relevant request automatically loads the right skill.
For knowledge workers who want to go further, you can write custom skills for your own workflows. A content strategist might write a skill that encodes their editorial voice, their SEO checklist, their internal linking rules, and their approval criteria. Once it’s in the .skills/ directory, every content request Claude handles in that workspace benefits from it, without re-prompting, without reminders, and without variation.
Claude Code is the command-line interface for agentic coding, and it’s where the skill and agent architecture gets its full technical expression. The concepts are the same, skills provide expertise, agents provide autonomous execution. However, the tooling is more powerful and the configuration options are considerably deeper.
In Claude Code, skills live in a .skills/skills/ directory alongside your codebase, which means they’re version-controlled, reviewable, and deployable like any other project artifact. This is a meaningful design decision: your AI workflows are code, and they should be treated with the same rigor as your application code.
Agents in Claude Code are spawned via the Task tool from the Claude Agent SDK. Each agent is given a subagent_type that defines its capabilities and available tools. Anthropic ships several built-in types.Bash for command execution, Explore for codebase analysis, Plan for architecture and design, etc. You compose them to handle complex multi-step workflows. The pattern that produces the most reliable results is the research-then-execute split: use a lightweight Explore agent to gather context first, then pass that context to a Bash or general-purpose agent to act on it. Combining understanding and action in a single pass is where most agent implementations get into trouble.
One underused feature worth highlighting: the isolation: "worktree" parameter. When you spin up an agent with this flag, it works in a temporary git worktree. Essentially, a sandboxed branch, rather than directly on your main codebase. This means agents can write and modify files without any risk of touching production code, which removes the anxiety that makes teams hesitant to deploy agents that write rather than just suggest.
A practical example of the full stack: a code review agent that reads a code-review/SKILL.md containing your team’s style guide, security patterns to flag, and expected output format, then runs autonomously against every PR diff. The skill provides the expertise. The agent provides the execution. The integration runs in CI without anyone manually prompting it.
The honest answer is that the right starting point depends on your role and how much friction you’re willing to accept to gain capability.
If you’re a knowledge worker using the Claude app or Cowork mode: start with the skills and plugins already available to you. The built-in skills for document creation, presentations, spreadsheets, and research are tuned to produce professional output without configuration. When you find yourself re-explaining the same context repeatedly, like your brand voice, your report format, your research methodology. That’s the signal to write a custom skill. No code required.
If you’re a technical non-developer, a product manager, an analyst, a technical writer, etc. Consider investing an hour in writing domain-specific skills for your most repeated workflows. A well-written PRD skill that encodes your template, your definition of done, and your team’s terminology will pay that hour back quickly and multiply across everyone on your team who uses it.
If you’re a developer using Claude Code: write skills first, build agents second. A good skill resolves 80% of the consistency problem with a fraction of the effort. Graduate to agents when you need autonomous, multi-step execution and to the Agent SDK when you need to orchestrate agents programmatically or integrate them into existing infrastructure like CI/CD pipelines or scheduled jobs.
Model Context Protocol (MCP) is the integration layer, the mechanism by which Claude connects to external tools and services. If skills are the knowledge layer and agents are the execution layer, MCP servers are what make Claude aware of the world outside the conversation.
In the Claude app and Cowork, MCP connectors are available through plugins or through the settings panel. Pre-built connectors exist for tools like Google Calendar, Slack, Notion, GitHub, and Jira. Enabling one means Claude can read from and act on those services during any task — checking your calendar before scheduling, pulling context from your project management tool, or referencing your documentation without you having to copy-paste anything.
For developers, building a custom MCP server is a TypeScript project that implements the MCP spec: define your tools with schemas, implement handlers, register the server in your config. Once registered, every agent in your workspace can call those tools the same way it calls any built-in tool. The most valuable custom servers right now are the ones wrapping proprietary internal systems, internal APIs, legacy databases, company-specific tooling, that no off-the-shelf connector covers.
The mental model that works across both contexts: MCP servers are how you eliminate manual context-gathering. Instead of telling Claude about the state of your systems, you give it tools that let it check for itself.
isolation: "worktree" parameter gives agents a sandboxed git branch to work in, removing the risk that makes teams hesitant to deploy code-writing agents.No. Skills are plain Markdown files. If you can write a structured document or internal wiki page, you can write a skill. The Claude desktop app and Cowork mode support custom skills by adding a SKILL.md file to the workspace’s .skills/skills/ directory. Developer knowledge only becomes necessary when you want to build custom MCP servers or orchestrate agents programmatically through the Claude Agent SDK.
A skill is a single SKILL.md file that encodes expertise for one task type. A plugin is a bundled package. It can include multiple skills, MCP connectors, and tool configurations, all installed together. Think of a skill as a recipe and a plugin as a cookbook for a specific domain, pre-loaded with all the tools you need to actually cook.
A system prompt is global context applied to every interaction in a session. A skill is modular, scoped guidance that activates for a specific task type. Skills are reusable across sessions and teammates, version-controllable, and designed to encode task-specific expertise rather than general persona or behavior. In practice, they work together. A system prompt might set your baseline persona and preferences, while skills handle task-specific execution.
Yes. In the Claude desktop app, the schedule skill provides a no-code interface for scheduling tasks to run on an interval or at a specific time. For developers, the Agent SDK is callable from any Node.js or Python environment, which means you can wrap agent invocations in GitHub Actions workflows, cron jobs, or event-driven functions. Connecting autonomous AI execution directly into your existing infrastructure.
You can find out more about the topic discussed above at the following links:
Recently,I have been trying to navigate around my daily driver (MacOS Tahoe) from the keyboard as much as I possibly can. In an era where touchscreens dominate our digital interactions the humble keyboard shortcut has become something of an endangered species, left for us old school hackers to take pride in as we zoom through tiled windows managers like Lewis Hamilton around the circuit. Yet for those who discover, or rediscover, the power of keyboard-driven workflows, the efficiency gains are nothing short of revelatory.
The irony isn’t lost on seasoned computer users: as our machines have become more powerful and our interfaces more visually sophisticated, we’ve simultaneously moved away from one of computing’s most elegant efficiency tools. The modern user often reaches for their mouse dozens of times per minute, breaking their flow, shifting their posture, and adding time to tasks that could be completed in milliseconds.
Every time you move your hand from keyboard to mouse and back again, you’re not just moving your hand, you’re shifting your mental context. Your brain must disengage from composition mode, locate the cursor, aim at a target (often a tiny one), click with precision, and then re-engage with your previous task. Research in human-computer interaction suggests these micro-interruptions compound throughout the day, creating measurable fatigue and reducing overall productivity.
Keyboard shortcuts eliminate this context switching. They allow you to maintain what psychologists call “flow state”; that productive zone where your thoughts translate directly into action without conscious deliberation about the mechanics of interface navigation.
For users who work across multiple operating systems (and in 2026, that’s increasingly common) the challenge compounds. Each platform has its own philosophy about keyboard navigation, its own modifier key conventions, and its own shortcuts. Windows users live in a Ctrl-dominated world. macOS users learn to think in terms of Command (⌘). Linux users, depending on their desktop environment, might encounter either convention or forge their own path entirely.
The good news? Once you understand the underlying patterns, cross-platform keyboard mastery becomes achievable. The modifier keys may differ, but the logic remains remarkably consistent. Find is always about searching. Quit always means exit. Switch Window always means… well, switching windows.
If you were to ask the average computer user what keyboard shortcuts they know, and you’ll likely hear about Ctrl+C and Ctrl+V (or Cmd+C and Cmd+V on Mac). These clipboard operations are the gateway drug of keyboard shortcuts. Simple, universally useful, and immediately rewarding. But they’re also just the beginning.
The real power emerges when you master the shortcuts that control your environment: window management that lets you organize your workspace without touching the mouse, text navigation that allows precise cursor control, and system utilities that surface functionality buried deep in menu systems.
With macOS Tahoe’s new window tiling features, Windows 11’s Snap Layouts, and Linux’s increasingly sophisticated window managers, 2026 represents something of a renaissance for keyboard-driven window management. The tools are there; we just need to relearn how to use them.
The journey to keyboard proficiency isn’t about memorizing hundreds of shortcuts overnight. As most things with computing and programming, start small and scratch your own itch. It’s about identifying the tasks you perform most frequently, then gradually replacing mouse-driven workflows with keyboard equivalents. Start with window management. Add text navigation. Incorporate system utilities. Before long, you’ll find your hands rarely leave the keyboard, your work flows faster, and that elusive state of flow becomes more accessible.
The tables below provide a roadmap for this journey, organizing essential shortcuts across Windows, macOS Tahoe, and Linux. They’re not exhaustive—no table could be—but they represent the high-value shortcuts that, once mastered, will transform how you interact with your computer.
The lost art of keyboard shortcuts doesn’t have to stay lost. It’s time to bring it back.
| Shortcut Name | Windows | macOS Tahoe | Linux (GNOME) |
|---|---|---|---|
| Switch Applications | Alt + Tab | Cmd + Tab | Alt + Tab or Super + Tab |
| Switch Windows (Same App) | Alt + ` | Cmd + ` | Alt + or Ctrl + |
| Close Window | Alt + F4 | Cmd + W | Alt + F4 |
| Quit Application | Alt + F4 | Cmd + Q | Ctrl + Q or Alt + F4 |
| Minimize Window | Win + Down | Cmd + M | Super + H |
| Maximize/Restore Window | Win + Up | Ctrl + Cmd + F or Double-click title bar | Super + Up |
| Snap Window Left | Win + Left | Ctrl + Opt + Left (with shortcuts set) | Super + Left |
| Snap Window Right | Win + Right | Ctrl + Opt + Right (with shortcuts set) | Super + Right |
| Show All Windows (Overview) | Win + Tab | F3 or Ctrl + Up | Super or Super + S |
| Hide Current Application | N/A | Cmd + H | Super + H |
| Hide All Other Applications | N/A | Cmd + Opt + H | N/A (DE dependent) |
| New Window | Ctrl + N | Cmd + N | Ctrl + N |
| New Tab | Ctrl + T | Cmd + T | Ctrl + T |
| Close Tab | Ctrl + W | Cmd + W | Ctrl + W |
| Reopen Closed Tab | Ctrl + Shift + T | Cmd + Shift + T | Ctrl + Shift + T |
| Switch to Next Tab | Ctrl + Tab | Cmd + Shift + ] or Ctrl + Tab | Ctrl + Tab or Ctrl + Page Down |
| Switch to Previous Tab | Ctrl + Shift + Tab | Cmd + Shift + [ or Ctrl + Shift + Tab | Ctrl + Shift + Tab or Ctrl + Page Up |
| Full Screen | F11 | Ctrl + Cmd + F | F11 |
| Shortcut Name | Windows | macOS Tahoe | Linux |
|---|---|---|---|
| Select All | Ctrl + A | Cmd + A | Ctrl + A |
| Cut | Ctrl + X | Cmd + X | Ctrl + X |
| Copy | Ctrl + C | Cmd + C | Ctrl + C |
| Paste | Ctrl + V | Cmd + V | Ctrl + V |
| Undo | Ctrl + Z | Cmd + Z | Ctrl + Z |
| Redo | Ctrl + Y | Cmd + Shift + Z | Ctrl + Y or Ctrl + Shift + Z |
| Find | Ctrl + F | Cmd + F | Ctrl + F |
| Find Next | F3 or Ctrl + G | Cmd + G | Ctrl + G or F3 |
| Replace | Ctrl + H | Cmd + Opt + F or Cmd + F then Opt | Ctrl + H |
| Go to Line | Ctrl + G | Cmd + L | Ctrl + I or Ctrl + G |
| Move Cursor to Line Start | Home | Cmd + Left | Home or Ctrl + A |
| Move Cursor to Line End | End | Cmd + Right | End or Ctrl + E |
| Move Cursor to Document Start | Ctrl + Home | Cmd + Up | Ctrl + Home |
| Move Cursor to Document End | Ctrl + End | Cmd + Down | Ctrl + End |
| Move Cursor One Word Left | Ctrl + Left | Opt + Left | Ctrl + Left |
| Move Cursor One Word Right | Ctrl + Right | Opt + Right | Ctrl + Right |
| Select to Line Start | Shift + Home | Cmd + Shift + Left | Shift + Home |
| Select to Line End | Shift + End | Cmd + Shift + Right | Shift + End |
| Select Word | Double-click | Double-click | Double-click |
| Select One Word Left | Ctrl + Shift + Left | Opt + Shift + Left | Ctrl + Shift + Left |
| Select One Word Right | Ctrl + Shift + Right | Opt + Shift + Right | Ctrl + Shift + Right |
| Delete Word Left | Ctrl + Backspace | Opt + Backspace | Ctrl + Backspace |
| Delete Word Right | Ctrl + Delete | Opt + Delete | Ctrl + Delete |
| Delete Line | Ctrl + Shift + K (VS Code) | Cmd + Delete | Ctrl + Shift + K (varies) |
| Shortcut Name | Windows | macOS Tahoe | Linux (GNOME) |
|---|---|---|---|
| Open File Explorer/Finder | Win + E | Cmd + Space, type “Finder” | Super + E or Files app |
| Lock Screen | Win + L | Ctrl + Cmd + Q | Super + L |
| System Search | Win + S or Win | Cmd + Space (Spotlight) | Super or Super + S |
| Screenshot (Full Screen) | Win + PrtScn | Cmd + Shift + 3 | PrtScn or Shift + Cmd + Print |
| Screenshot (Selection) | Win + Shift + S | Cmd + Shift + 4 | Shift + PrtScn |
| Screenshot (Window) | Alt + PrtScn | Cmd + Shift + 4, then Space | Alt + PrtScn |
| Task Manager/Activity Monitor | Ctrl + Shift + Esc | Cmd + Opt + Esc (Force Quit) | Ctrl + Alt + Delete or System Monitor |
| Show Desktop | Win + D | F11 or Cmd + F3 | Super + D |
| Settings/Preferences | Win + I | Cmd + , (in app) | Super + I or Settings app |
| Emoji Picker | Win + . or Win + ; | Ctrl + Cmd + Space | Ctrl + . or Super + . |
| Open Terminal/Command Prompt | Win + X, then I | Cmd + Space, type “Terminal” | Ctrl + Alt + T |
| Rename File | F2 | Return/Enter | F2 |
| Refresh | F5 | Cmd + R | F5 or Ctrl + R |
| Open Link in New Tab | Ctrl + Click | Cmd + Click | Ctrl + Click |
| Zoom In | Ctrl + Plus | Cmd + Plus | Ctrl + Plus |
| Zoom Out | Ctrl + Minus | Cmd + Minus | Ctrl + Minus |
| Reset Zoom | Ctrl + 0 | Cmd + 0 | Ctrl + 0 |
| Navigate Back | Alt + Left or Backspace | Cmd + [ or Cmd + Left | Alt + Left |
| Navigate Forward | Alt + Right | Cmd + ] or Cmd + Right | Alt + Right |
| Address Bar/URL | Ctrl + L or F6 | Cmd + L | Ctrl + L or F6 |
| New Private/Incognito Window | Ctrl + Shift + N | Cmd + Shift + N | Ctrl + Shift + N |
| Bookmark Page | Ctrl + D | Cmd + D | Ctrl + D |
| Show Bookmarks | Ctrl + Shift + O | Cmd + Opt + B | Ctrl + Shift + O |
| Developer Tools | F12 or Ctrl + Shift + I | Cmd + Opt + I | F12 or Ctrl + Shift + I |
| Shortcut Name | Windows | macOS Tahoe | Linux (GNOME) |
|---|---|---|---|
| Run Dialog | Win + R | Cmd + Space, type app name | Alt + F2 |
| Virtual Desktop Left | Win + Ctrl + Left | Ctrl + Left | Super + Page Up or Ctrl + Alt + Left |
| Virtual Desktop Right | Win + Ctrl + Right | Ctrl + Right | Super + Page Down or Ctrl + Alt + Right |
| Move Window to Desktop Left | Win + Shift + Left (monitor) | Ctrl + Opt + Shift + Left (custom) | Super + Shift + Page Up |
| Move Window to Desktop Right | Win + Shift + Right (monitor) | Ctrl + Opt + Shift + Right (custom) | Super + Shift + Page Down |
| App-specific Preferences | Ctrl + , (many apps) | Cmd + , | Ctrl + , (varies by app) |
| Quick Actions/Command Palette | Ctrl + Shift + P (VS Code) | Cmd + Shift + P (VS Code) | Ctrl + Shift + P (varies) |
| File Browser Quick Access | Ctrl + E, then type (Explorer) | Cmd + Shift + G (Go to Folder) | Ctrl + L (location bar) |
| Cycle Through Windows (Reverse) | Alt + Shift + Tab | Cmd + Shift + Tab | Alt + Shift + Tab |
| Open in New Window | Ctrl + Shift + N | Cmd + Shift + N | Ctrl + Shift + N |
Windows: The Windows key (Win) is your primary system-level modifier. Most system shortcuts combine Win with another key. Ctrl is used for application-level shortcuts.
macOS Tahoe: Command (⌘) serves the role that Ctrl fills on other platforms for most app shortcuts. Control is used for system-level navigation. Option (⌥) often modifies existing shortcuts for alternate behaviors. The new Liquid Glass interface in Tahoe maintains all traditional keyboard shortcuts while adding new window tiling capabilities accessible through customizable shortcuts.
Linux: Shortcuts vary by desktop environment (GNOME, KDE, XFCE, etc.). The Super key (Windows key) typically handles system-level shortcuts in GNOME. Many distributions allow extensive customization. The shortcuts listed here are GNOME defaults but may differ in other environments.
Pro Tip: Don’t try to memorize all these shortcuts at once. Pick 3-5 that would save you the most time in your daily workflow, use them consistently for a week until they become muscle memory, then add a few more. Within a month, you’ll have transformed your computing efficiency.
Think of the keyboard shortcut not as a relic of the past, but a superpower waiting to be rediscovered.
Alright, let’s dive into the fascinating, sometimes frustrating, but ultimately fantastic world of Docker. Many times, when developers talk about Docker, it sounds like they’re discussing some kind of dark magic performed with command-line incantations. But trust me, it’s less Doctor Strange and more of a really well-organized travel agent for your code.
If you’ve spent any time around software development teams, you’ve probably heard hushed whispers, or perhaps outright frustrated shouts, about “environments.” Specifically, the dreaded phrase: “But it works on my machine!”
This isn’t just a developer meme; it’s a very real problem. Imagine building a magnificent LEGO Millennium Falcon on your office shelf. You’ve got all the right bricks, the perfect lighting, and your cat is providing just the right amount of chaotic energy. Now, imagine trying to move that exact same Millennium Falcon, perfectly intact, to your new house across the country. Suddenly, you’re missing a specific green brick, the lighting is different, and your new neighbor’s dog ate the instructions. Frustrating, right?
That, in a nutshell, is the “environment problem” in software. My machine has Python 3.9, your server has 3.7. My database is version X, yours is version Y. I installed a specific library globally, you didn’t. This seemingly small discrepancies can cause massive headaches, from infuriating bugs to endless debugging sessions that feel like trying to find a needle in a haystack made of spaghetti code.
Enter Docker. Think of Docker not just as a suitcase, but as a magic, self-contained travel capsule for your entire application and everything it needs to run. When I pack my application into a Docker container, it’s like I’m putting my LEGO castle, all the specific bricks, the lighting setup, and even my (well-behaved) cat, into a perfectly sealed, portable, and reproducible environment.
This is not only helpful when distributing my own code, but it makes Docker a poweful tool to use other developers code, without having to worry about whether it is going to work on my machine or not.
At its core, Docker is a platform that allows you to automate the deployment, scaling, and management of applications using something called containers .
Let’s break down the two most important concepts:
Docker Images: The Blueprints of Your Application An image is a lightweight, standalone, executable package of software that includes everything needed to run an application: the code, a runtime (like Node.js or Python), system tools, libraries, and settings. Think of a Docker Image as the detailed blueprint or a “read-only template” for your magic suitcase. It specifies exactly what goes into it and how it should be arranged. If you build a Python application, your image would include Python, your application code, and any specific Python libraries it depends on.
Docker Containers: The Running Instances of Your Application A container is a runnable instance of an image. If the image is the blueprint, the container is the actual, running LEGO castle that you’ve assembled from that blueprint. You can create multiple containers from a single image, and each container will be isolated from the others and from the host machine’s operating system. This isolation is key. It means that whatever you do inside one container won’t affect another, and your local machine’s setup won’t interfere with the application running in the container.
The benefits of this containerization approach are immense, especially for product teams:
Consistency (The “Works on My Machine” Killer): This is the holy grail. Once you build a Docker image, it will run exactly the same way, everywhere: on your laptop, on your colleague’s laptop, on the testing server, and in production. No more environment headaches. This massively speeds up development, testing, and deployment cycles.
Isolation (Like Separate Playrooms): Each container runs in isolation. This means if you have three different applications, each requiring a different version of a database or a programming language, they can all run simultaneously on the same machine without interfering with each other. It’s like giving each application its own dedicated playroom with its own set of toys.
Portability (Pack Light, Travel Far): Docker containers are incredibly portable. You can move them from one environment to another with minimal fuss. This is a game-changer for deploying applications to cloud providers or on-premise servers.
Efficiency (Lean and Mean): Containers are much lighter and faster to start than traditional virtual machines (VMs). VMs virtualize an entire operating system, which is heavy. Containers only virtualize the application layer, sharing the host OS’s kernel. This saves resources and speeds up deployment.
Scalability (Ready for the Big Leagues): Because containers are isolated and portable, it’s much easier to scale your applications up or down. If your application needs to handle more traffic, you can spin up more instances of its Docker container with ease.
Let’s say you’re a member of the product team and you want to run your product’s source code locally, for documentation purposes:
Without Docker:
With Docker:
Dockerfile (a text file with instructions) that tells Docker how to build your application’s image. This file might metaphorically say: “Start with a Python base image, copy the source code in, install these Python packages, and then run the app.”Dockerfile.Another scenario could be that you are on the product team or a soloprenure and want to take advantage of automation tools like n8n
Since tools like this come with subscription costs, but also offer self-hosted options, it can be advantageous to host the tool yourself, for free, using Docker:
One-Command Setup
n8n and its database) with a single command: docker compose up. It saves time and prevents setup errors.Clean & Isolated Environments
It Just Works, Everywhere
Easy to Experiment & Update
n8n? With Docker, it’s often as simple as changing one line in a configuration file. You can easily test new versions without fear of breaking your entire setup.In short, Docker handles the complex setup and system management for you, allowing you to focus on actually using the tool, not fighting to get it running.
While Docker is not normally in the toolbox of product managers and product designers, it is becoming one of the tools needed to take full advantage of LLMs, MCPs and other AI tools. This is why it is important to be familiar with how it works and how it can be an effective tool when developing software products.

Your Local Development Machine: This is your computer where you write code and run Docker.
Dockerfile & Code:
You start with your application’s code.
You create a Dockerfile, which is a text file containing a list of instructions on how to build a Docker Image. These instructions include things like which base image to use (e.g., Ubuntu, Python), what dependencies to install, and what command to run when the container starts.
Docker Images:
When you run the docker build command, the Docker Engine reads your Dockerfile and creates a Docker Image.
An image is a lightweight, standalone, and executable package that includes everything needed to run a piece of software, including the code, a runtime, libraries, environment variables, and config files.
Images are like templates or blueprints for containers.
Docker Containers:
When you run the docker run command, the Docker Engine creates a Container from a Docker Image.
A container is a running instance of an image.
Each container is an isolated environment. This means that an application in one container runs independently from your main operating system and from other containers. This prevents conflicts between different versions of libraries and dependencies.
You can have multiple containers running at the same time, for example, one for your web application and another for your database.
Docker might seem daunting at first glance, but at its heart, it’s about making software development more predictable, efficient, and less prone to environmental surprises. It’s the ultimate tool for ensuring code’s journey from local machine to production is smooth sailing, not a shipwreck.
So, the next time you hear “Docker,” don’t picture a complex monster. Picture that magical suitcase, ensuring your code, like your perfectly built LEGO Millennium Falcon, always arrives intact and ready to shine, no matter where it lands. And that, my friends, is pure magic in the world of software product engineering.
So you’ve spent months building the next revolutionary mobile app. Features are solid, code is clean, and you’re ready to change the world. Then reality hits, users are confused, engagement is not at the level you anticipated, and your App Store reviews read like frustrated sighs.
Sometimes the difference between apps users love and apps they delete often comes down to following the OS(Operating Systems) design guidelines. Not the sexy, cutting-edge stuff from tech conferences, but the bread-and-butter principles Apple and Google have perfected over decades in their mobile experiences.

The Apple Human Interface Guidelines have existed since 1977, detailing design principles for Apple II, and they’ve evolved into something far more comprehensive than those early computer manuals. The Apple Human Interface Guidelines emphasize three core principles:
Clarity: Your grandmother should figure out your app without tech support. Every element should scream its purpose without actually screaming.
Deference: Know when to step back. Your beautiful gradient shouldn’t compete with the content users came to see.
Depth: Create satisfying layers and hierarchy that make navigation feel natural.
One of Apple’s most underrated gifts to developers is their free resources. From the developers resource site you can find almost anything you would need to properly present, design and develop a software product for Apple’s ecosystem. One of the most helpful for me lately has been SF Symbols 7 This isn’t just about having pretty icons; it’s about speaking the same visual language your users already know.

Google introduced Material Design in 2014. It was developed to create a novel visual language, synthesizing the classic principles of interface design with the innovation and possibility of technology and science.
Material Design is an adaptable system—backed by open-source code—that helps teams build high quality digital experiences. The beauty lies in its four core principles:
Here’s where things get interesting from a business perspective. Research indicates that apps following these principles see a reduction in user errors by up to 30% compared to those that do not. That’s not just a nice-to-have, that’s a direct impact on your support costs and user satisfaction.
Even more compelling; a recent survey from UserTesting indicated that 70% of users abandon applications due to poor usability . When you consider that acquiring a new user can cost 5-25 times more than retaining an existing one, suddenly those design guidelines start looking like a pretty solid investment.
If you’re building for iOS, the HIG isn’t just a suggestion—it’s your roadmap to App Store approval. A side benefit is that an application will complete the App Store approval process in a more timely manner because the UI and its controls appear and operate in the manner expected by the reviewers.
For Android development, Material Design isn’t just recommended—it’s practically mandatory for creating apps that feel native. With Google and Android’s wide adoption, using the principles of Material Design will make your users feel at home with your product.
You don’t need to overhaul your entire app overnight. User engagement can increase by up to 50% when elements are distinctly categorized. Start with these quick wins:
Guidelines aren’t binding documents, they’re more like really good advice from experienced mentors. It’s about striking a balance between innovation and consistency. Users want apps that look and feel like they belong on their device, but they also appreciate when developers push the boundaries and come up with fresh ideas.
The key is understanding why the guidelines exist before you decide to ignore them. If you’re deviating to solve a real user problem, you’re probably on the right track. If you’re deviating because “it looks cooler,” you may want to reconsider.
How do you want your design system to be used within your organization or as your product grows? This is the million-dollar question that separates good teams from great ones.
Think of these design guidelines as the foundation of your product’s personality. They’re not constraints—they’re the grammar that lets you write beautiful, coherent sentences in the language of user experience.
They also serve as a template for what you want to consider adding to your own design system. While there is no “right” way to deploy a design system, it is more about what is right for your team. These guidelines offer a good tutorial on what your design system should try to achieve.
Following design guidelines isn’t about playing it safe—it’s about respecting your users’ time and mental energy. 85% of users indicate design as a primary reason for downloading apps , making this strategic, not just aesthetic.
The real magic happens when these guidelines become second nature to your team. When your designers and developers can focus on solving unique problems instead of reinventing basic interactions, that’s when innovation thrives.
Whether you’re team iOS, team Android, or swimming in the choppy waters of cross-platform development, these guidelines are your life raft in the sea of user experience decisions. They won’t solve every problem, but they’ll keep you from drowning in the chaos of arbitrary design choices.
Your users might not notice when you follow the guidelines perfectly, but they’ll definitely notice when you don’t. And in the app ecosystem, being unnoticed is infinitely better than being uninstalled.
Ready to dive deeper? Check out Apple’s HIG and Material Design for the complete guide.
If you’re a software product designer or product manager, it’s time to make friends with that intimidating black box called the terminal. This application is becoming essential when utilizing LLMs and AI assistants beyond the chat prompt. Think of all those times Claude tells you to “run this command in your terminal” and you suddenly feel like you’re messing about with the innards of your computer. Beyond AI tools, terminal fluency will make you more productive and informed when working with your developer counterparts.
In this article, I’m going to break down what you need to know as a product team member and give you what I believe is enough of a foundation to confidently navigate the command line without accidentally reformatting your hard drive.
The Terminal (sometimes referred to as the terminal emulator) is a program that simulates a text-based command-line interface, allowing users to interact directly with the operating system through typed commands. It exists to provide powerful, scriptable control over the system without graphical interfaces getting in the way. This enables automation, remote access, and efficient system management for technical users.
Most non-developers get very intimidated by this commonly used application because is is just not used often by other professionals. There is an incredibly large set of commands, tasks and automations you can run which makes it difficult to know where to get started. Not to worry, this tutorial will give you a solid launching pad.
If you are on a Mac, the default terminal application that comes bundled with MacOS will be just fine to get you started. There are lots of terminal emulators out there and I encourage you to take a look at some of them once you are comfortable.
On Windows, again, I suggest you start with the bundled Windows Terminal. I use this every day and find it to suit my needs. However it has caveats. First, the “shell” is different, as it uses Microsoft’s own Powershell to run commands. These commands are very different and only run on Microsoft architecture, and since we have decided not to get into shells here, there are alternatives. What you really want to do if you are on Windows is activate Windows Subsystem for Linux or WSL. Especially if you plan on doing web development or rapid prototyping.
If you don’t want to go through all that noise at the moment. Download Git Bash and you will have what you need to get started on Windows.
For Linux users, I would expect you do not need me to suggest a Terminal application.
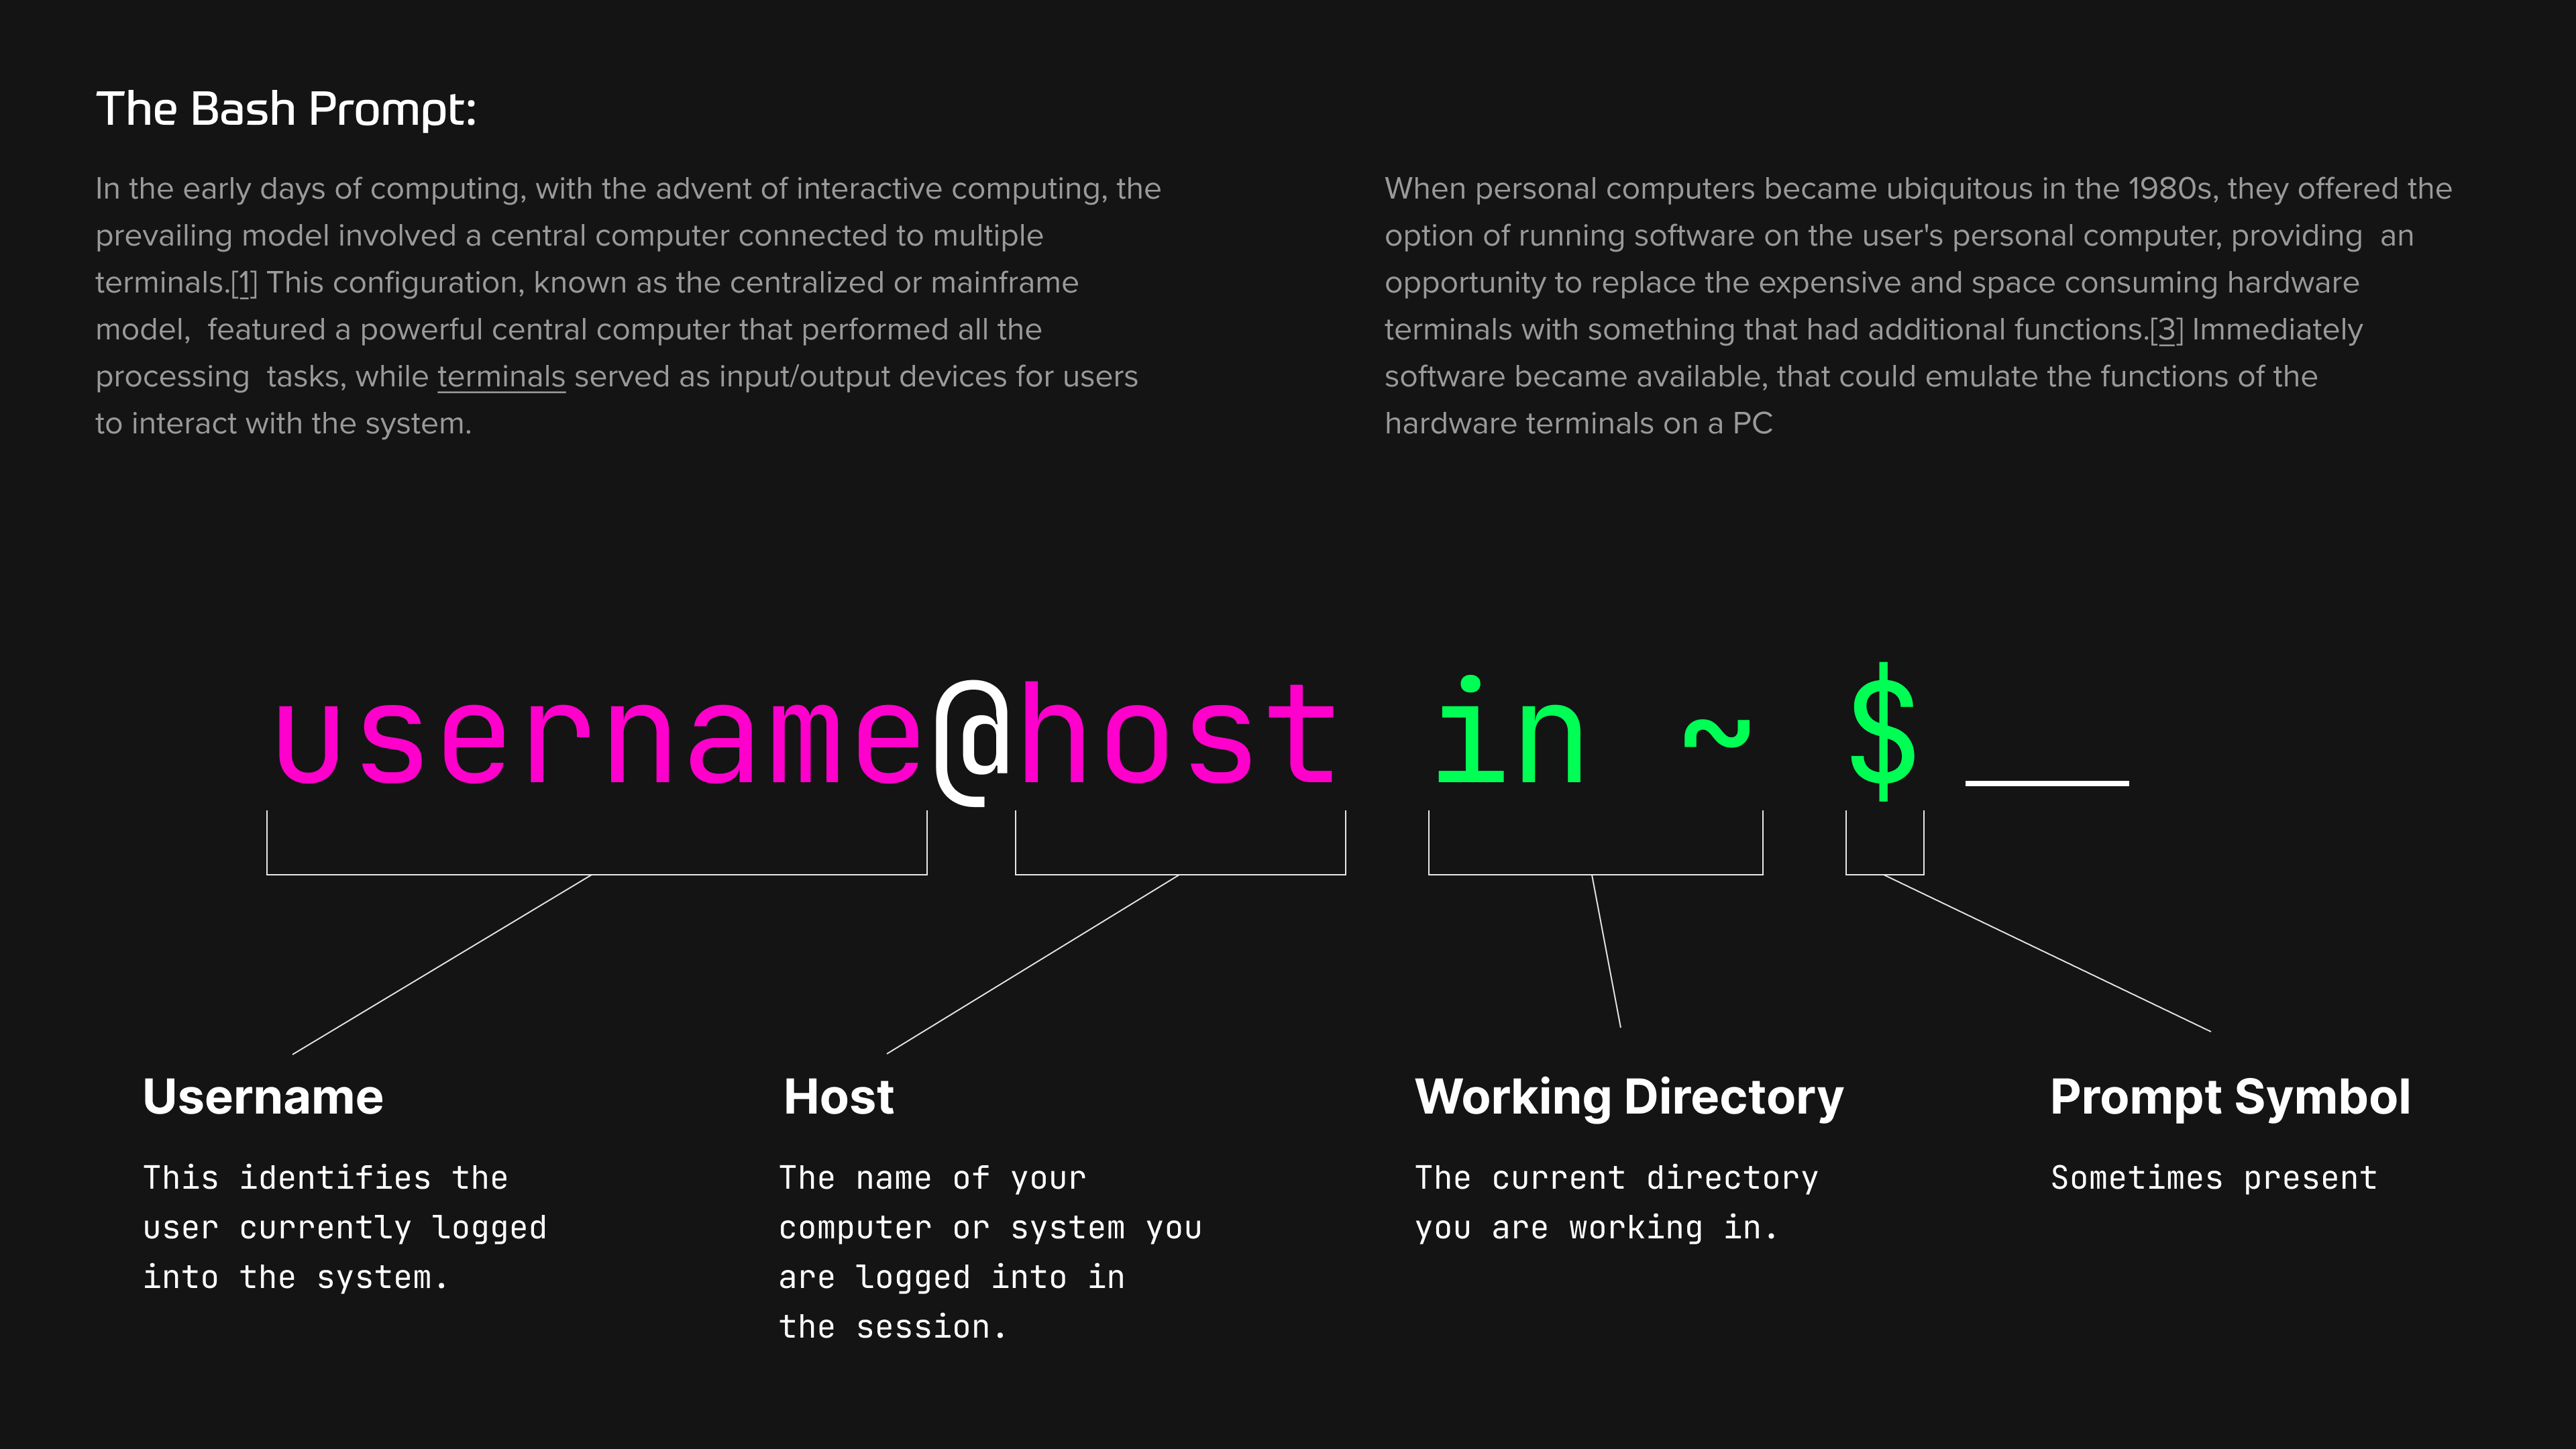
When you launch your terminal you are launching what is sometimes referred to as a ‘session’. This is only important so you understand how some of the terminology is used in relation to the commands you run. You can have multiple sessions (instances of the terminal) running at once. What you do in one session may not affect the other depending on what you are doing.
Using the terminal is like any other application, since it gets most of it’s input from the key commands we will start there and work our way more functional commands.
| Command | Description |
|---|---|
Up Arrow |
Will show the last command you entered (command history) |
Down Arrow |
Will show the next command you entered (command history) |
Left Arrow |
Move the cursor to the left |
Right Arrow |
Move the cursor the the right |
Ctrl + A |
Will move the cursor to the beginning of a the line |
Ctrl + E |
Will move the cursor to the end of the line |
Ctrl + Left/Right Arrow |
Move the cursor from word to word of a line |
Ctrl + C |
Cancels the command or currently running process in the terminal session |
Ctrl + R |
Search command history |
Ctrl + L |
Clears the terminal screen but does not clear the session |
One of the advantages of the terminal is it’s longevity, it is probably the most prolific and has the longest lifespan of any other user facing application on your computer. This pedigree comes with the benefit of being around before the internet was a mainstream playground. Manuals for the commands needed to come with the terminal program itself so users had a guide. I highly suggest you go down the rabbit hole of reading the man pages for some of the commands we will highlight below.
If you are a Mac or Linux user, you can use the man command to show the manual of any command used in the terminal.
man [command] # i.e. man ls
Most, but not all commands used in the terminal also have a --help option that will display common usage and examples. However, this is not always the case and is not available for most system level commands like ls and cd.
For those of you using GitBash, the man command does not come packaged with the terminal emulator. You can however use the --help option to get information about the commands.
mkdir --help
While in the manual you can navigate using the Up/Down Arrow keys. You exit by typing q for quit.
This is a simple command but one that always comes in handy for beginners. The Path To Working Directory command or pwd outputs your current position within the file system.
pwd # will output something like '/Users/your_user_name'
Now we are hitting some of the useful commands and their flags/options that will help us get around the system. A flag or an option is usually preceded with a - or --.
| Command | Description |
|---|---|
ls |
Lists the contents of the current directory |
ls -a |
Lists ALL of the contents of the current directory (including . files) |
ls -l |
Lists ALL the contents with other information including permissions |
ls -r |
Will list the content in reverse order |
cd |
This will change directory used like: cd /path/to/directory |
cd .. |
This will take you one level up to the parent directory |
cd ../.. |
This will take you up the tree two directories |
cd - |
This will take you to the PREVIOUS directory which may not be the parent |
cd ~ |
Will take you to your home directory(on most systems simply typing cd alone will take you back to your home directory) |
You can use the command together to get information about the directory:
ls -al # This will output a list of ALL files in the directory including additional information.
Now that you have some information about navigating the file system using the terminal, we can move on to creating and modifying files.
| Command | Description |
|---|---|
mkdir [dir_name] |
Creates a directory |
touch [file_name] |
Creates a fiile |
cp [file_name] [dir_name] |
Copies the file to the directory |
mv [file_name] [dir_name] |
Moves the file to the directory |
mv [dir_name] [dir_name] |
Moves the directory to the directory |
mv [file_name] [file_name] |
Renames the file |
rm [file_name] |
Removes the file |
rmdr [dir_name] |
Removes the directory |
rmdr -rf [dir_name] |
Removes the directory and ALL of its contents |
Pro tip: When using the cp or mv command you can copy and move files in batches if they have a common suffix or prefix. For example if you just wanted to copy or move all of the .doc files you have in a directory you would do something like this:
cp *.doc ~/Documents # This will copy all .doc files to the target directory
You can also type two commands in the same line using the Logical AND operator && like so:
mkdir mydirectory && cd mydirectory # creates a directory then moves you to it
The cat command is like the Swiss Army knife of file operations, it can create files, but it’s most helpful for quickly peeking at file contents without opening a full editor.
cat [file_name] # will display the contents of the file
Use the cat command with > to create a file:
cat > myfile_01.txt
Use the cat command with >> to append contents from one file to another:
cat myfile_01.txt >> myfile_02.txt
The cat command is incredibly powerful and can be used in many productive ways (serious Unix wizards can do things with cat that would make your head spin), but for the sake of this article, we’ll keep it simple and practical.
Nano is a text editor that lives entirely in the terminal, think of it as Notepad’s command-line cousin. This is useful when you need to quickly edit file contents without launching a full GUI application. Most elite coders prefer vim, which is feature-rich but has a learning curve steeper than a San Francisco street. Nano is perfect for simple, quick edits without the existential crisis of trying to exit vim.
To open a file in Nano, use the nano command:
nano file_name.txt
This will put your terminal into the nano app. You can exit by hitting Ctrl + X—mercifully, nano actually tells you how to exit right there on the screen, unlike certain other editors that shall remain nameless.
find commandThe find command does exactly what you’d expect, it finds stuff. It’s like having a bloodhound for your file system, capable of tracking down files and directories based on various criteria.
To use the find command in its simplest form:
find [dir_name] -name [file_name]
You can find files that match patterns using wildcards. Let’s say you want to find all files with a specific pattern—maybe all those backup files you created with creative naming schemes:
find [dir_name] -name "*-name.txt"
To find files and directories starting from your current location, use the . (which represents “here”):
find . -name [file_name.txt]
grep commandThe grep command deserves its own graduate-level course, but it’s too useful not to mention. Think of grep as the “Find in Files” function of your IDE, but supercharged and running on pure caffeine. It allows you to search for text patterns in files, incredibly handy when you need to hunt down that specific error in a log file that’s longer than a George R.R. Martin novel.
grep [search_term] [file_name]
grep comes with helpful options that make searching more civilized. For example, you might want to see line numbers so you can actually find what you’re looking for:
grep -n [search_term] [file_name]
Or maybe you need to be case insensitive (because who has time to remember if that error message was “Error” or “ERROR”):
grep -i [search_term] [file_name]
Or perhaps you need to search multiple files simultaneously (because problems never confine themselves to just one file):
grep -i [search_term] [file_name] [file_name] [file_name]
There’s so much more you can do with grep (regex patterns, context lines, recursive directory searches), but let’s not turn this into a computer science thesis just yet.
head and tail CommandsThese two commands are the “preview” buttons of the terminal world. Useful when you want to peek at either the beginning or end of a file without opening the whole thing. This is especially helpful when monitoring log files or checking what’s been added recently. Each command outputs ten lines by default, but you can customize this easily.
First, to output the first ten lines of a file:
head [file_name]
To output the last ten lines of a file:
tail [file_name]
You can modify the amount of lines output by using the -n flag along with the number of lines you want to output:
tail -n 20 [file_name]
I use tail much more frequently for reading log files (because problems usually show up at the end), but both commands are incredibly useful for quick file inspection.
The commands we’ve covered here represent about 80% of what you’ll need for day-to-day product work involving the terminal. With them you can now navigate file systems, manipulate files, search for content, and most importantly, have a fundamental understanding of a standard tool in the product hacker’s utility belt.
Remember, the terminal isn’t trying to be your enemy; it’s just a tool that values precision over hand-holding. Every developer you work with learned these same commands at some point, probably while having the same apprehension you have now. Its okay if you do something incorrectly. One of the best ways to learn is to mess something up and have to fix it.
The beauty of terminal skills is that they’re transferable across projects, companies, and even decades. These commands have been around since before the iPhone existed and will probably outlive whatever JavaScript framework is trendy next week. Time invested in terminal literacy is time well spent.
As you get more comfortable, you’ll start to appreciate the speed and precision of command-line operations. What used to take several clicks and menu navigations can now be accomplished with a single command. You might even find yourself preferring the terminal for certain tasks—and when that happens, you’ll officially be one of us.
For continued learning and reference, check out these excellent resources:
Terminal Cheat Sheet - Use this Terminal cheat sheet as a reference. All the commands in this tutorial are covered.
CommandLineFu - A community-driven repository of command-line gems and one-liners. Perfect for discovering clever solutions and expanding your terminal vocabulary beyond the basics.
Terminal Tutor - Interactive terminal tutorials that let you practice commands in a safe, guided environment. Great for hands-on learners who want to experiment without consequences.
Ubuntu Command Line for Beginners - A comprehensive tutorial that works on any Unix-like system (Mac, Linux, WSL). Excellent for systematic learning with clear explanations.
MDN Command Line Crash Course - Mozilla’s developer-focused guide to command line basics, particularly useful for understanding how terminal skills integrate with web development workflows.
Now go forth and command your computer with confidence, your future self (and your developer teammates) will thank you!
In the ever-expanding universe of AI and LLMs, there’s a “buzz” acronym going around that may just save your team from chaos, inconsistency, and the dreaded “AI debt.” It’s called Model Context Protocol (MCP) , and no, it’s not trying to take over the Grid like its namesake from Tron. (Though it might be just as powerful in the right hands.)
If you’ve been dabbling with LLMs like ChatGPT, Claude, or any of their rapidly multiplying cousins, you’ve probably noticed the frustrating inconsistency in the output you get using prompts. One day your AI assistant writes perfect user stories, the next day it’s spinning tales about features you never asked for.
Why does this happen? Most people are just asking their AI models to perform tasks or output a variety of data, without providing proper context or assembly instructions.

At its core, a Model Context Protocol (MCP) is a structured framework for managing what information (ingredients) you feed to AI models, when you feed it, and how you format it (the assembly instructions). Think of it as the recipe book for an AI sandwich-making robot.
Without an MCP, you’re essentially walking into a kitchen, dropping a bunch of random ingredients on the counter, shouting “Make me a sandwich!” and then being surprised when the results are inconsistent. With an MCP, you’re providing a well-organized mise en place and a detailed recipe card.

Let me explain MCPs with a simple analogy: Imagine you have a sandwich-making robot (our AI model). You want this robot to make you a BLT sandwich.
If you simply tell the robot, “Make me a sandwich,” without any additional information, what happens? The robot has to guess what kind of sandwich you want. Maybe it makes a peanut butter and jelly. Maybe it makes a grilled cheese. Maybe it piles random ingredients together in a way no human would consider a sandwich. Each time you ask, you might get completely different results.
Why? Because you’ve given the robot (the model) no context (the ingredients) and no protocol (instructions on how to assemble them).
Let’s try again, but better this time:
First, you provide context: bacon, lettuce, tomato, mayonnaise, and two pieces of toasted white bread.
Then, you provide a protocol (instructions): “Start with one piece of toasted bread. Spread mayonnaise on that piece. Place a leaf of lettuce on top of the mayonnaise. Add two strips of bacon. Place tomato slices on the bacon. Spread mayonnaise on the second piece of toasted bread and place it on top, mayonnaise side down.”
Now your Sandwich-bot-01 can consistently make a perfect BLT sandwich every time. The robot (model) has the right ingredients (context) and clear instructions on how to use them (protocol).
Think of MCP as your AI communication blueprint. A well-designed protocol includes:
This is the foundation—the knowledge base, rules, and guidelines that define how your AI should behave in all situations. In our sandwich analogy, this is knowing what ingredients are available in the kitchen, how to operate the toaster, and basic food safety rules.
For your product, this is information about features, limitations, brand voice, and any boundaries your AI should respect.
This is about who is interacting with your AI and what you know about them. In the sandwich world, this is knowing that this particular customer likes extra crispy bacon and light mayo.
For your product or service, this might include the user/customer’s role, preferences, history with your brand, and access level.
This captures what’s been discussed so far and what might be relevant for future responses. In sandwich terms, this is remembering that the customer already asked for extra tomatoes and confirmed they want white bread, not wheat.
For your AI assistant, this is maintaining the thread of conversation and remembering what’s already been covered.
What is the user or customer trying to accomplish right now? This focuses the AI on the immediate objective. For our sandwich robot, this is understanding that right now we’re making a BLT, not a club sandwich.
For your product, this might be recognizing if the user is troubleshooting an issue, exploring new features, or trying to complete a specific task.
Even with MCPs, there are traps waiting for the unwary product team:
The Problem: Throwing everything including the kitchen sink into your context.
In sandwich terms, this is like giving the robot information about every possible sandwich in existence, the history of bread-making, and detailed profiles of every customer who’s ever ordered a sandwich—when all you need is to make one BLT.
The Solution: Be intentional and selective about what goes into each context. Focus on what’s relevant for the task at hand.
The Problem: Setting context once at the beginning and never updating it.
This is like telling your sandwich robot the customer wants a BLT, but not updating when they request “hold the mayo” halfway through their order.
The Solution: Make your MCP dynamic and responsive to the evolving conversation. Update context as new information becomes available. Just like other business documents, your context should be alive, and evolving.
The Problem: No plan for handling context limitations, leading to truncated or irrelevant context.
This is like trying to give the robot instructions for 20 different sandwiches at once, overwhelming its memory so it forgets the critical steps for the BLT it’s actually making.
The Solution: Prioritize the most relevant information and have a strategy for managing context limitations.
As AI capabilities evolve at warp speed, MCPs will become increasingly sophisticated:
Standardized Frameworks: Expect to see open-source MCP frameworks emerge with best practices built-in.
Context Optimization Services: Specialized cloud services that help manage and optimize context for different models.
Multi-Modal MCPs: Protocols that handle not just text, but images, audio, and even video inputs in structured ways.
Adaptive Context Engines: Systems that learn which context is most valuable for different types of queries and automatically optimize accordingly.
Ready to bring some order to your AI chaos? Here’s a practical roadmap:
Inventory Your Current AI Touchpoints: Where is AI already used in your product? How consistent are the results?
Define Your Context Categories: What product knowledge, user data, and task information would make your AI interactions better?
Start Small: Pick one AI feature and implement a simple MCP for it.
Measure the Results: Are responses more consistent? Is your team spending less time debugging weird AI behavior?
Iterate and Expand: Refine your approach based on real usage, then apply it to other AI features.
Unlike the power-hungry MCP from Tron, your Model Context Protocol won’t try to take over the world—but it might just save your product team from the growing chaos of unstructured AI implementations.
By bringing intentionality and structure to how your applications communicate with AI models, you’re building a foundation that will make future iterations faster, more reliable, and more maintainable.
As with any product architecture decision, the key is to start simple, learn from real usage, and iterate. Your first MCP doesn’t need to be perfect—it just needs to be better than the “throw ingredients on the counter and hope the robot makes a sandwich” approach that’s all too common today.
So go forth, impose some order on the AI chaos, and may your models always actually understand what your users mean!
About the author: A product designer who has survived enough AI hallucinations to know that structure isn’t just nice to have—it’s how we’ll all keep our sanity in the brave new AI world.
Last week, a conversation with my financial advisor sparked something unexpected. He mentioned struggling with an automation challenge—extracting data from files within zip folders that were automatically delivered to a specific directory.
Rather than pointing him to an off-the-shelf solution, I realized this was a perfect opportunity to flex my Python skills and collaborate with AI coding tools to build something tailored specifically for his needs. Within just a few hours of working with Replit and an LLM assistant, I had created a small, focused application that solved his exact problem.
This experience reminded me what I’ve always loved most about software development: creating targeted, efficient tools that make someone’s day-to-day work noticeably better.
For years, I’ve been building enterprise applications—complex systems designed to serve many users with diverse needs. While these platforms are impressive in scope, I’d forgotten the satisfaction that comes from creating a simple app that does one thing exceptionally well for a specific person or team.
There’s something refreshing about localized software that doesn’t require extensive web infrastructure, user management systems, or data handling frameworks. Instead, you can sit with a customer, understand their specific pain points, and craft a precise solution tailored exclusively to their workflow.
This financial advisor didn’t need a comprehensive “Swiss army knife” platform—he needed one automation fixed, and a targeted solution was far more valuable than any general-purpose tool.
I believe we’re witnessing the dawn of a new era—one where in-house development makes a comeback, powered by AI coding assistants. Not every business problem requires a SaaS solution or enterprise platform. Many organizations have specific challenges that could be elegantly solved with custom software built just for their internal use.
Think about the possibilities:
These aren’t necessarily problems that warrant bringing in large consulting firms like Accenture, but they represent real productivity roadblocks for businesses every day.
While AI coding tools aren’t perfect—my recent project required plenty of human intervention to correct Replit’s suggestions—they dramatically accelerate development for skilled practitioners. What might have taken me several days to build took just 3-4 hours with AI assistance.
It’s like having a junior developer on your team who can handle the basics while you focus on the more complex logic and architecture. This partnership model makes bespoke software development more accessible and efficient than ever before.
I envision a future where more businesses rediscover the value of in-house development teams focused on creating targeted solutions for internal challenges. These might be:
AI isn’t replacing developers—it’s expanding what’s possible for businesses that previously couldn’t justify custom software development. The barrier to entry for creating valuable, problem-solving applications has never been lower.
Perhaps we’re moving into an era where businesses rely less on one-size-fits-all SaaS solutions and more on purpose-built tools designed exclusively for their unique workflows and challenges. AI assistants are making in-house software development not just possible, but practical for a much broader range of organizations than ever before.
At the end of January, I embarked on a journey to experiment with AI coding assistants while creating a SaaS product. Within three weeks I launched EasyUserPersonas.com - a tool that generates detailed user personas for product development teams.
What makes this project particularly interesting is how I leveraged AI-assisted development to transform a concept into a fully functional product in my free time.
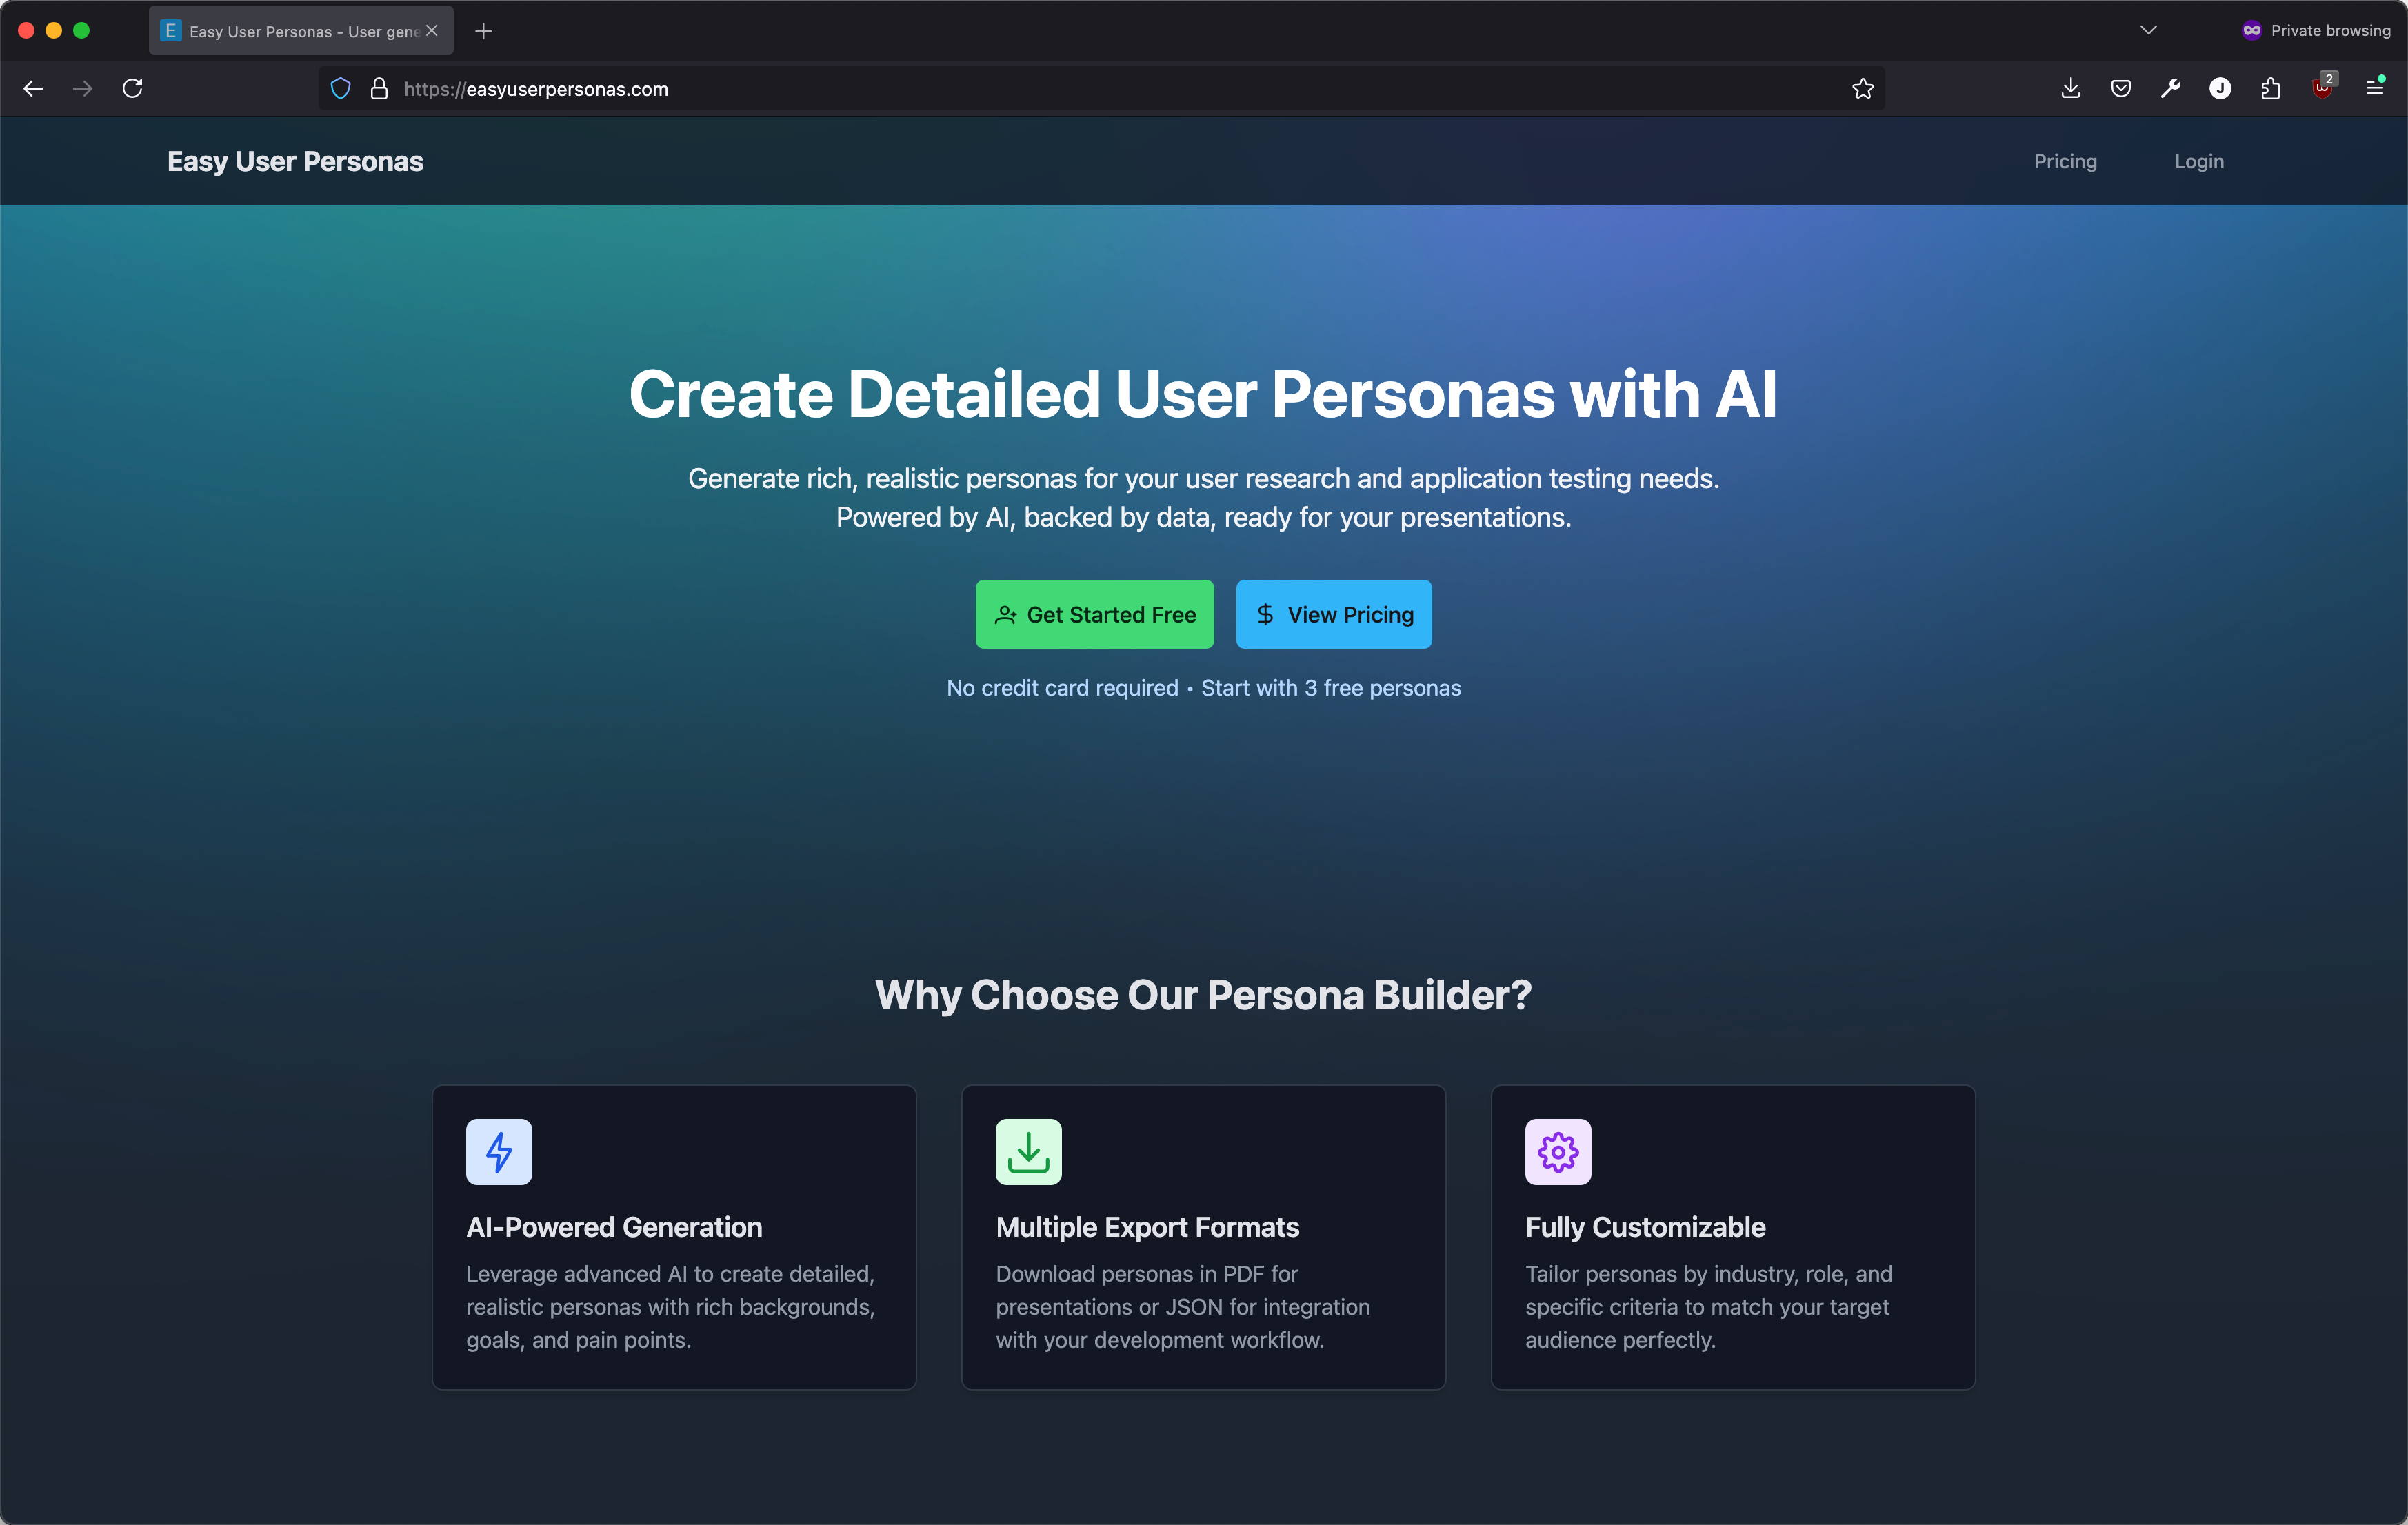
I started with a simple success criterion:
Generate realistic user personas via OpenAI’s API based on form inputs about target industries and roles.
I decided to test Bolt.new , one of the popular code assistants frequently featured by AI coding “influencers” on YouTube. The initial prototype integrated OpenAI’s API (specifically gpt-3.5-turbo) to generate personas based on simple HTML form inputs.
Bolt surprised me by quickly building a form based on my prompt. After providing my OpenAI API key, I had a working prototype - simple but effective proof that the concept was viable.
Encouraged by the prototype’s success, I expanded it into a full-fledged product with several key components:
I chose Vue as my primary front-end framework and added these essential tools:
This combination allowed me to focus on building features while giving specific instructions to the AI assistant. For example, I could say:
“Using primevue/InputText and primevue/Button, create a form that allows users to reset their password”
As a Tailwind newcomer, I found it to be a game-changer. Since I was designing the app as I built it, I could start with simple components and structure before adding polish later. Tailwind saved tremendous time with styling, and I could direct the assistant to use specific styles and layouts.
I needed this to be more than just a form returning personas. My wife, Abby, who is a digital project manager, suggested that many users might prefer building personas one at a time rather than in batches, which led me to develop a wizard-style user journey.
The coding assistant made this process much smoother. Once Bolt built all the wizard views, I connected them together, though I began encountering limitations with the Bolt hosted IDE.
Before moving to a local environment, I had to decide where to host the project and what database to use. I was already using Supabase to store generated personas, and its feature-rich, open-source nature with built-in authentication support made it an easy choice to continue with. I had Bolt build a Login/Registration page before transitioning to local development.
Moving to a local environment was surprisingly smooth. Bolt allows downloading your entire project as a zip file. Since this was a Vite project based on Node.js, I simply:
npm install from the root directory.env file with my database info and OpenAI API keyAt this point, I began using GitHub Copilot within VS Code, configured with Claude 3.5 Sonnet, and found the Copilot Edits sidebar particularly useful. I could focus the AI on specific files and reference functions, variables, and code objects directly in the chat:
“There seems to be an issue with the generateIndustry function on line 138 of GeneratePersonas.vue being invoked twice. Could you investigate why?”
I discovered it’s helpful to ask assistants how they would solve an issue before they execute solutions, allowing me to evaluate their approach.
What many AI coding tutorials don’t showcase are the real challenges of launching a public product. My project needed:
Setting up these components took most of the final week and a half of my free time, though it could be completed in a couple of days with uninterrupted work. Understanding CORS for secure communication between systems was particularly crucial.
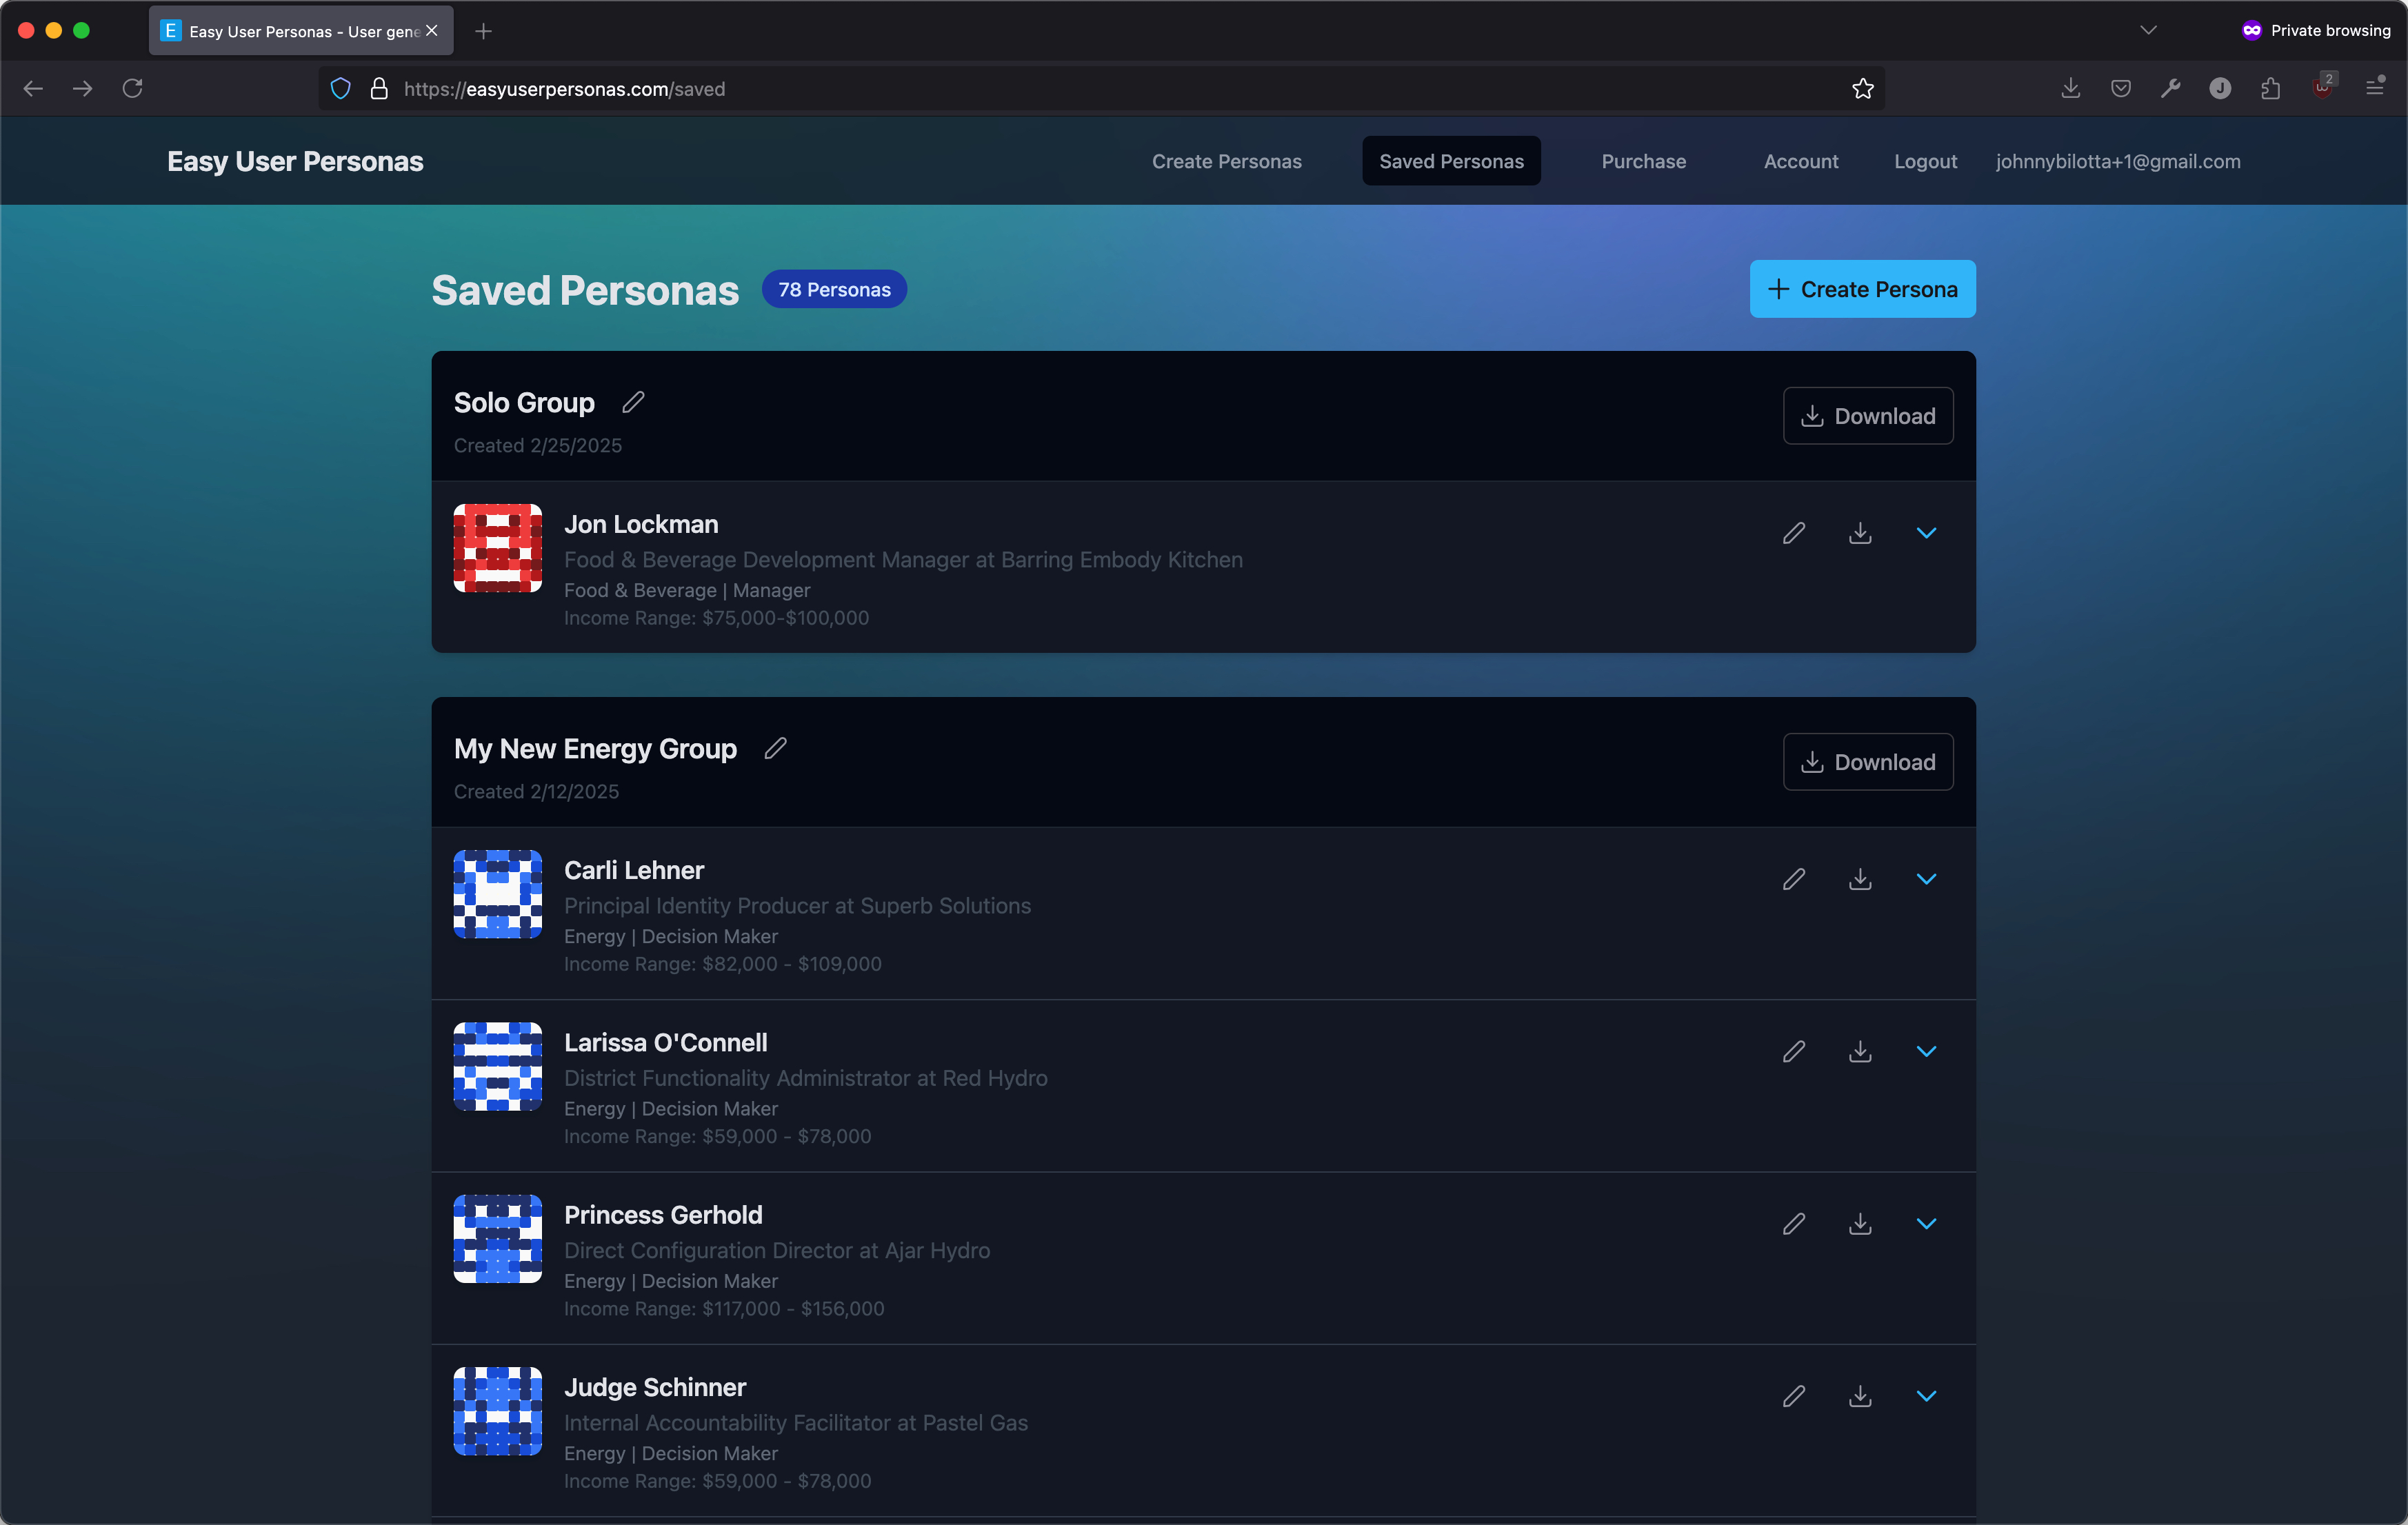
This project demonstrates how AI-assisted development tools can accelerate product development. Using Bolt for scaffolding and component generation allowed me to focus on unique application aspects while automating routine tasks. However, I don’t believe someone without digital product experience would achieve the same results in the same timeframe.
Many obstacles I encountered involved infrastructure and backend interactions necessary for a production-ready application. My development experience helped me overcome these challenges, but newcomers would likely struggle.
The AI occasionally misunderstood requirements or failed to consider the product holistically, with its effectiveness varying between prompts. This underscores the importance of having clear direction and the ability to make corrections - skills that require development experience.
Going from concept to working product in three weeks highlights the potential of AI-assisted development in modern software creation. It’s not just about coding faster; it’s about iterating quickly and bringing ideas to life more efficiently. For hybrid designer-developers, the potential is limitless.
Visit EasyUserPersonas.com to generate AI-powered user personas for your next project!
This week in useful stuff we have a guide to Flex Box, some useful web UI tools, backgrounds for Bootstrap development, some nifty logos for you to use as placeholders and our first installment of Git Repos to Star, The Book of Secret Knowledge.
Enjoy!
Link: CSS-Tricks/A Guide To Flex Box
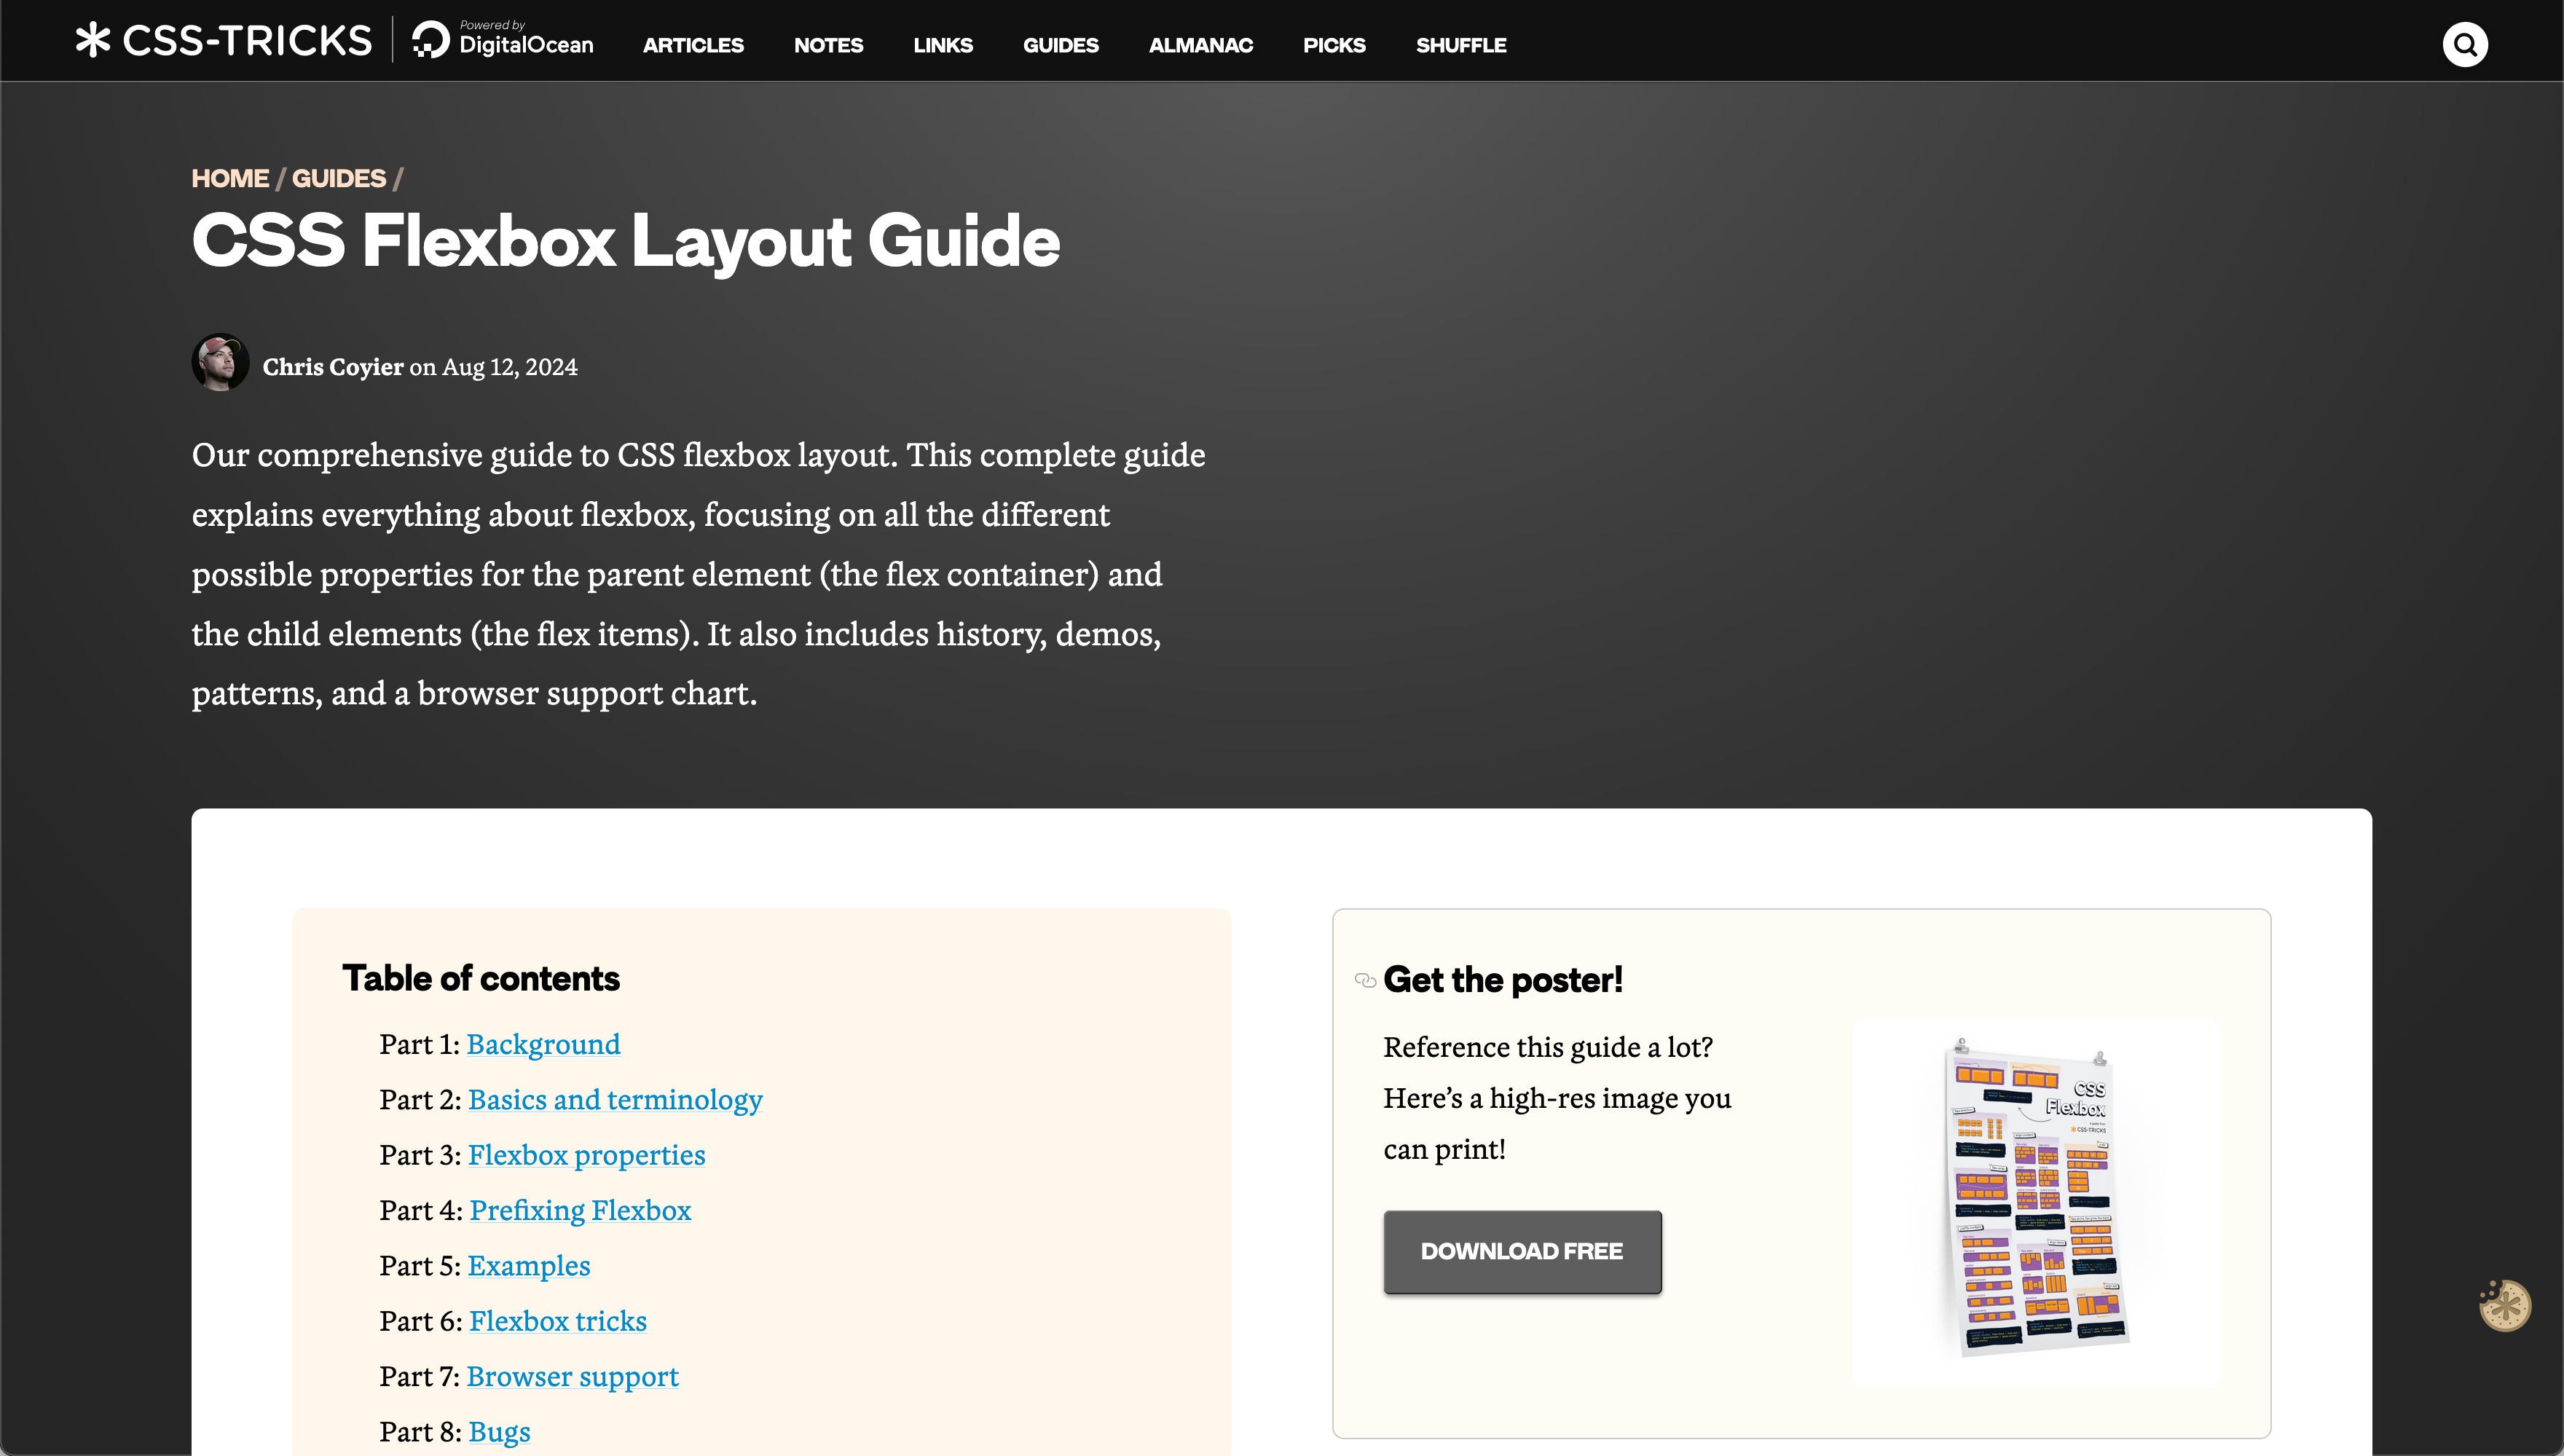
This comprehensive guide from CSS-Tricks provides a deep dive into Flexbox, a powerful CSS layout module. Learn how to efficiently arrange and align elements on your web pages, creating dynamic and responsive designs.
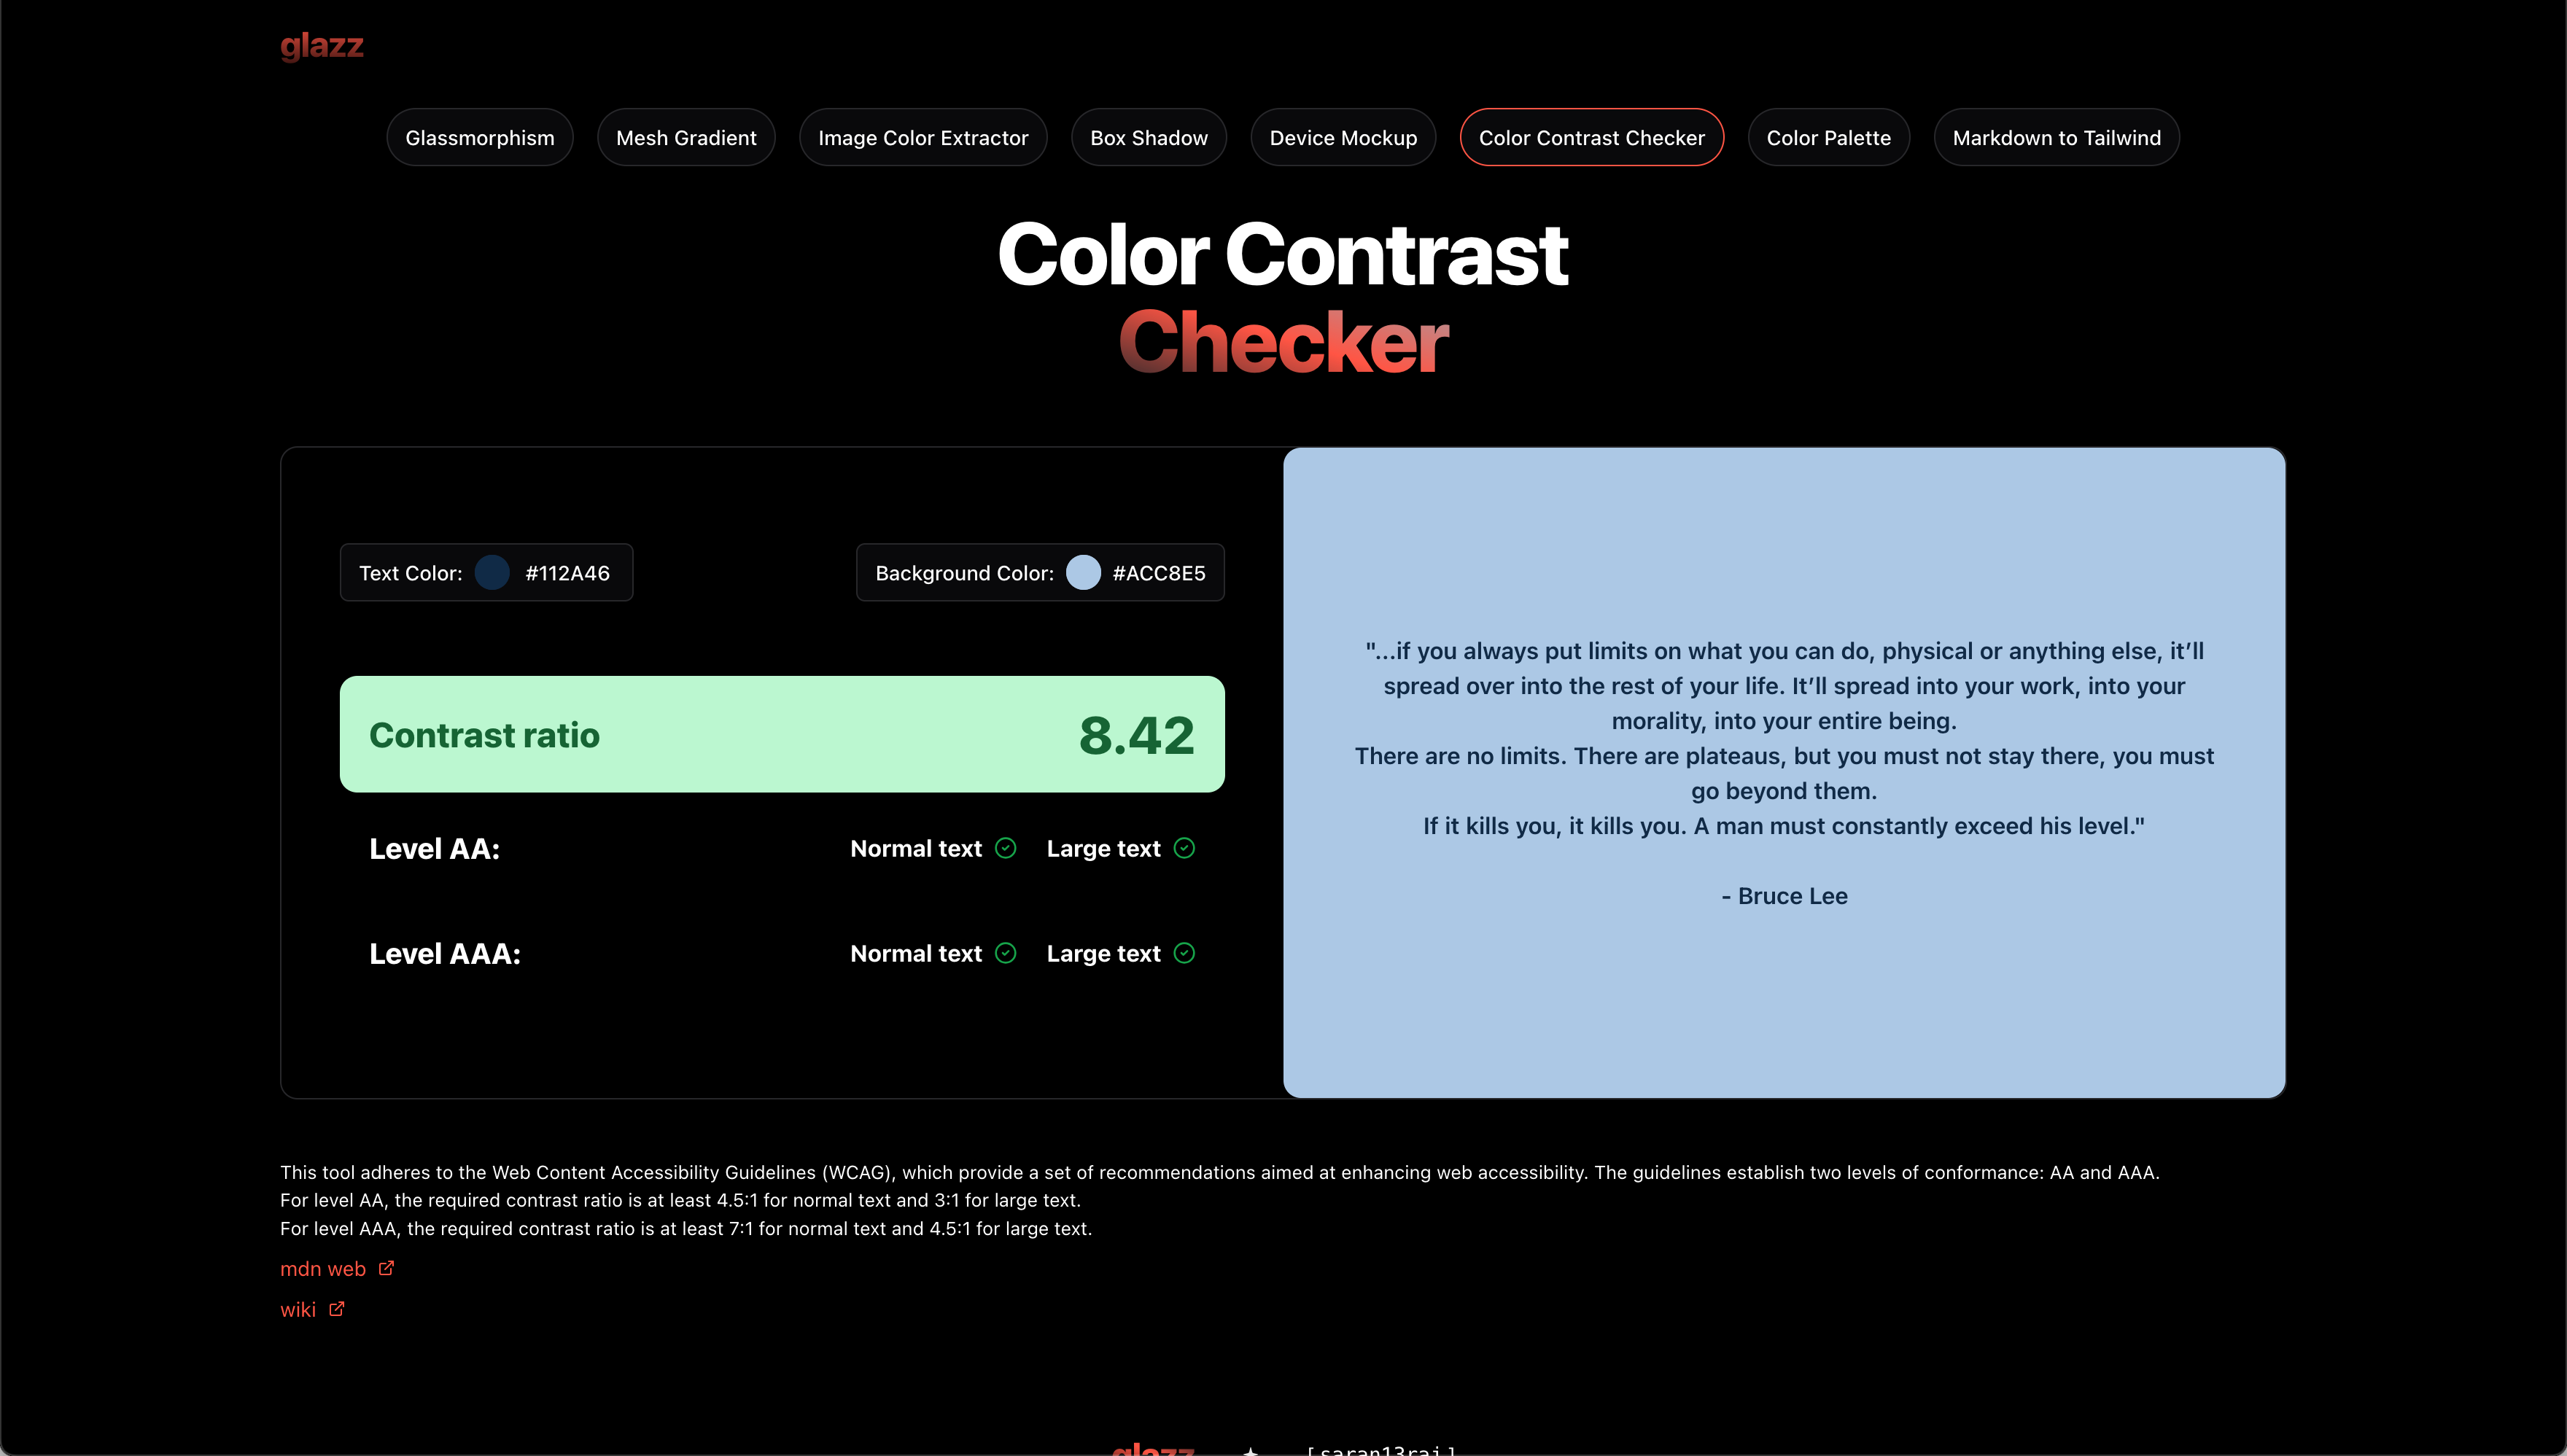
Stumbled upon this one, kind of my accident, through some Reddit rabbit hole that finally landed me here. This site is full of useful tools for the modern UI designer, specifically this Contrast Checker which allows you to compare your color palette to accessibility guidelines.
Link: Bootstrap Ninja Backgrounds
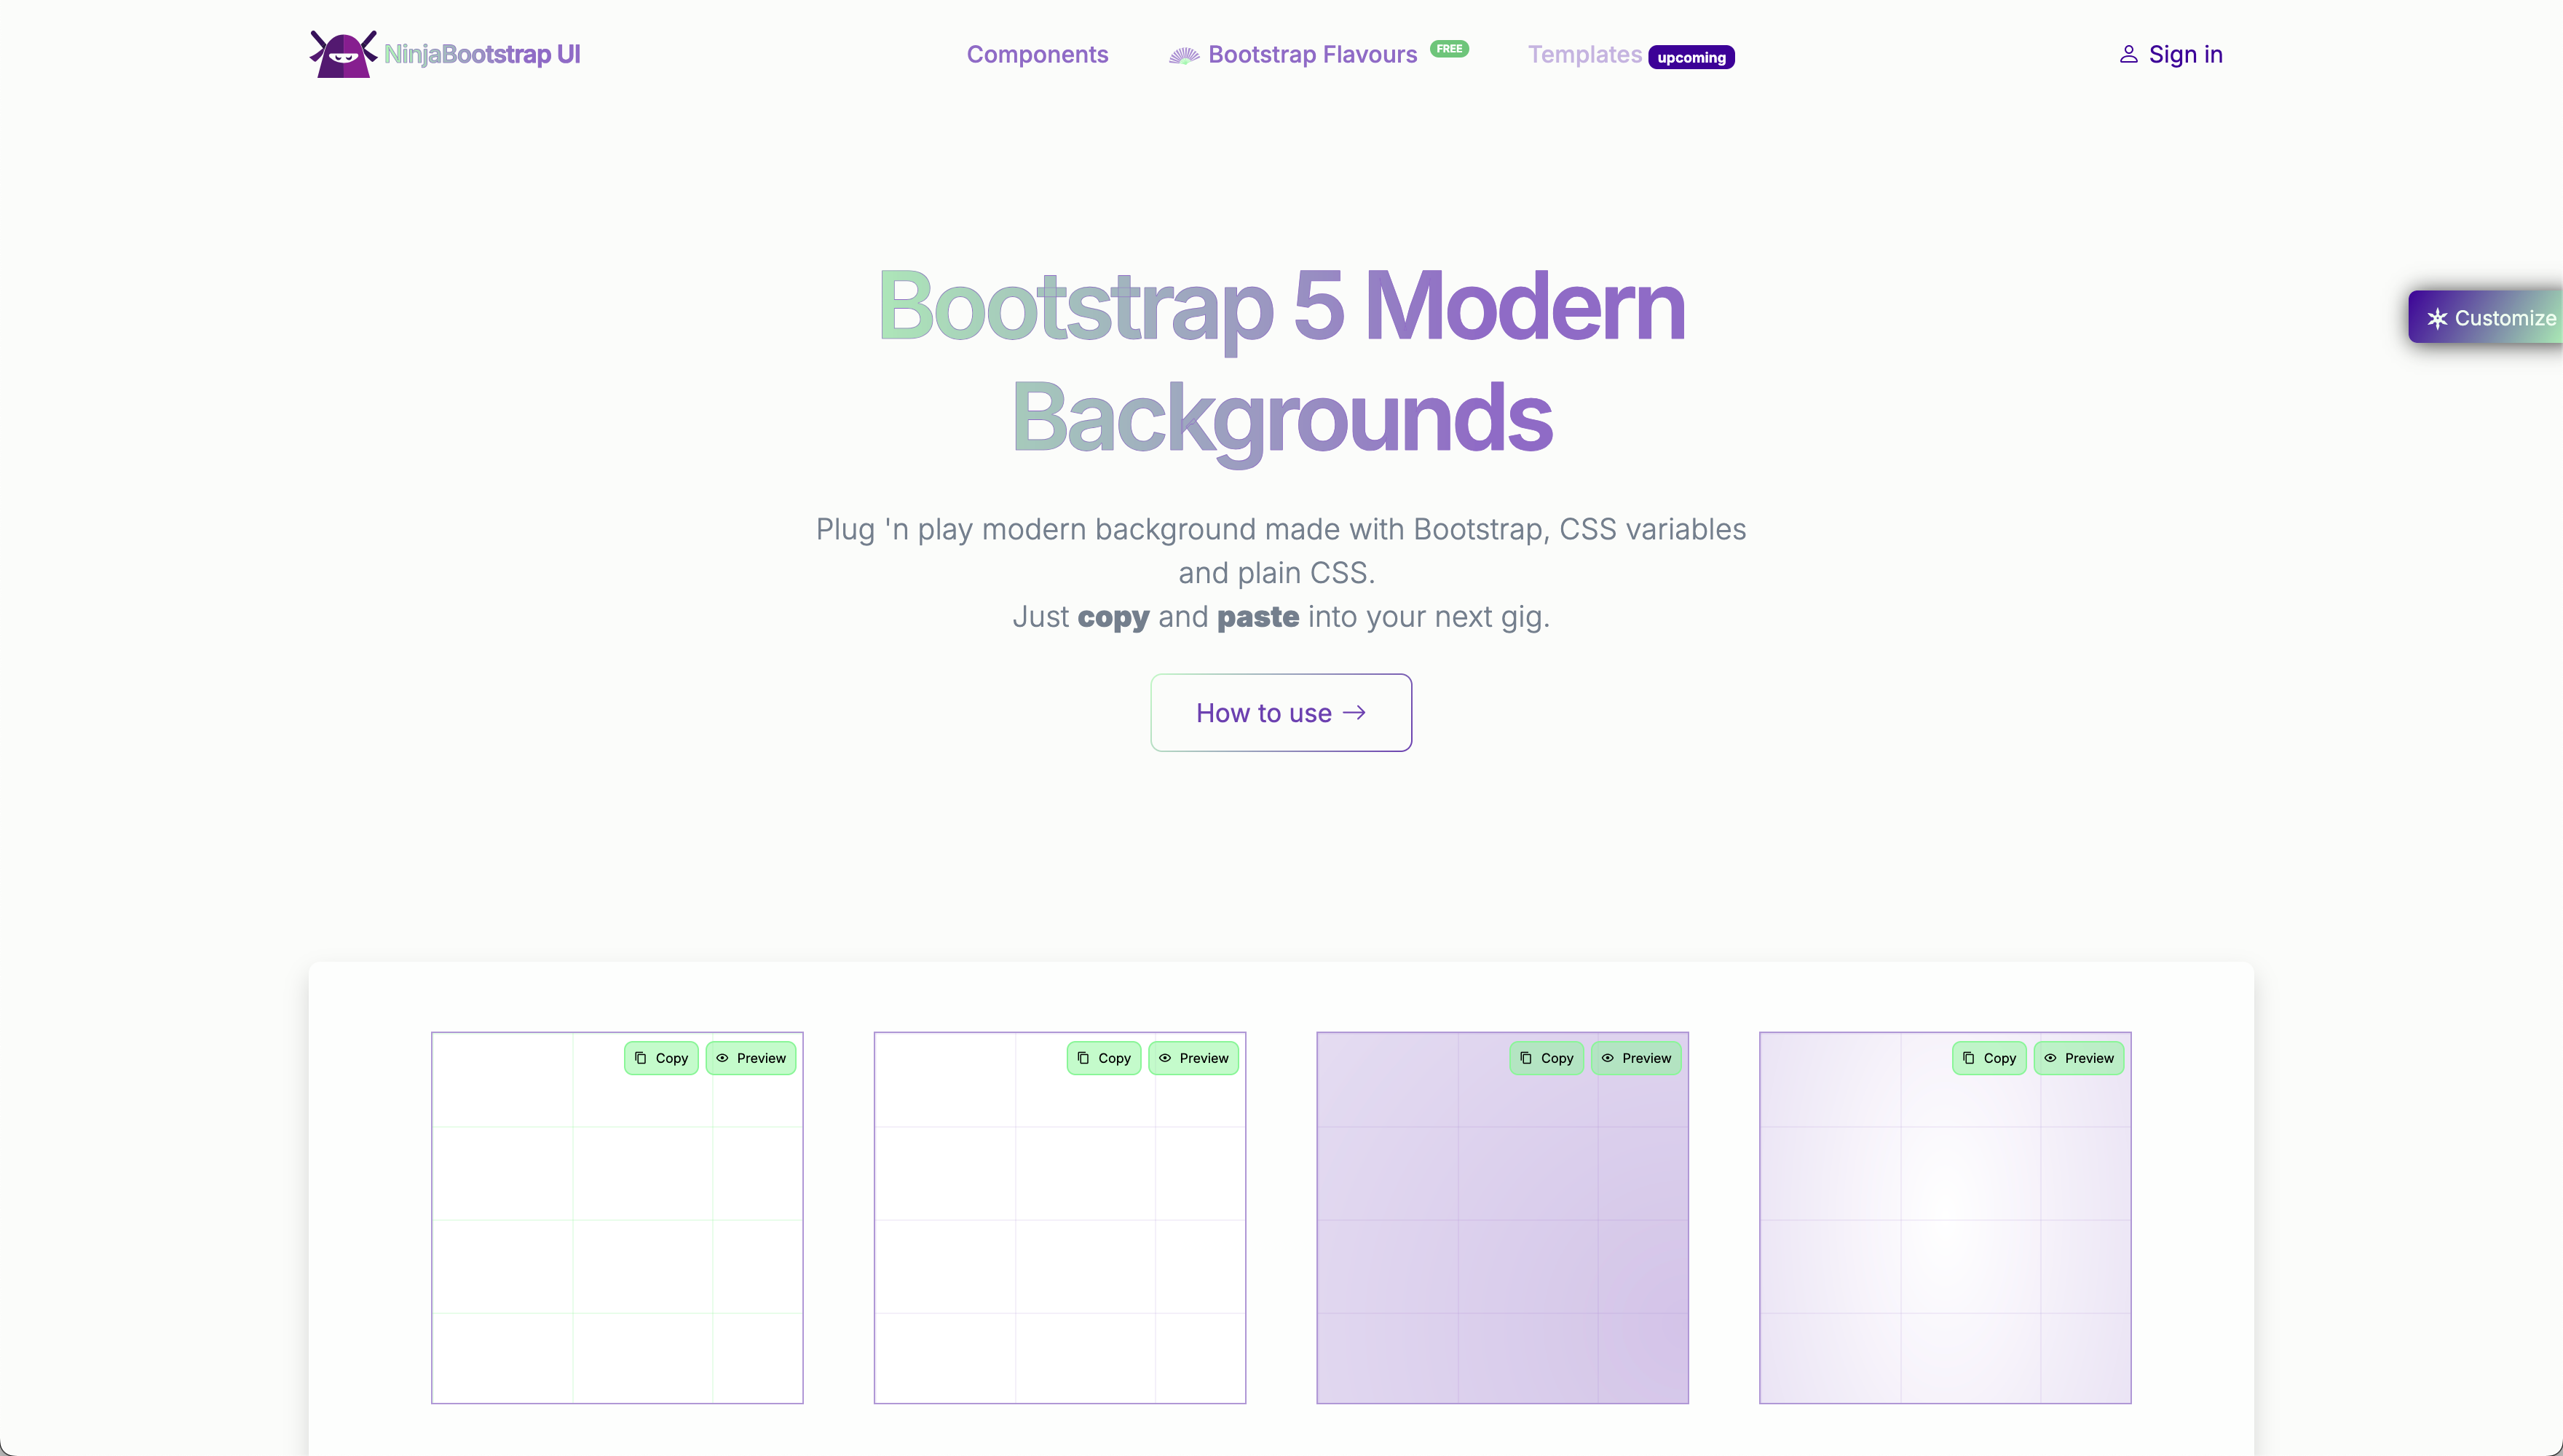
This collection of modern backgrounds, built with Bootstrap, CSS variables, and plain CSS, can instantly elevate the visual appeal of your projects. Simply copy and paste the code into your designs to add stunning and customizable backgrounds.
**
Link: Logoipsum.com
**
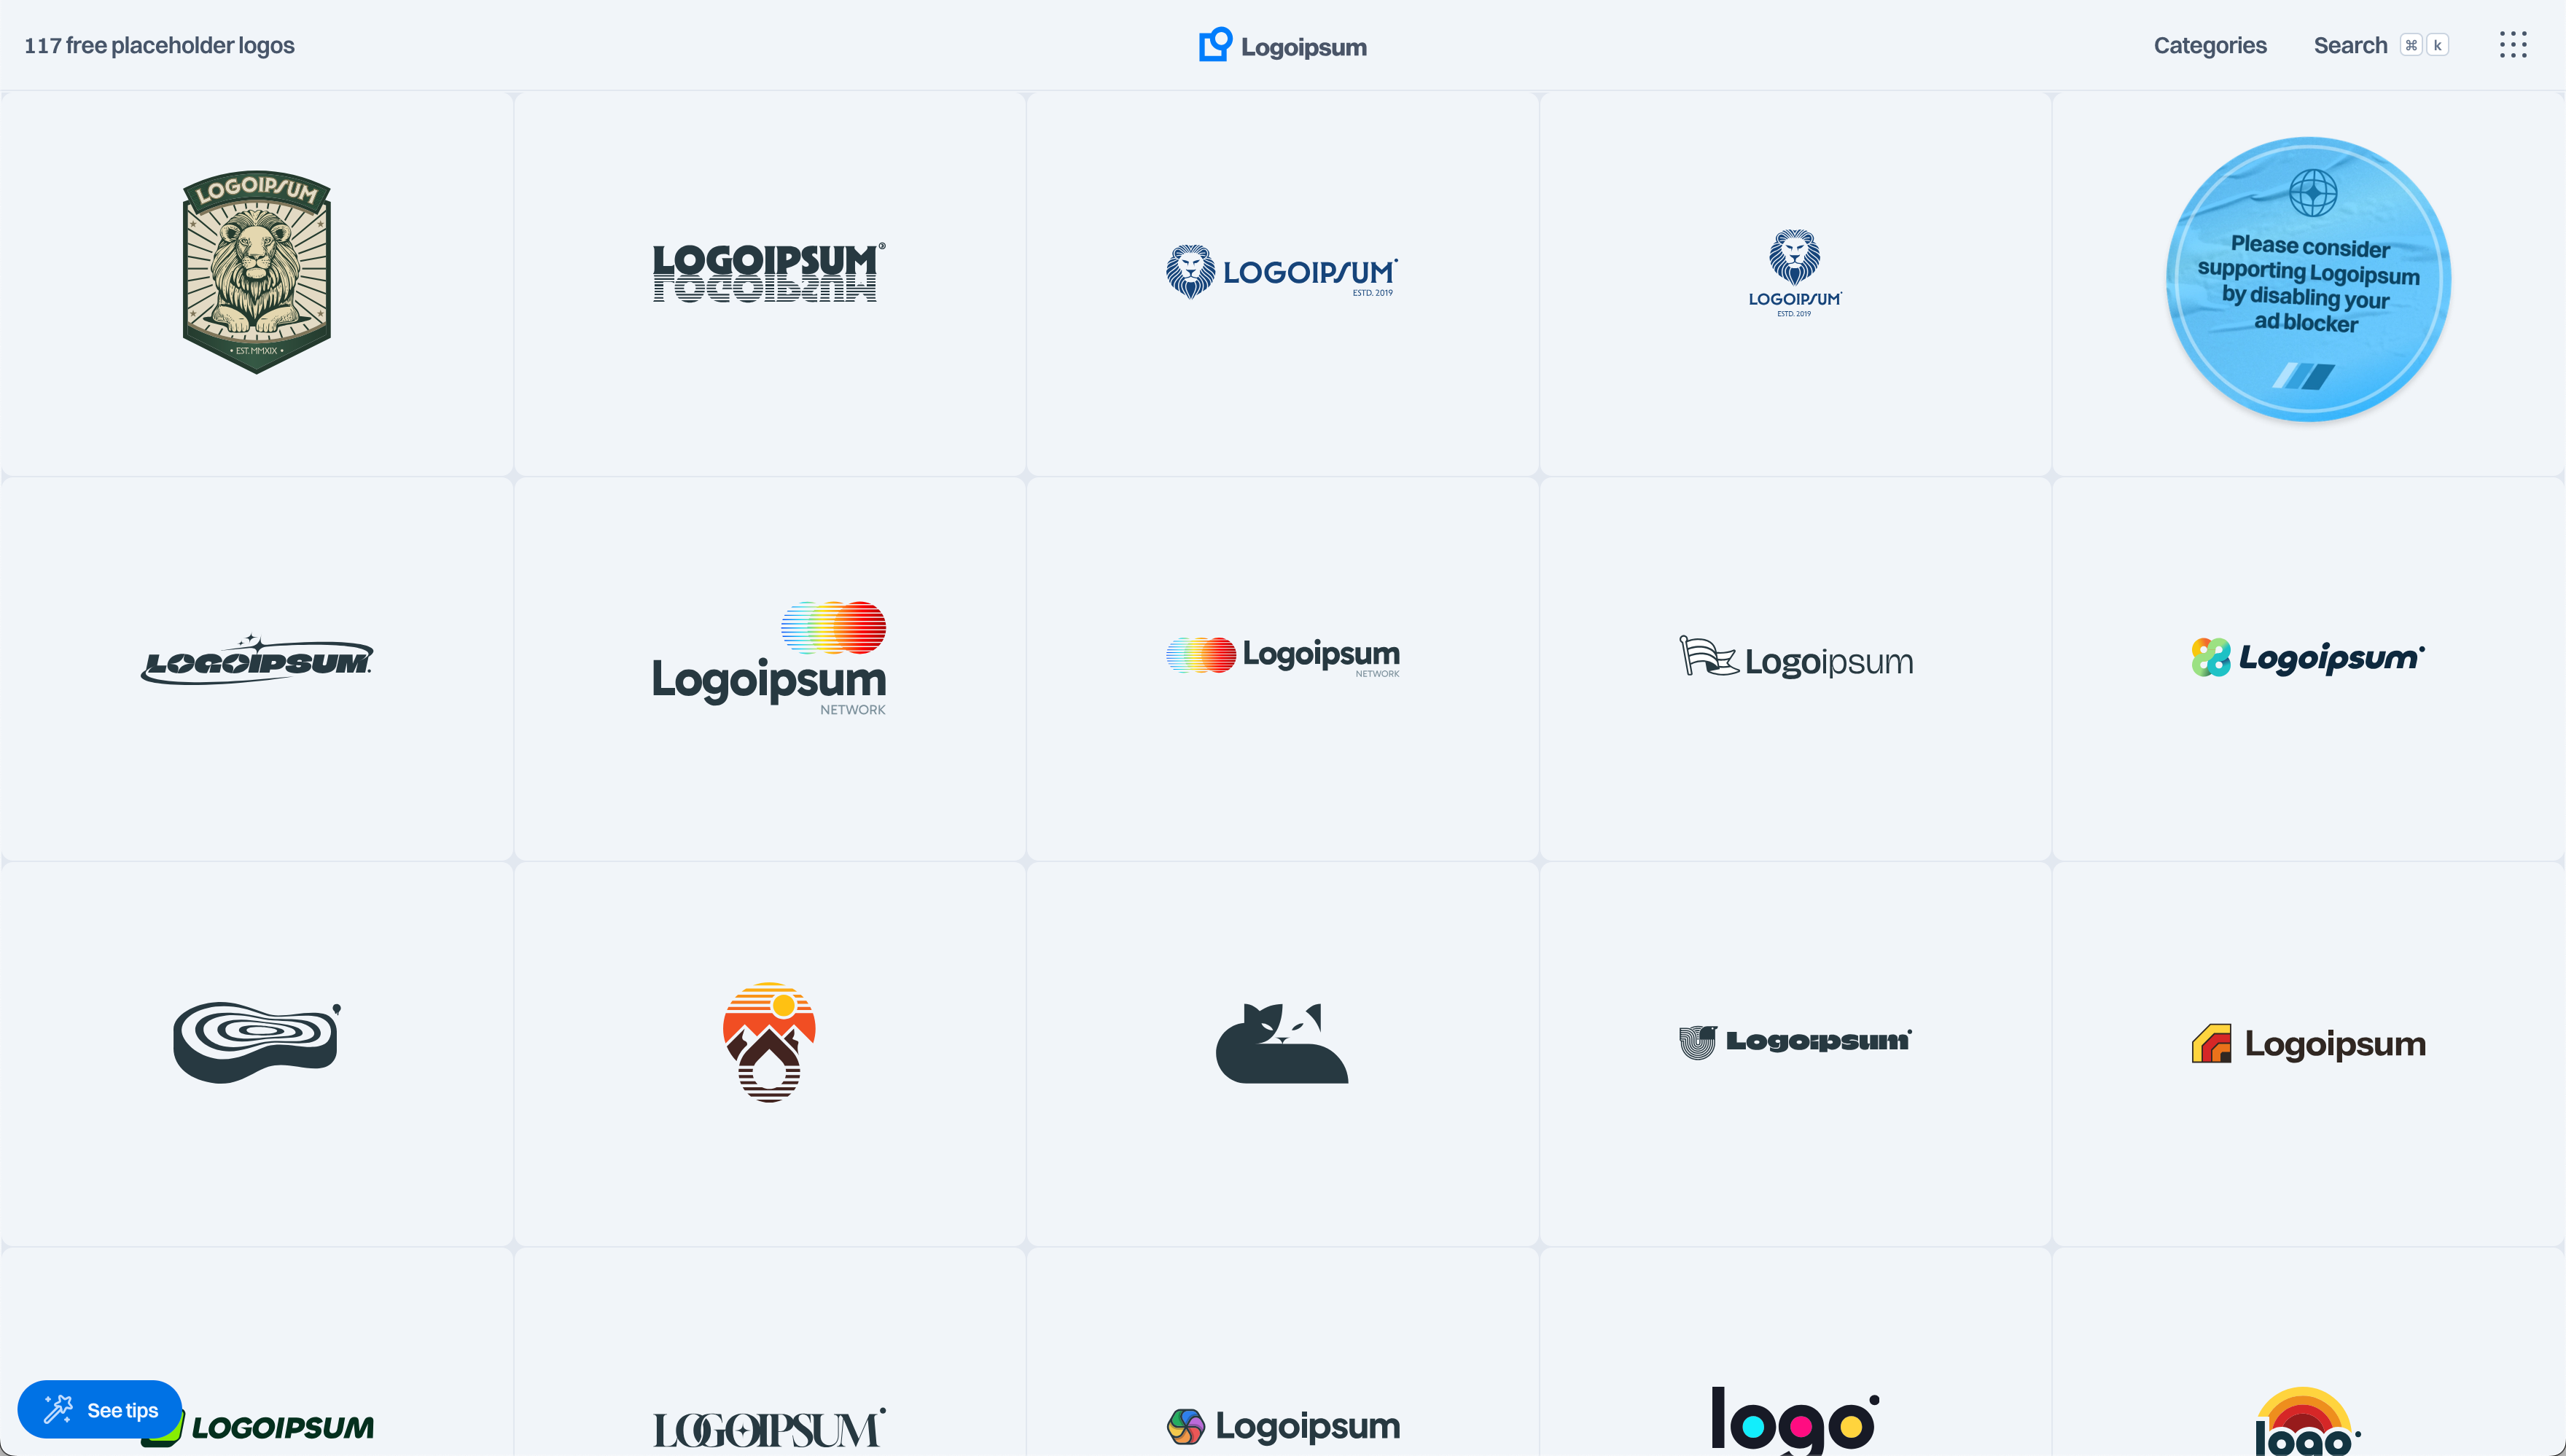
Need placeholder logos for your mockups or presentations? Logo Ipsum provides a wide range of visually appealing and diverse logo options. Quickly generate and download placeholder logos to enhance your designs.
https://github.com/trimstray/the-book-of-secret-knowledge
This week’s Git Repo to Star is the Book of Secret Knowledge, an extensive repository of information for developers and designers alike. You’ll find a vast collection of inspiring lists, manuals, cheatsheets, and tools covering everything from CLI and GUI tools to networking and hacking. Some of it you will just find interesting but I can tell you that this is one the best Git repos to have starred.
This week’s useful stuff has a little of everything for the modern software product designer. Enjoy and share alike please!
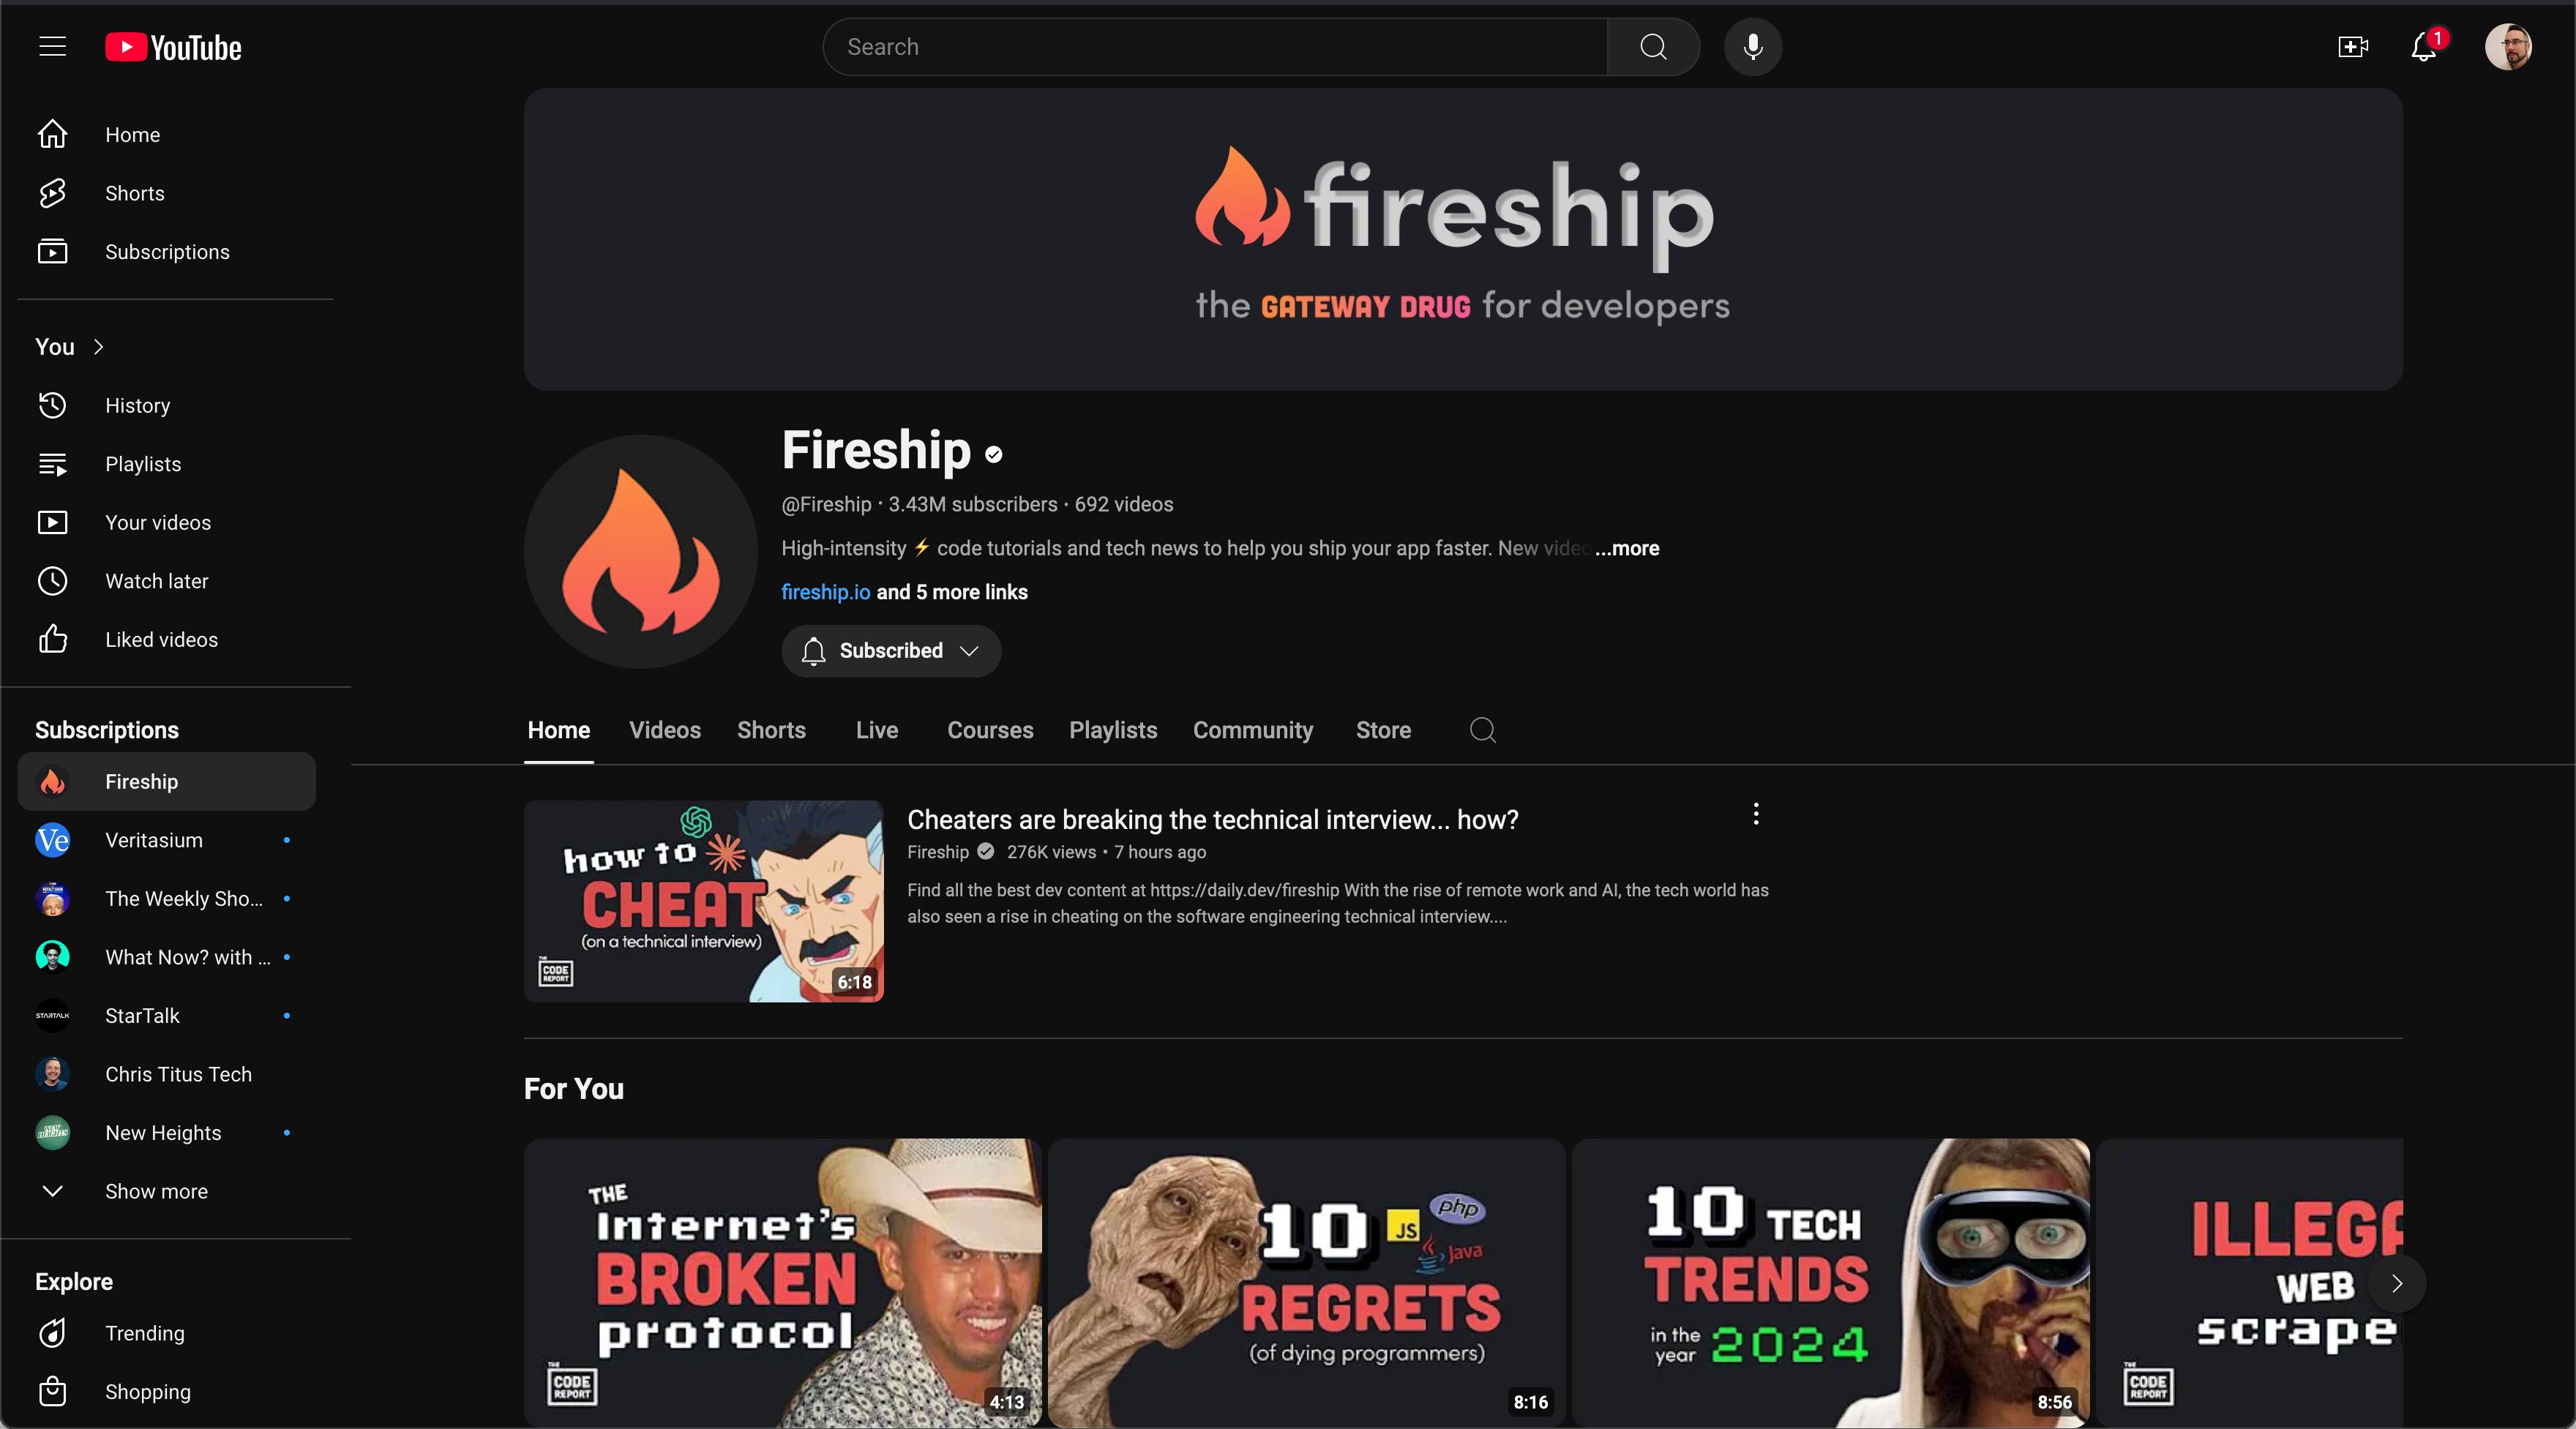
Fireship.io, more specifically their YouTube channel, is the highlight this week. If you prefer learning through bite-sized, entertaining videos, Fireship is a must-follow YouTube channel. It covers a wide array of topics, from web development and programming to design principles and software architecture, all explained in a witty, engaging way. The information is relevant to professionals who build software products, whether you are an engineer or a designer, the content is fantastic. I have been following religiously for over a year now and have found something useful in every single video.
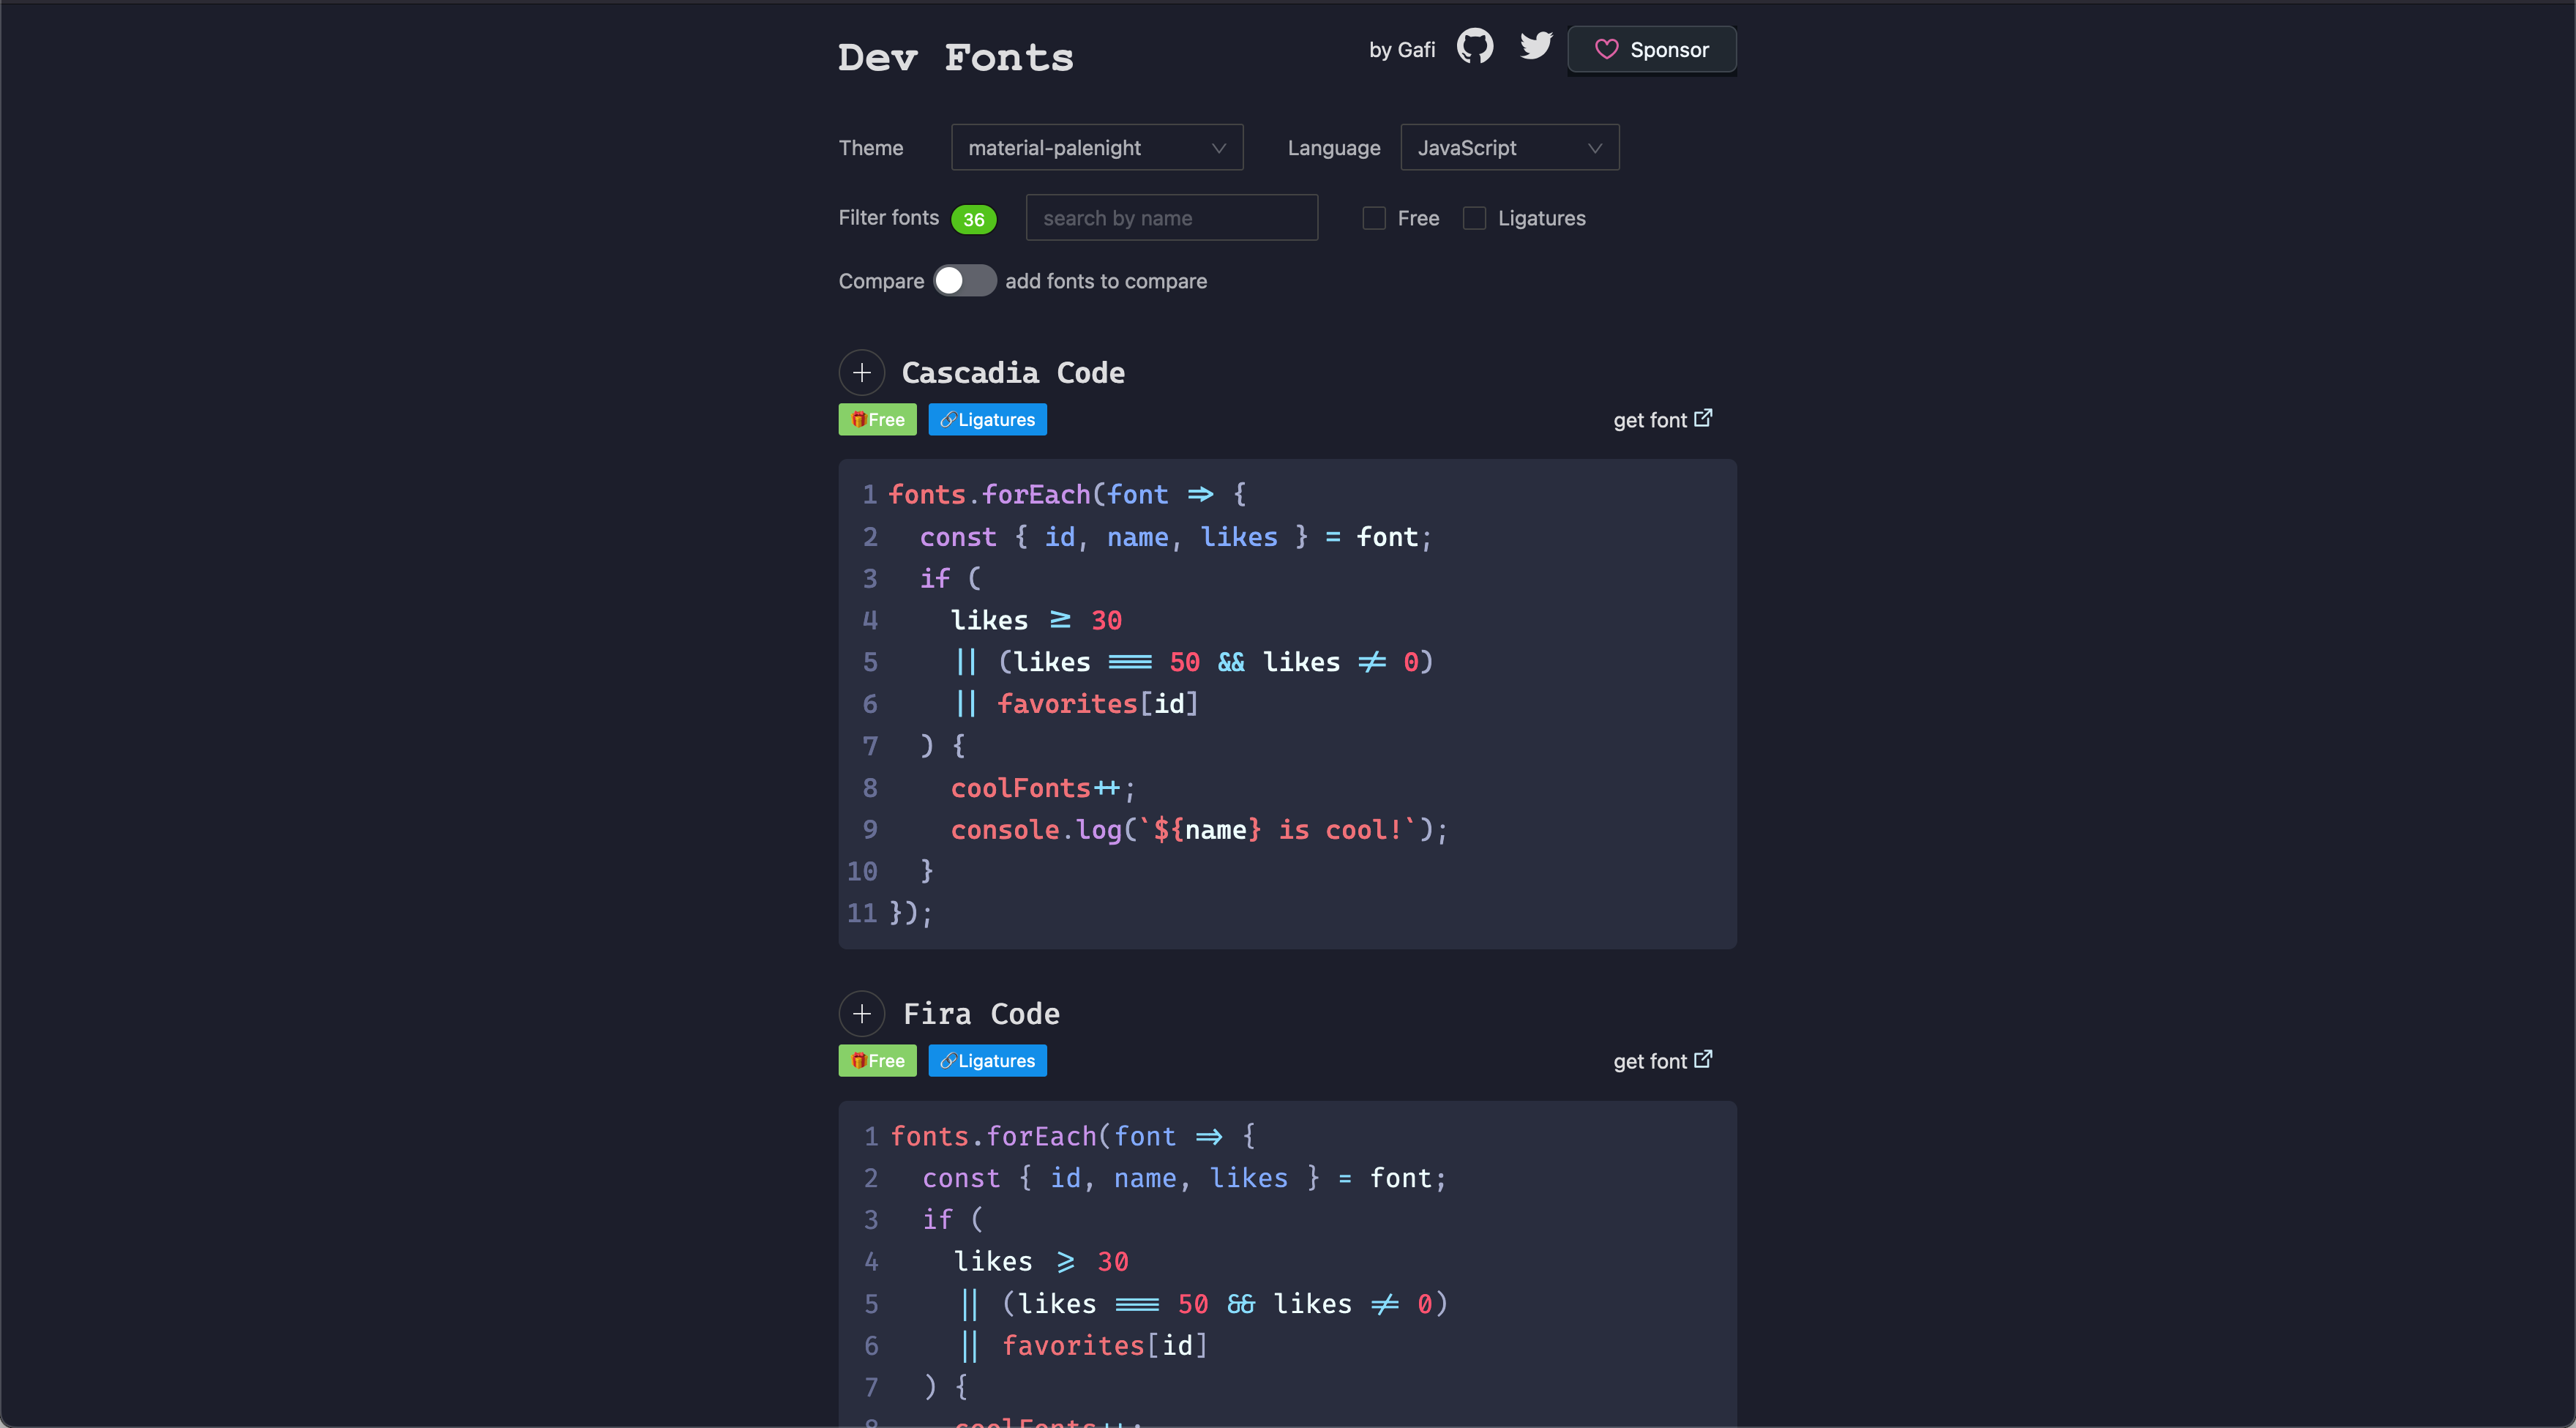
Product designers have a different diversity of projects then our digital commercial design kin. This sometime requires different resources for things like fonts. Viewing code within product documentation and using code tools like Monaco requires product designers to use monospace fonts from time to time. Dev Fonts provides a convenient way to preview, compare, and download monospaced and bitmap fonts that you can use in your projects. I am sure there are many uses! Go design some.
Link: github.com/collections/design-essentials
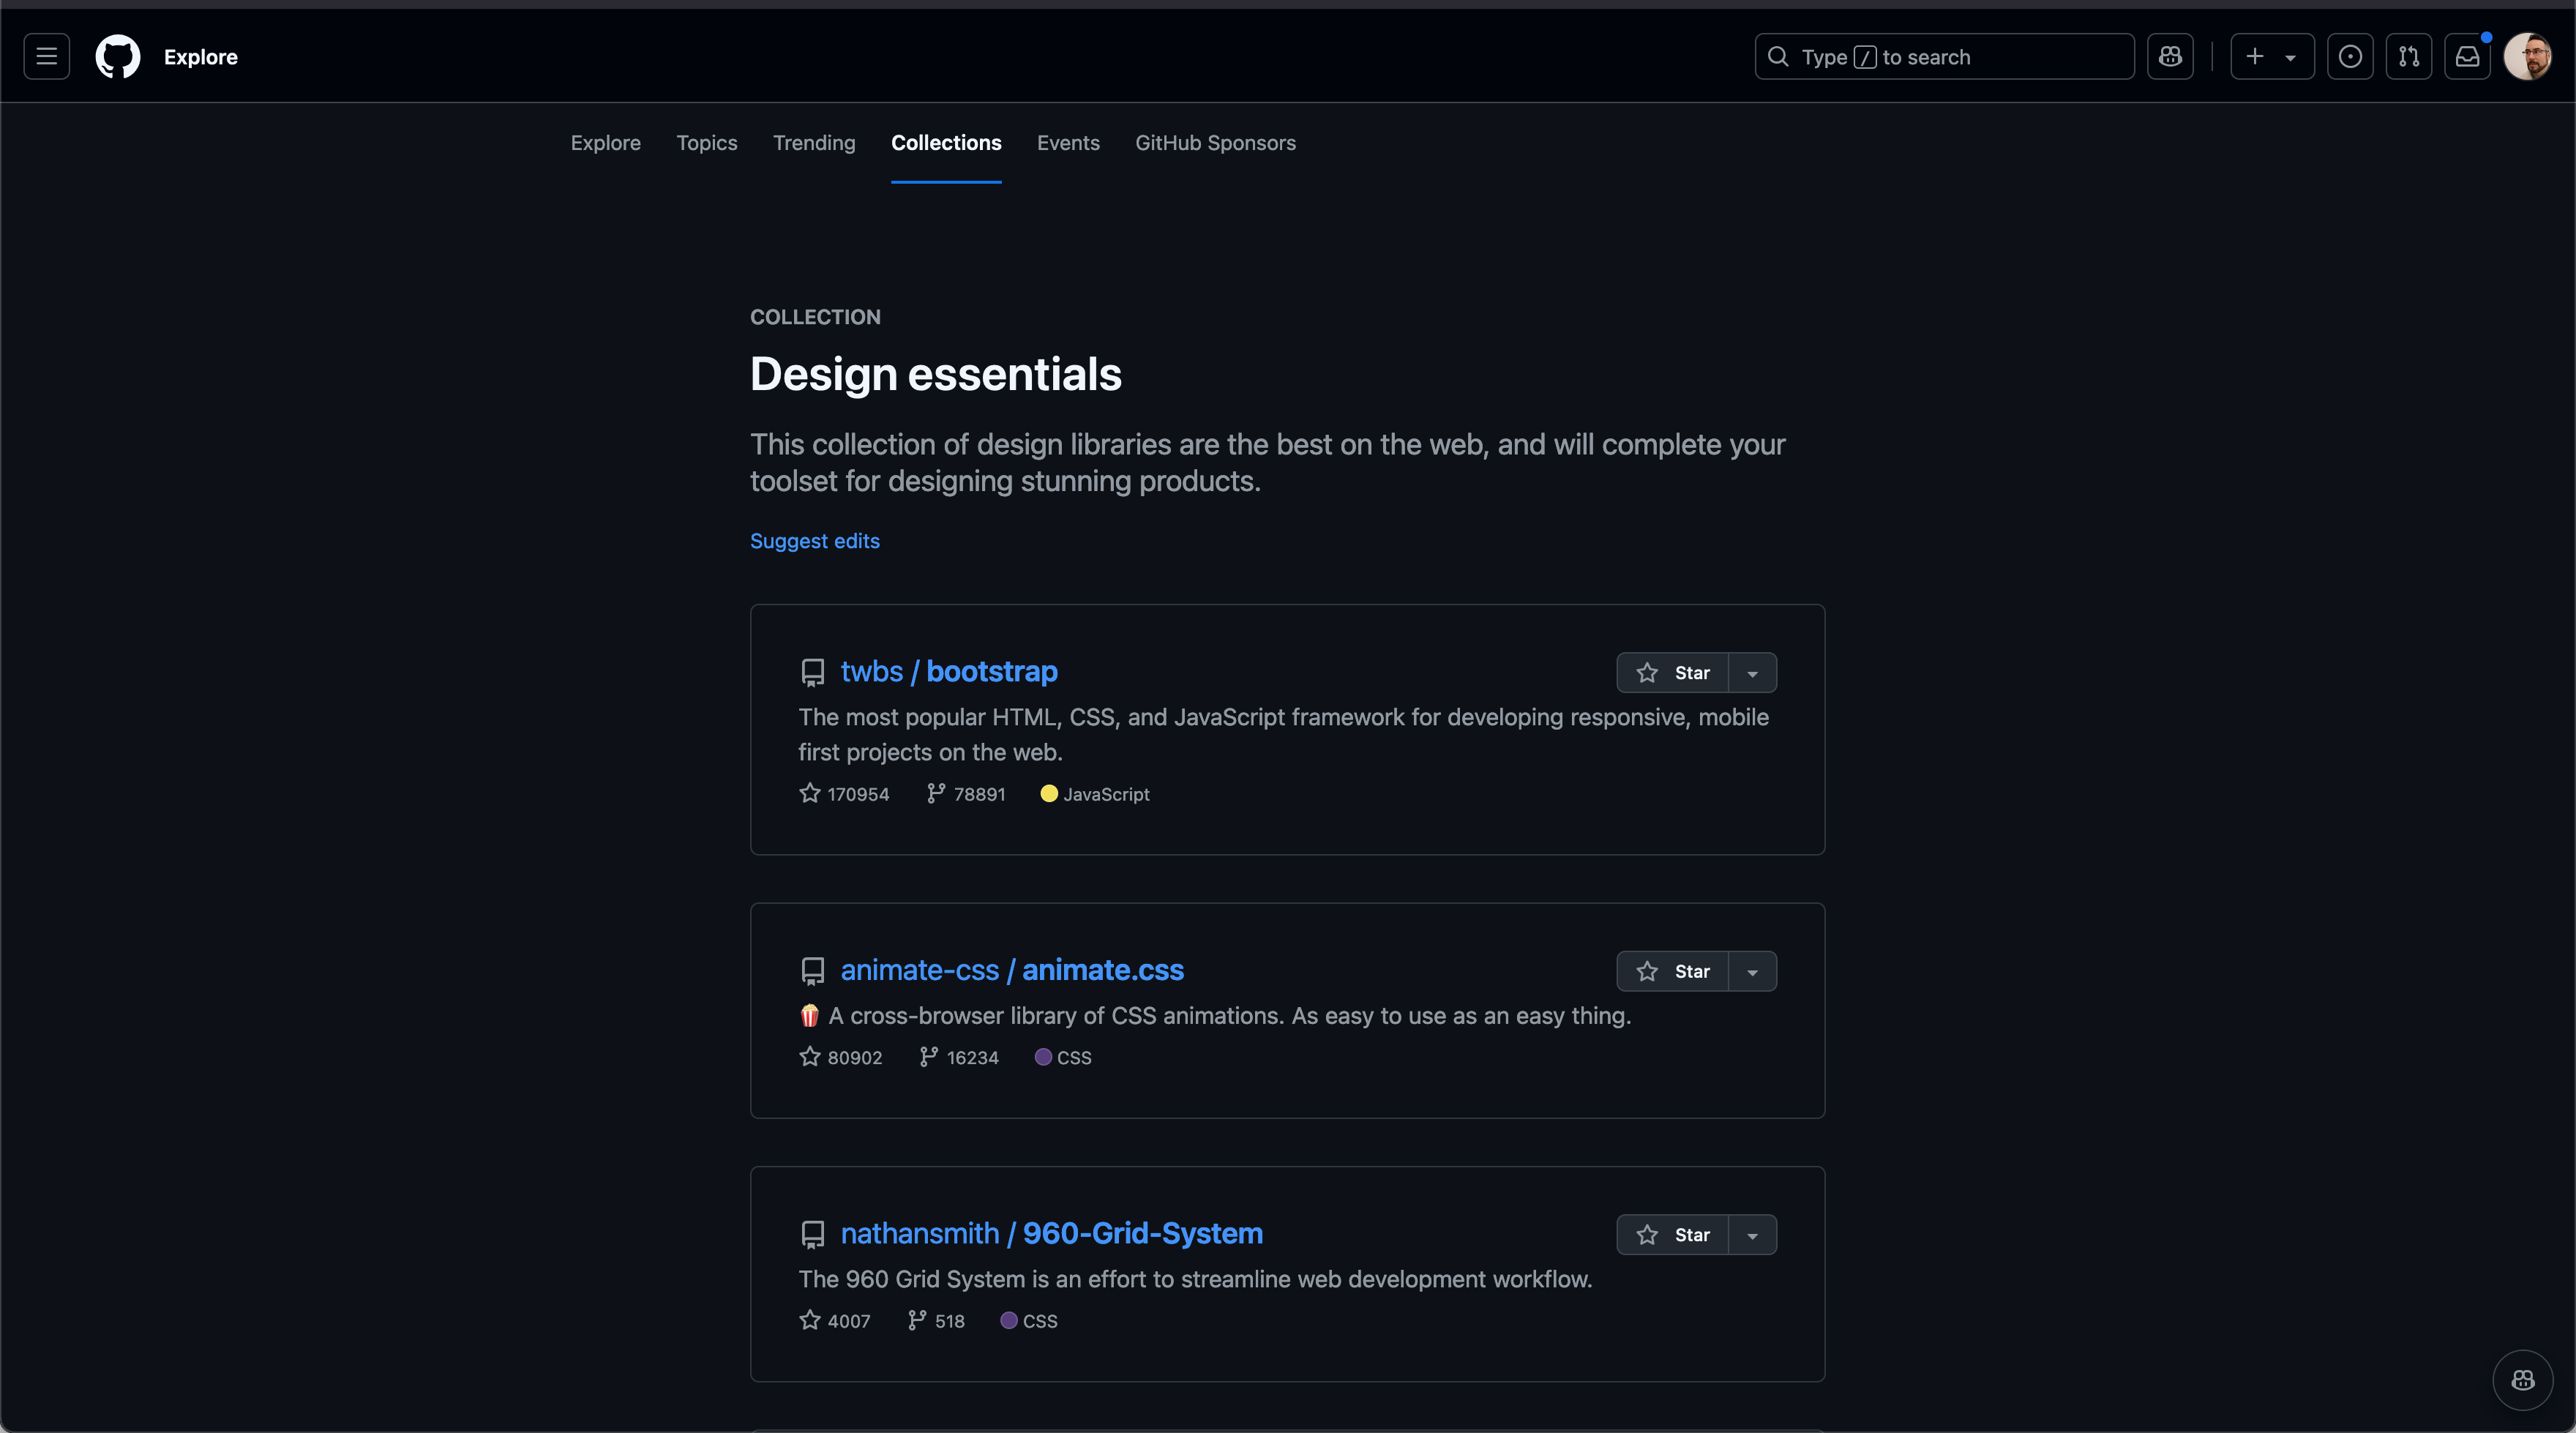
GitHub is a untapped resource for so many things related to digital design and software product design. This specific GitHub collection is a treasure trove of design tools, frameworks, and resources. From user interface kits and typography tools to accessibility checkers, this curated list has everything a budding product designer needs to create thoughtful, user-friendly designs.
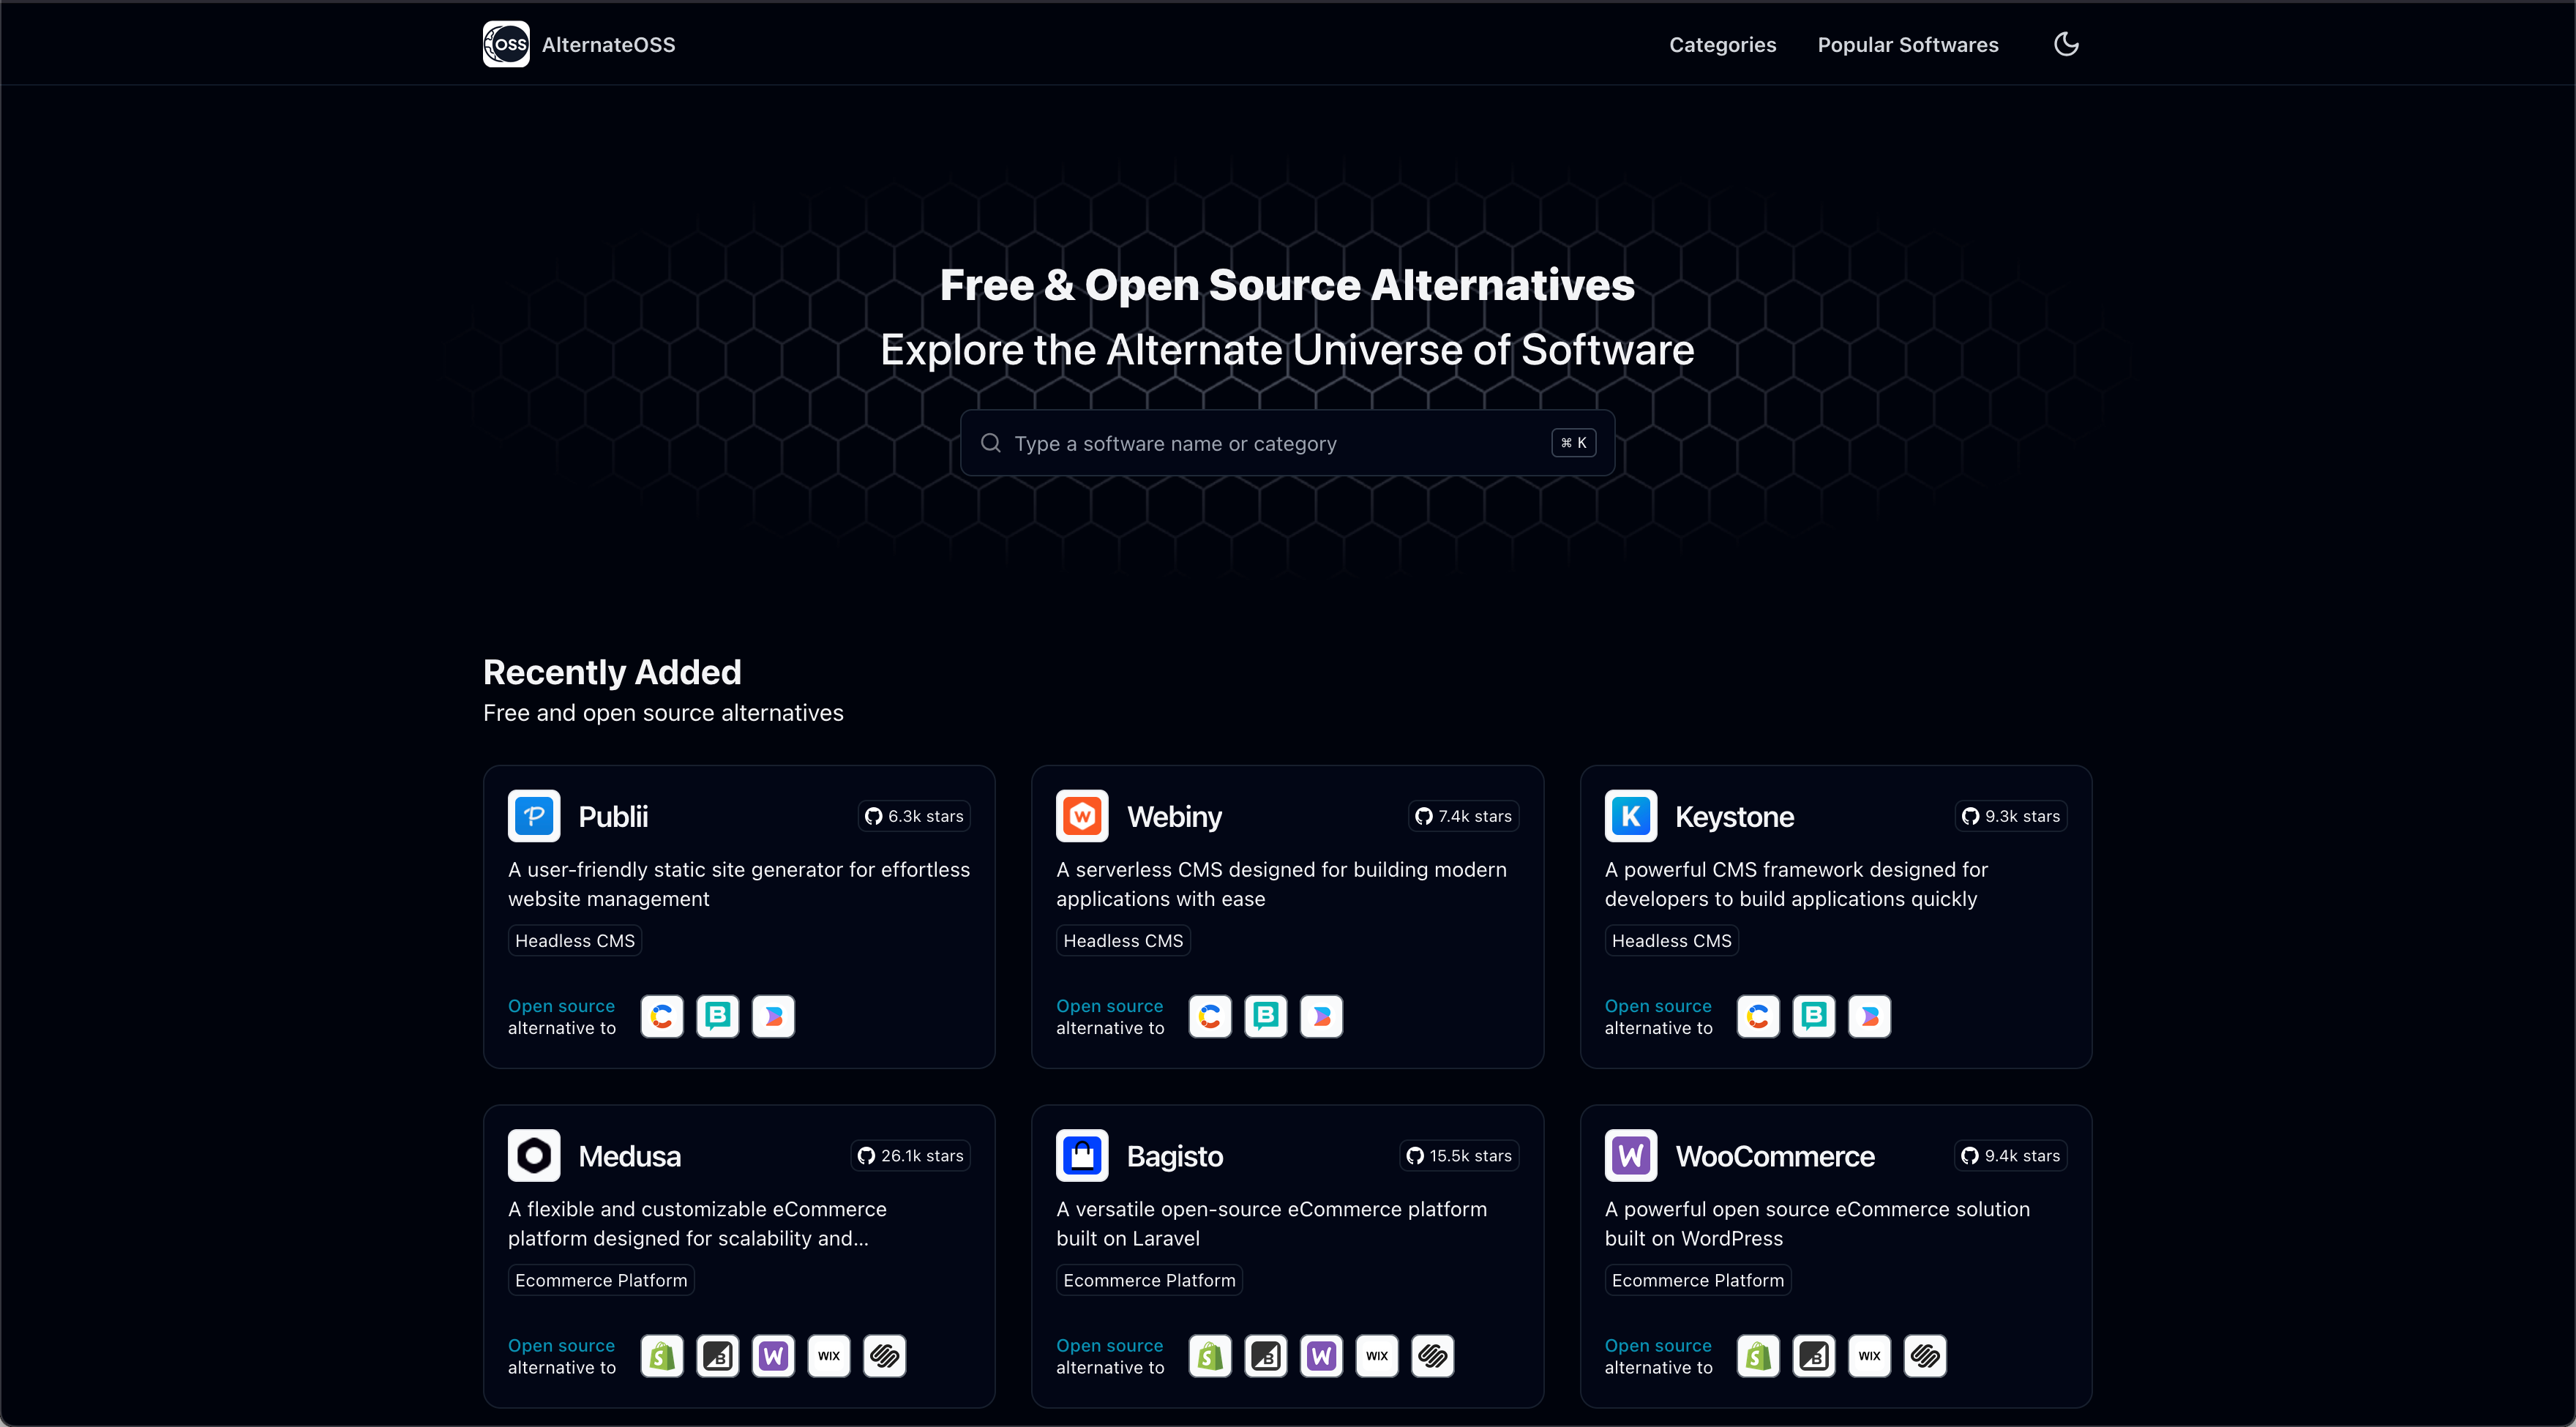
Open-source alternatives are how I built my first product design company. The biggest issue is they get little recognition in major technology circles. I spent endless nights searching the internet looking for resources. Alternate OSS provides a simple but searchable database of tools that can replace expensive or proprietary software, making your development journey more budget-friendly. The use-experience of this site is a fantastic in contrast to it’s ilk which makes me want to use it more than AlternativeTo
Thank you for visiting my site. I hope you found something useful or interesting. Please use this form to send me any feedback, questions or just to connect. Have a wonderful day!